Identifying Pond Water Microorganisms as Bioindicators
Have you been wanting to look at pond water with your students, but you struggle with identifying microorganisms? Do you need to know which creatures are tolerant to pollution, and which aren’t, but don’t have time to research?

written by
Karen Sinai
Identifying Pond Water Microorganisms as Bioindicators
October 2021
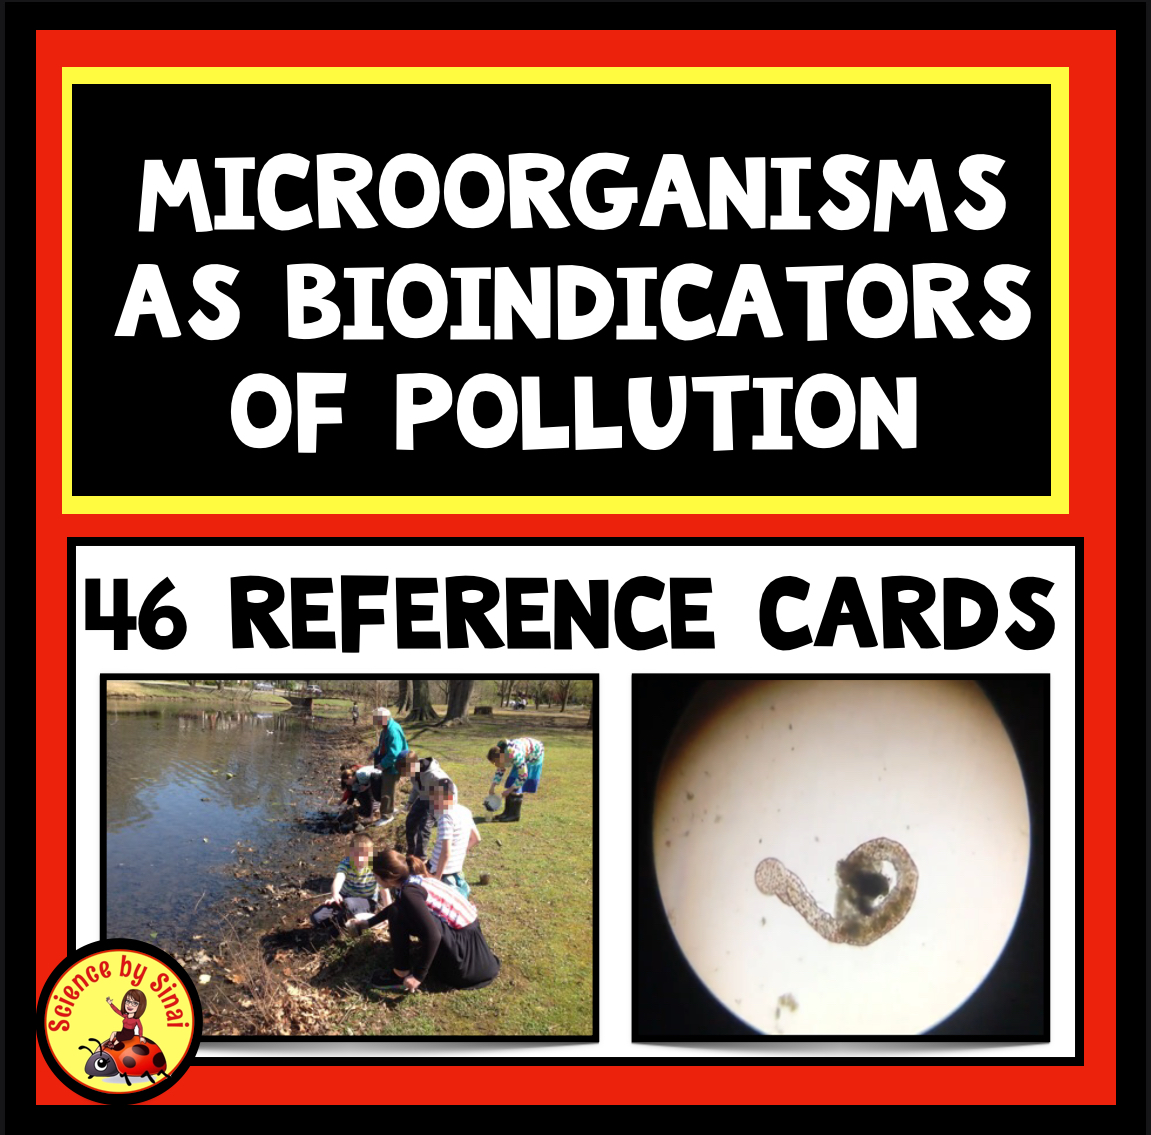
I have drawn 46 common macro and microorganisms that you are most likely to find in pond water. I also researched the tolerance to different pollutants that each Protist or invertebrate generally exhibits.
After the students have gathered their pond water microorganisms, over several days, they can then draw conclusions (there is that CER in action!) as to the health of the water by using the organisms as bioindicators.
Set the Stage for Your Students-What is Their Goal?
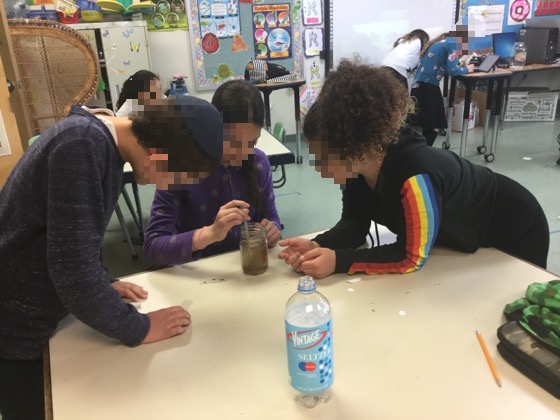
Students have no idea what they’re about to experience! I make a really big deal about talking about these awesome creatures that chase each other around, fight with each other, eat each other and sometimes even divide in front of us!

I’m a big believer in using a hook to draw kids into a project. I don’t explain anything about the final presentation until they have actually looked at the creatures under the microscope, and have become really excited. This lets me use half of a class period to explain their goal. They are so much more receptive!
Explain that their goal is to find and identify as many organisms as they can. They will be using the drawings that I give them which includes the type of conditions that each organism tolerates. They will be pulling together a final summary presentation, after analyzing the bioindicators, to determine if the body of water seems to be polluted or not.
Plan Ahead For The Microscope Lab
How you plan ahead, and decide on your structure, will determine the success of this unit. Students who are super excited can get a bit wound up unless they are kept accountable.
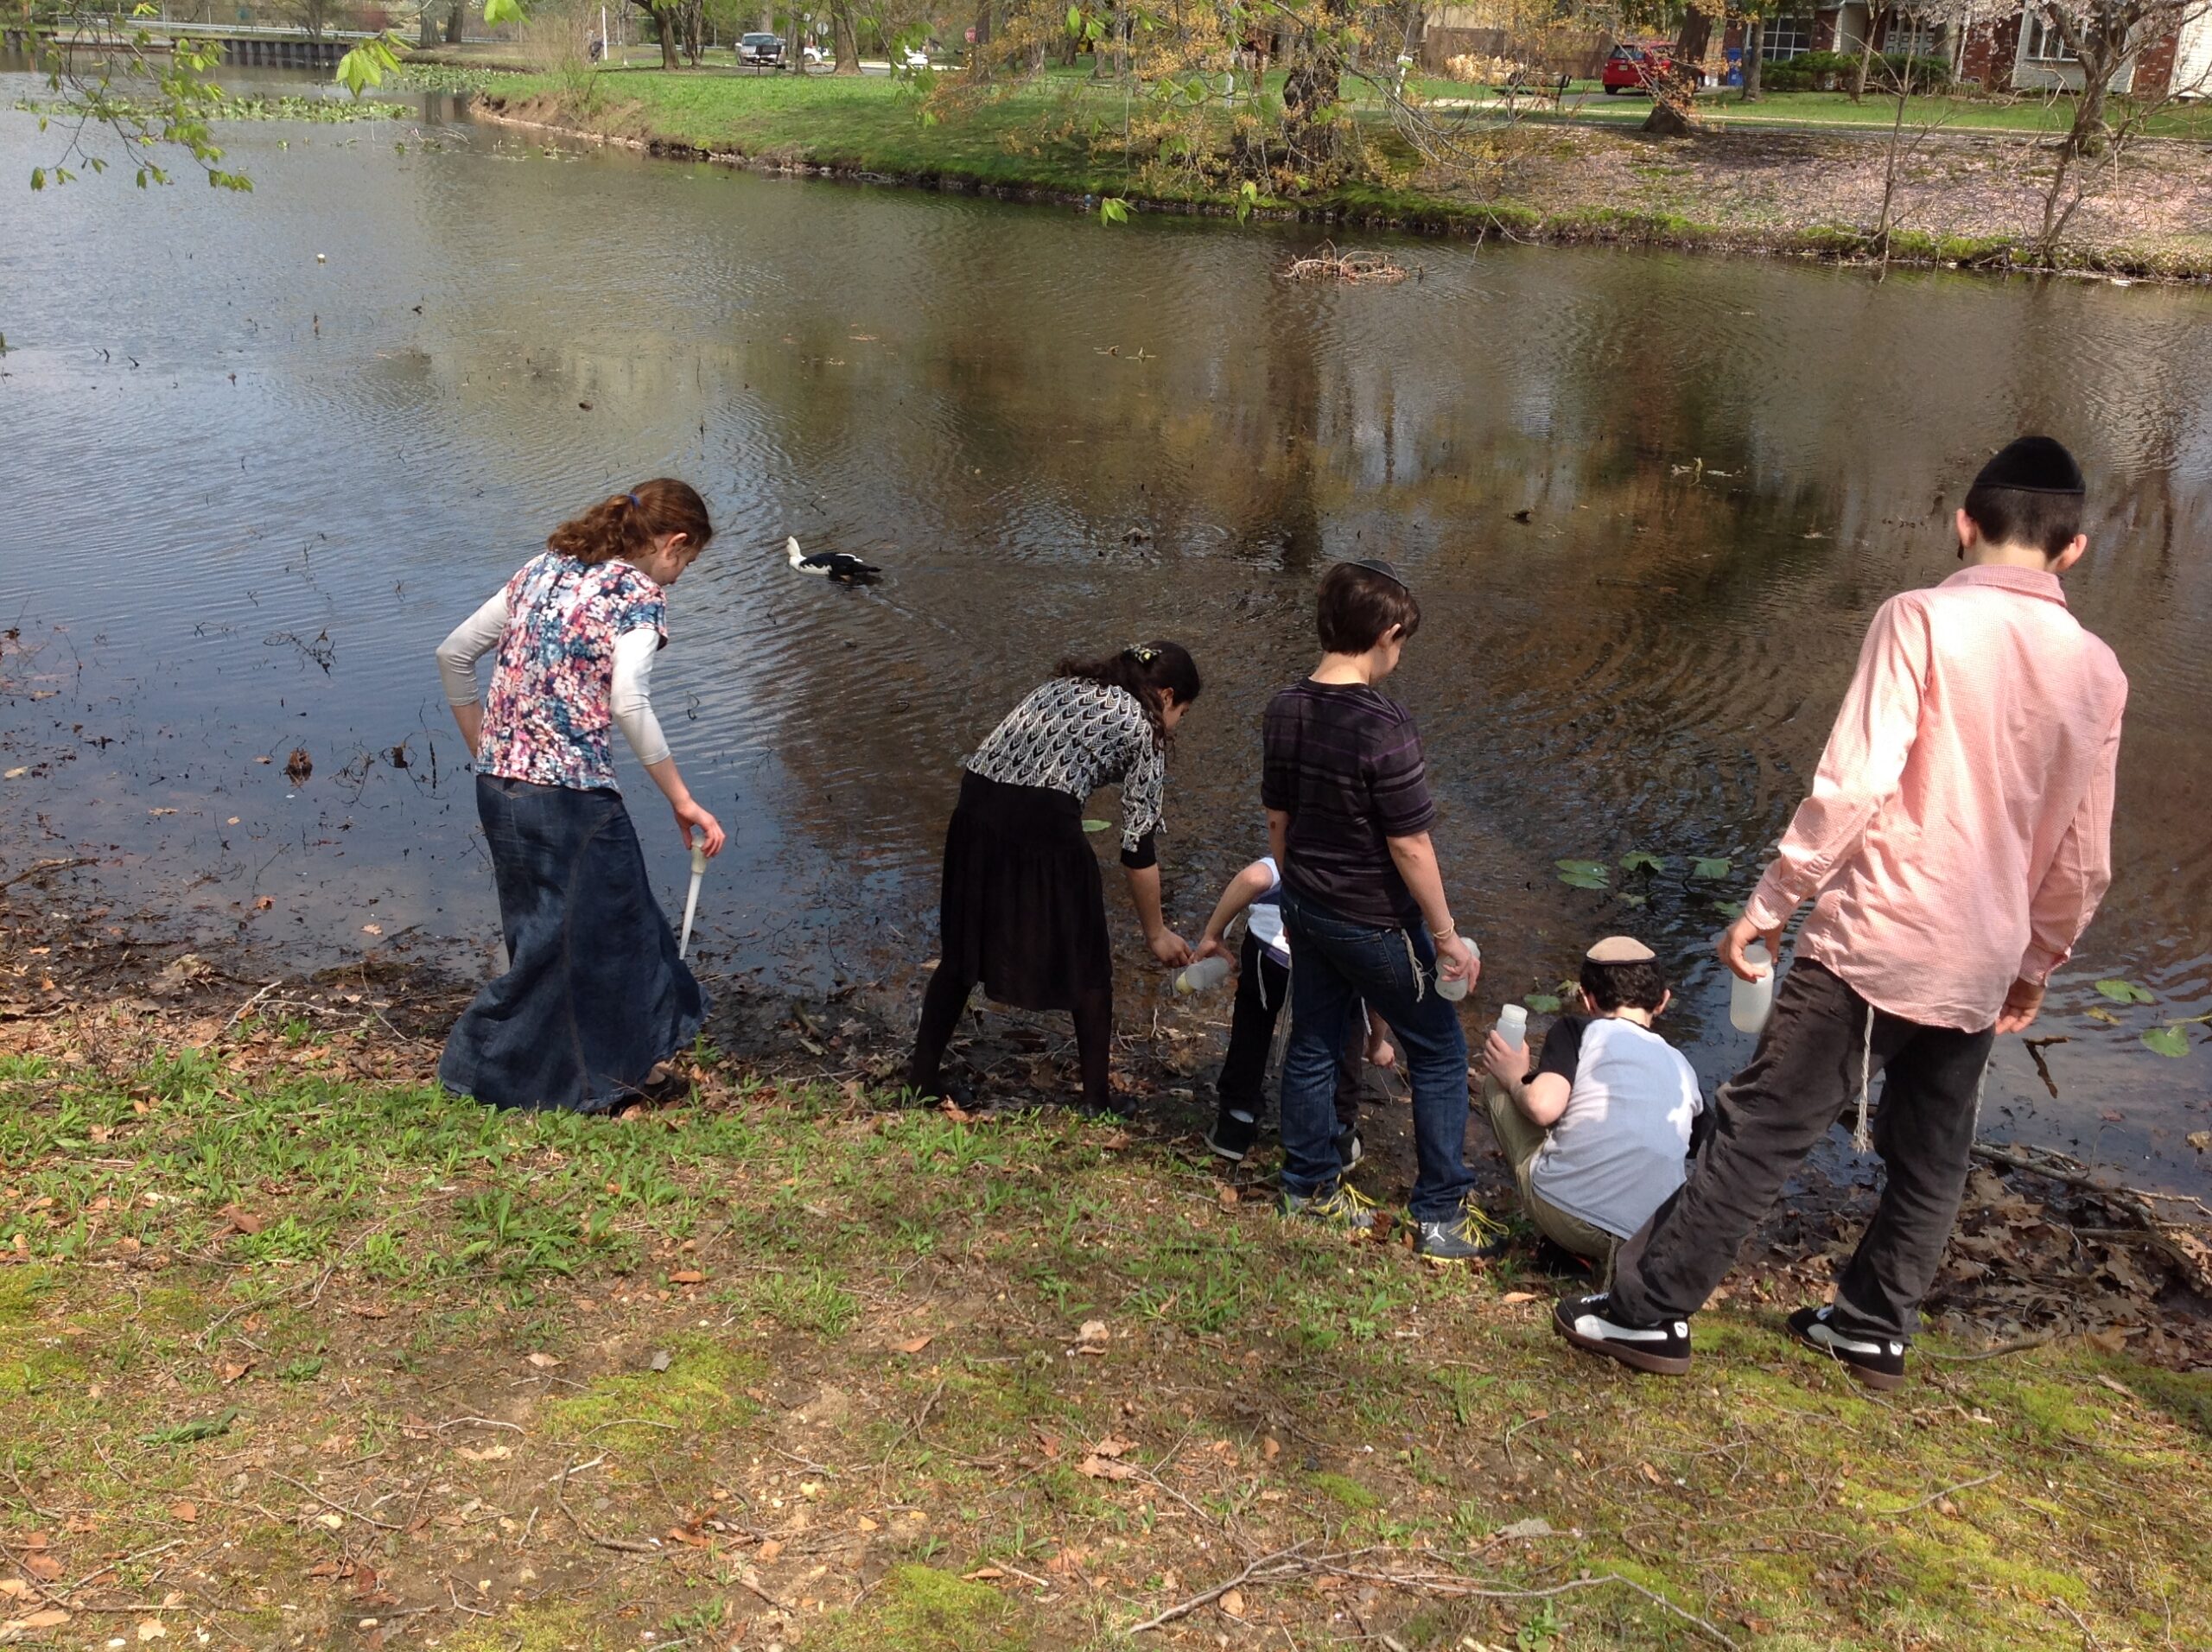
How are you getting the pond water? In past years, we have taken the students on a trip to a local pond to collect the water which was a lot of fun. As scheduling got harder and harder, due to the pandemic, I ended up gathering it myself. It was just as well I didn’t bring my class because the Canadian geese around the pond chased me two years in a row!
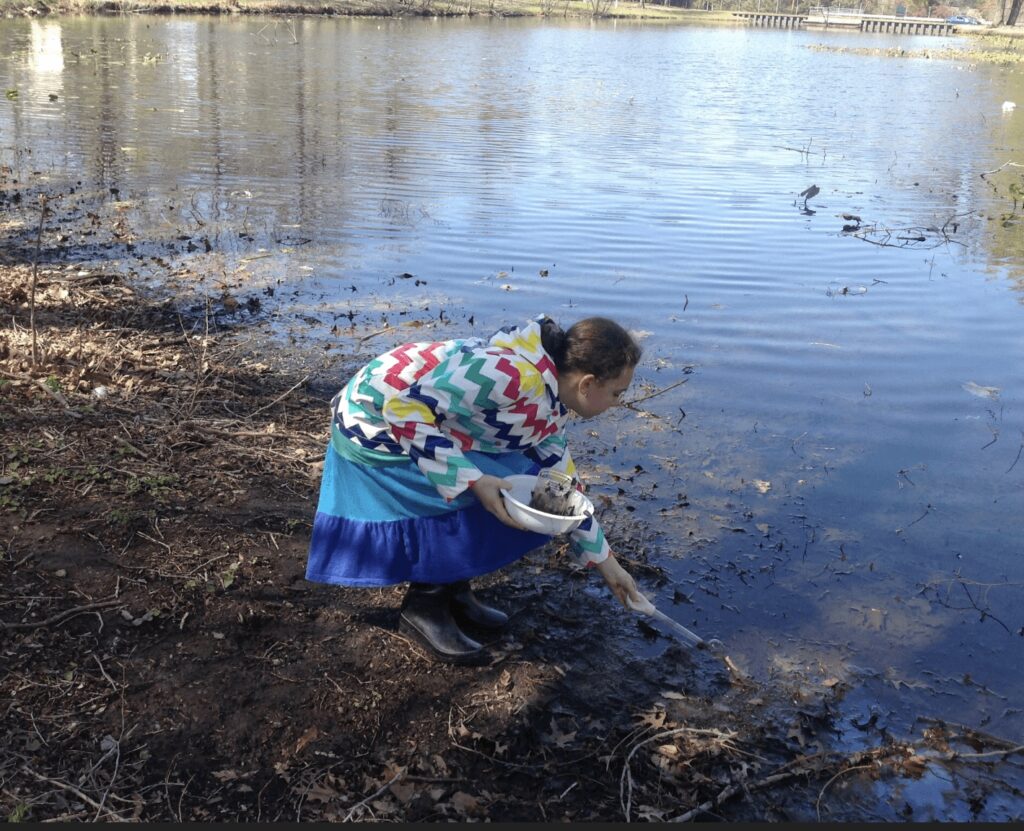
As you are gathering the pond water, make sure you dig around at the edge of the pond and include a lot of the dead leaves. That is where most of the organisms hang out to hide from the predators.
Gather at least a gallon of water and leaves so that you can break it down into separate glass jars for different student groups. Make sure that the amount of time that you have a lid on the water is short so that you continue to have an oxygen flow. Glass is preferred to plastic for storing the microorganisms.
Note: If students will be observing the collected water within 24 hours, then I put the water containers on a side of the classroom with no direct sunlight. This will give a more accurate reading of which organisms were present when the sample was first collected. After a few days, I put them on my windowsill so that the algae will grow and feed the creatures. You may decide not to add sunlight because that is technically changing the outcome since the populations will start to change.
I tell the students that their most accurate data, in terms of bioindicators, was what they found in the first two days of observations.
Review Microscope Skills
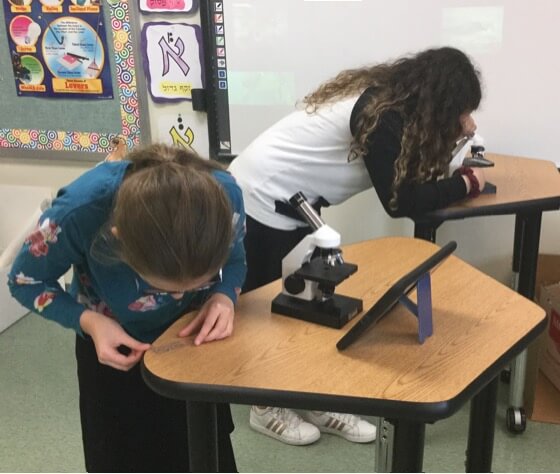
Depending on your student population, they may not have too much experience using microscopes. It will be well worth your time teaching students the names of the parts of the microscope, how to care for them and how to view moving creatures.
Chasing something under the microscope is very different from simply looking at a prepared slide. The first thing that is disconcerting to most students is that, when you move the slide to the right, everything in the field of vision moves to the left! Students seem to adapt pretty quickly, but it does take practice.
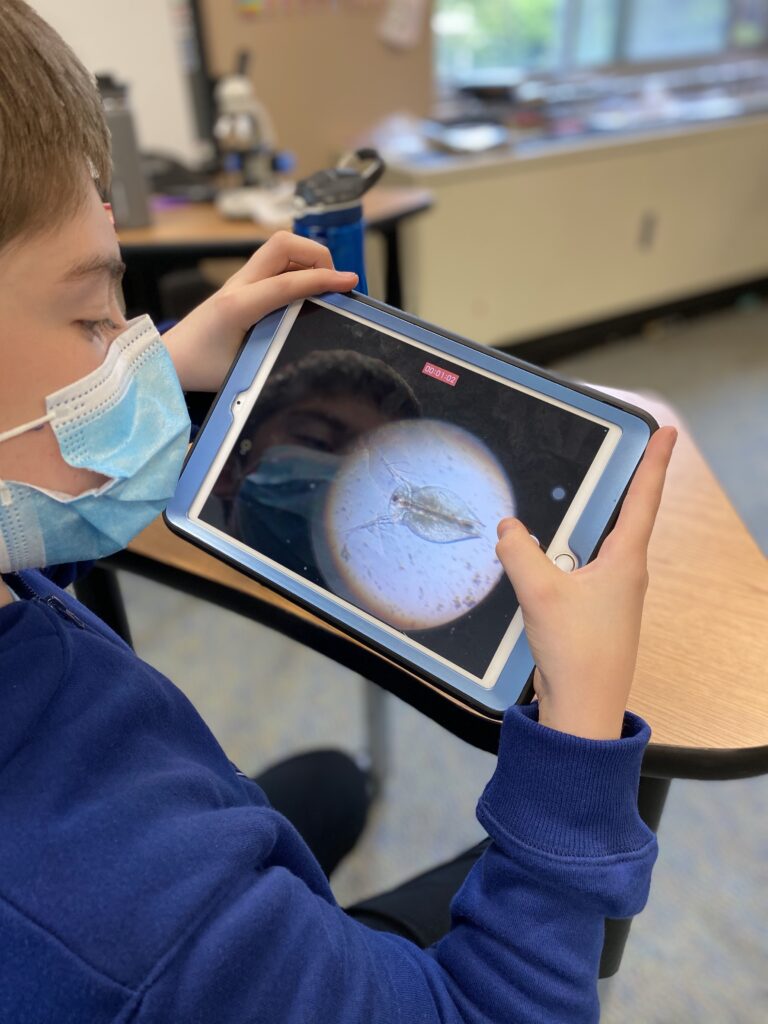
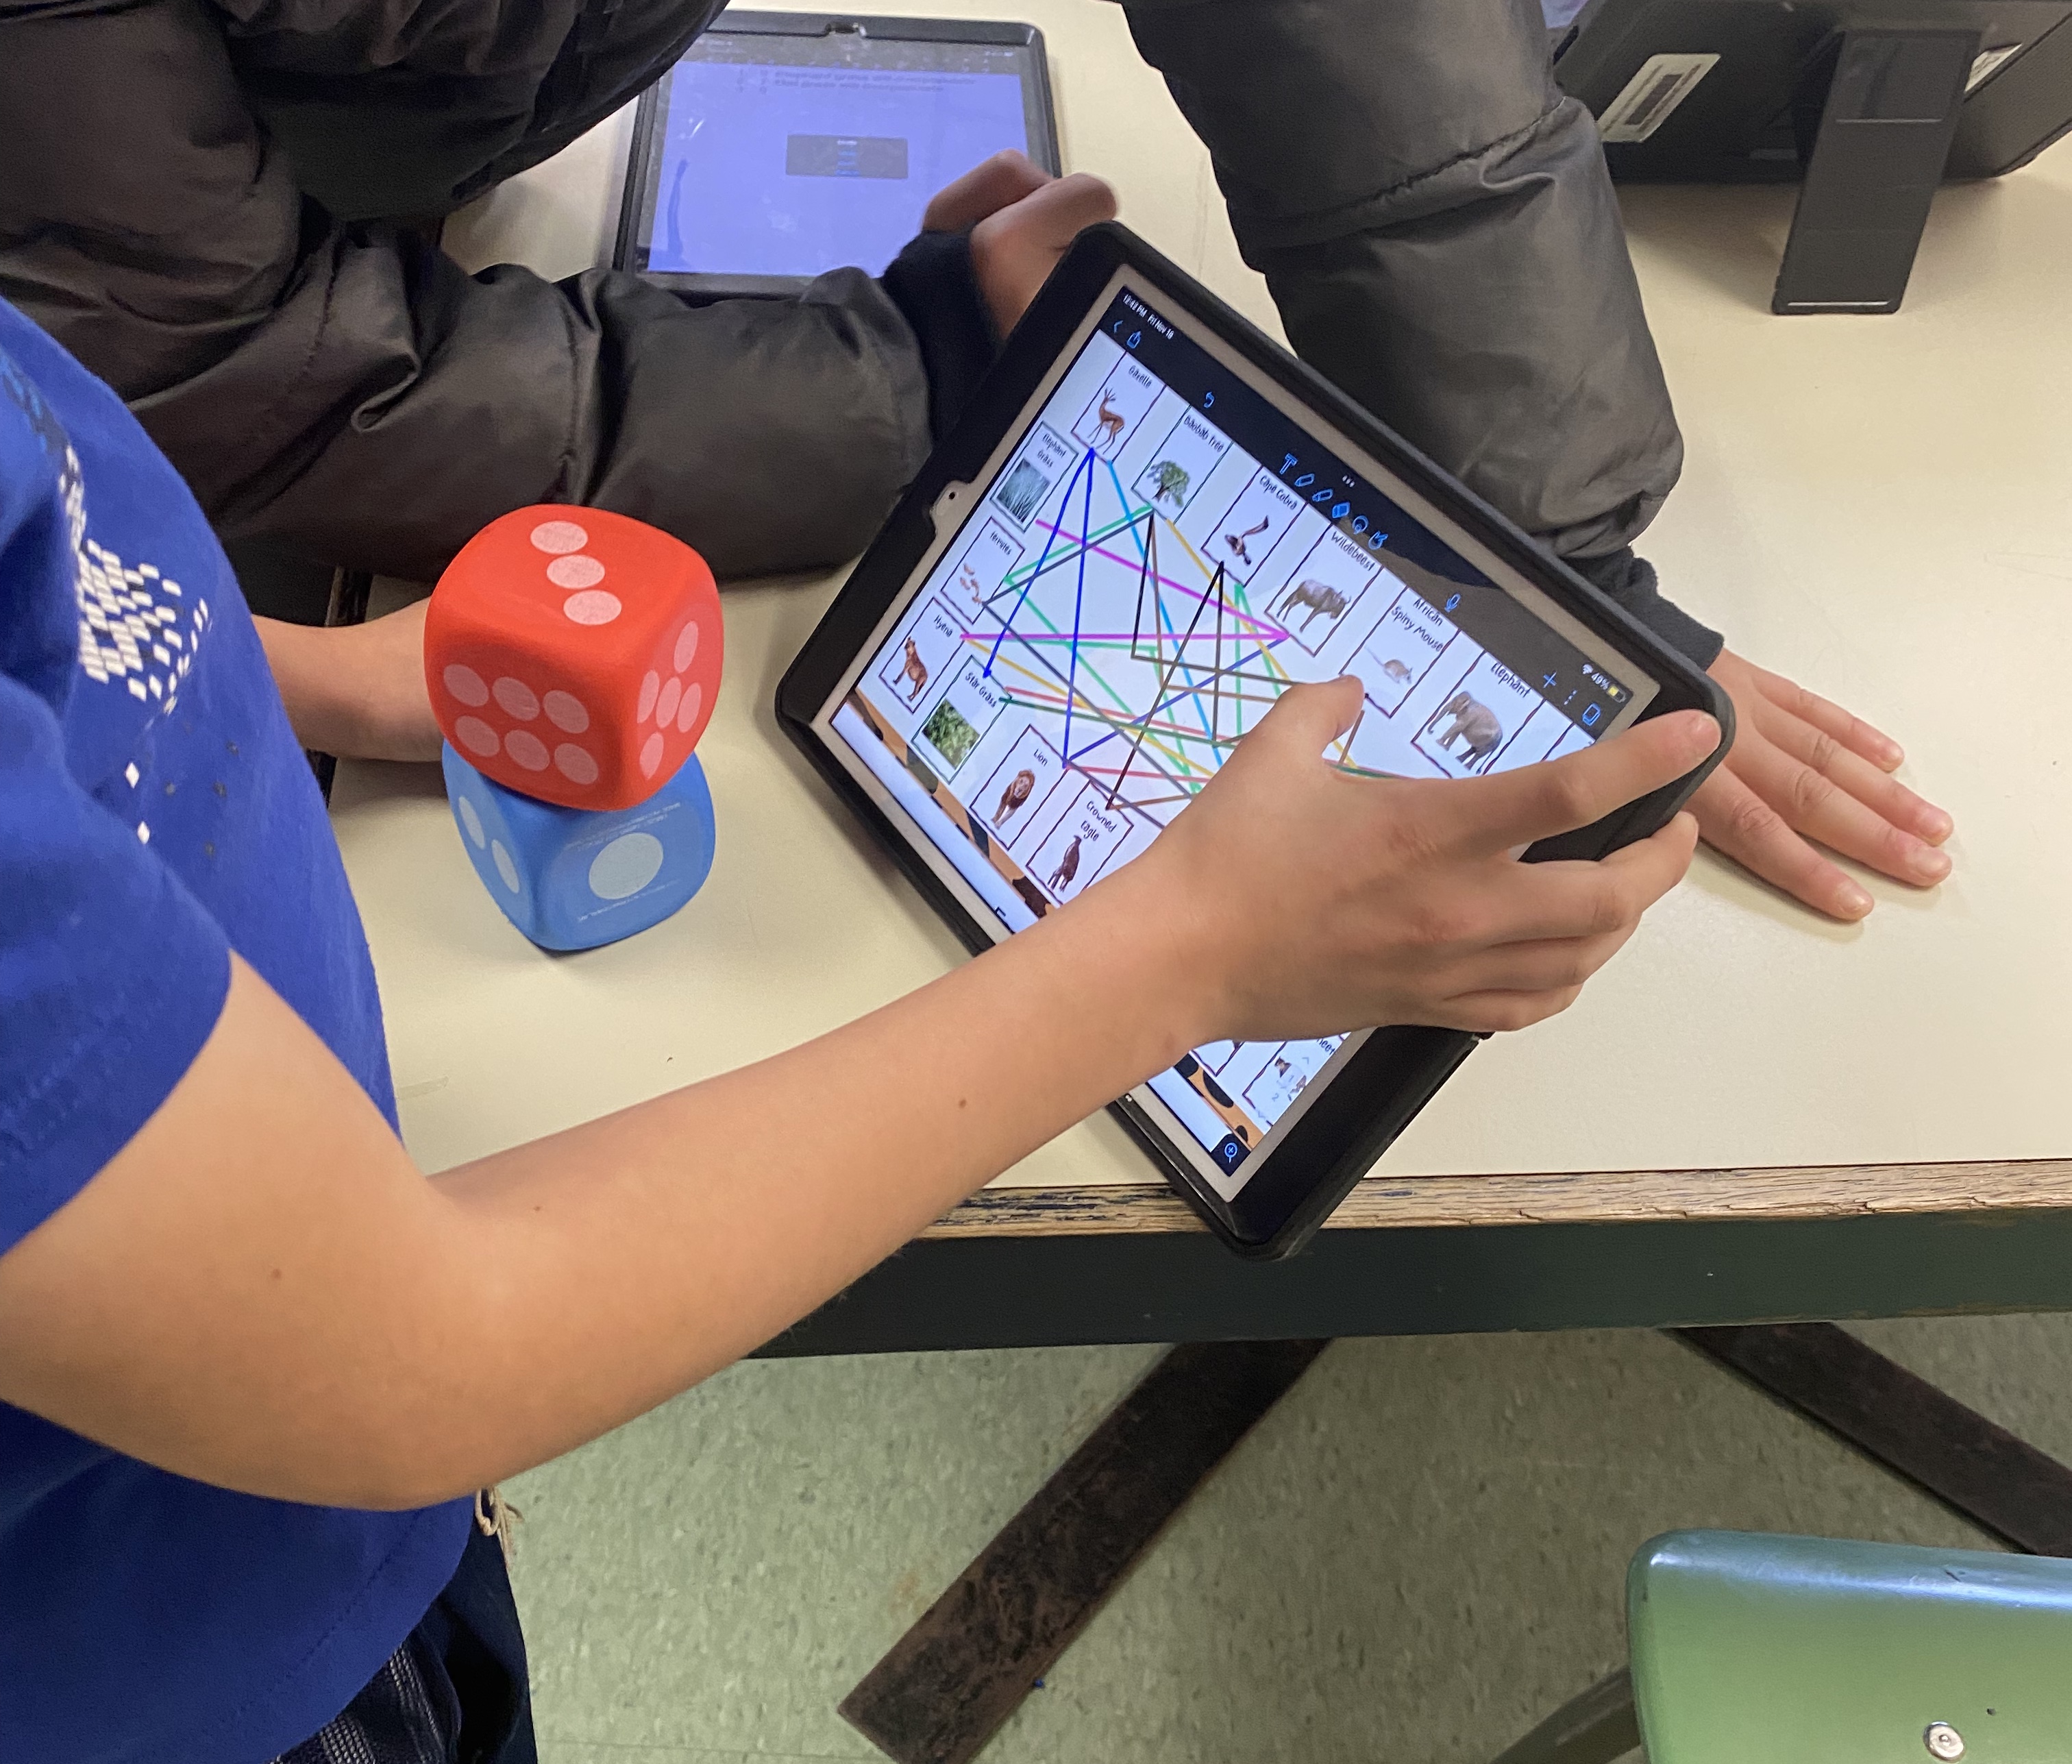
I have had great success with my students taking photographs and videos through the camera of their iPads! No special tools or attachments needed! They simply hold the camera of their iPad up to the eyepiece of the microscope. The students are actually much better at taking pictures and videos this way than I am. It can be very tricky to chase the fast moving microorganisms and film at the same time!

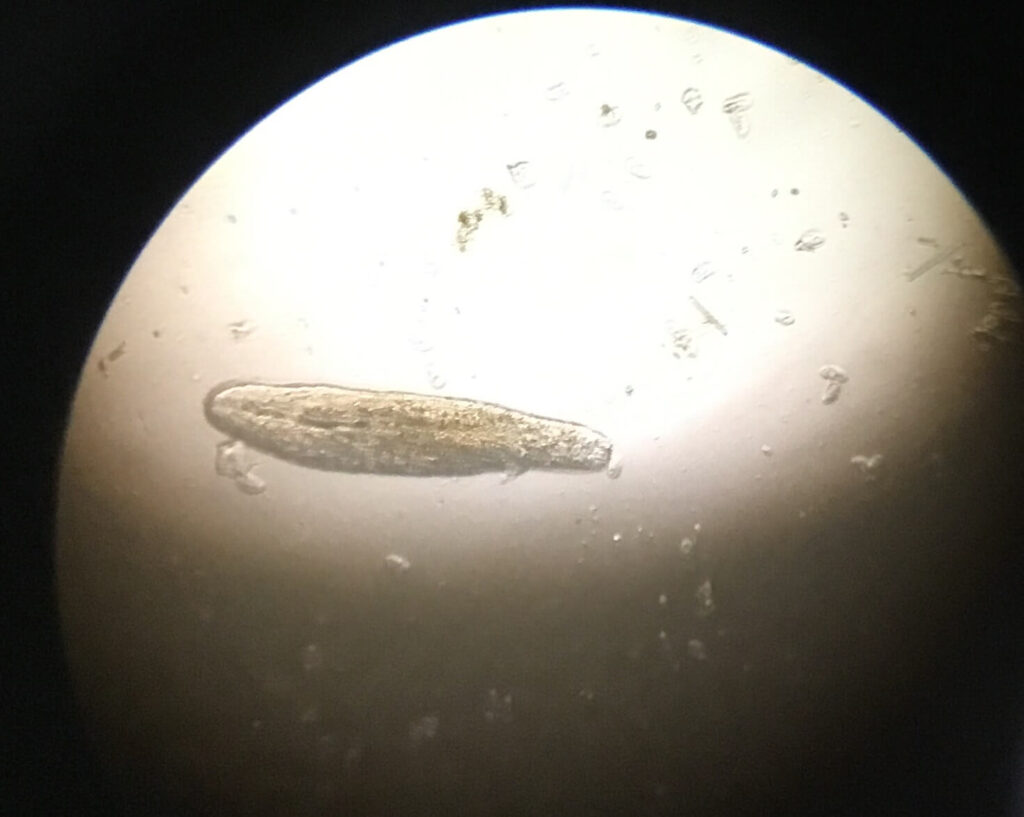
If you don’t have iPads then you can certainly use your phone, which takes amazing videos, as well. I like this because I can use the projector to show off their discoveries for the rest of the class to see.
If you’re having students take videos, have them edit them down into small clips of 6 to 8 seconds for each type of creature. I have also had them do drawings, to the best their ability. Even if you have only one microscope/camera attachment you can still send students the video clips for them to organize.
How Students Will Identify the Microorganisms They Find in the Pond Water
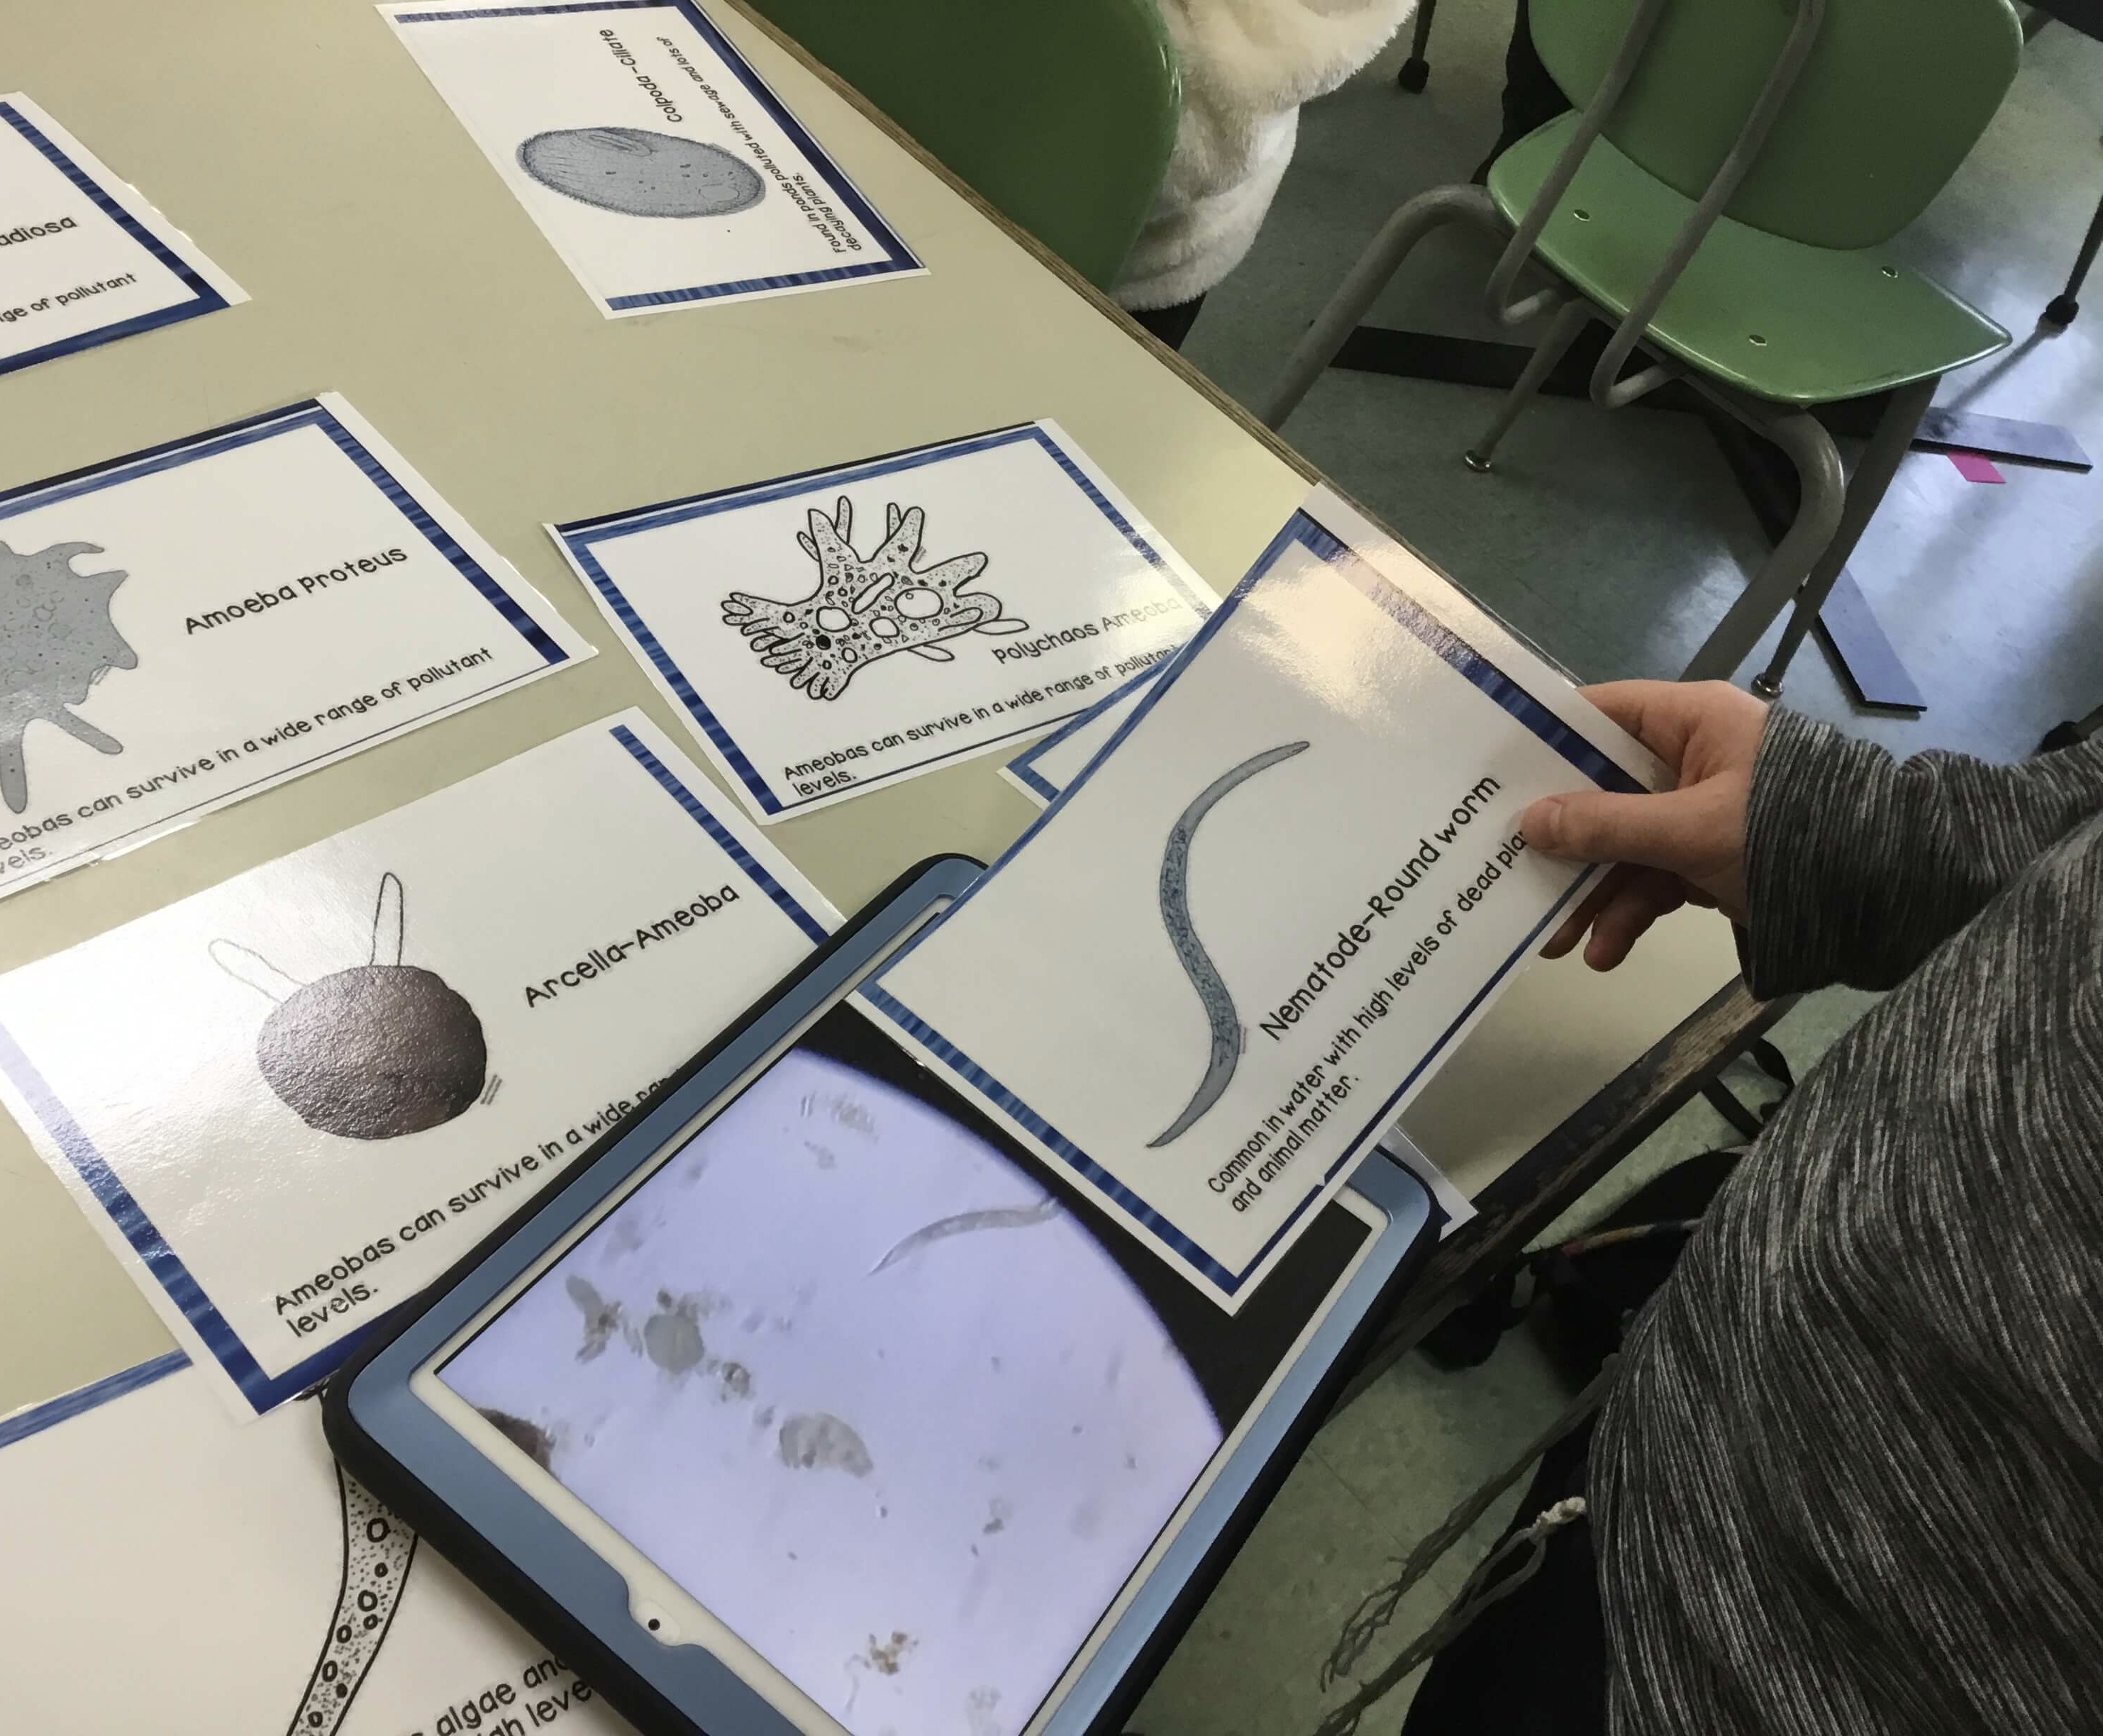
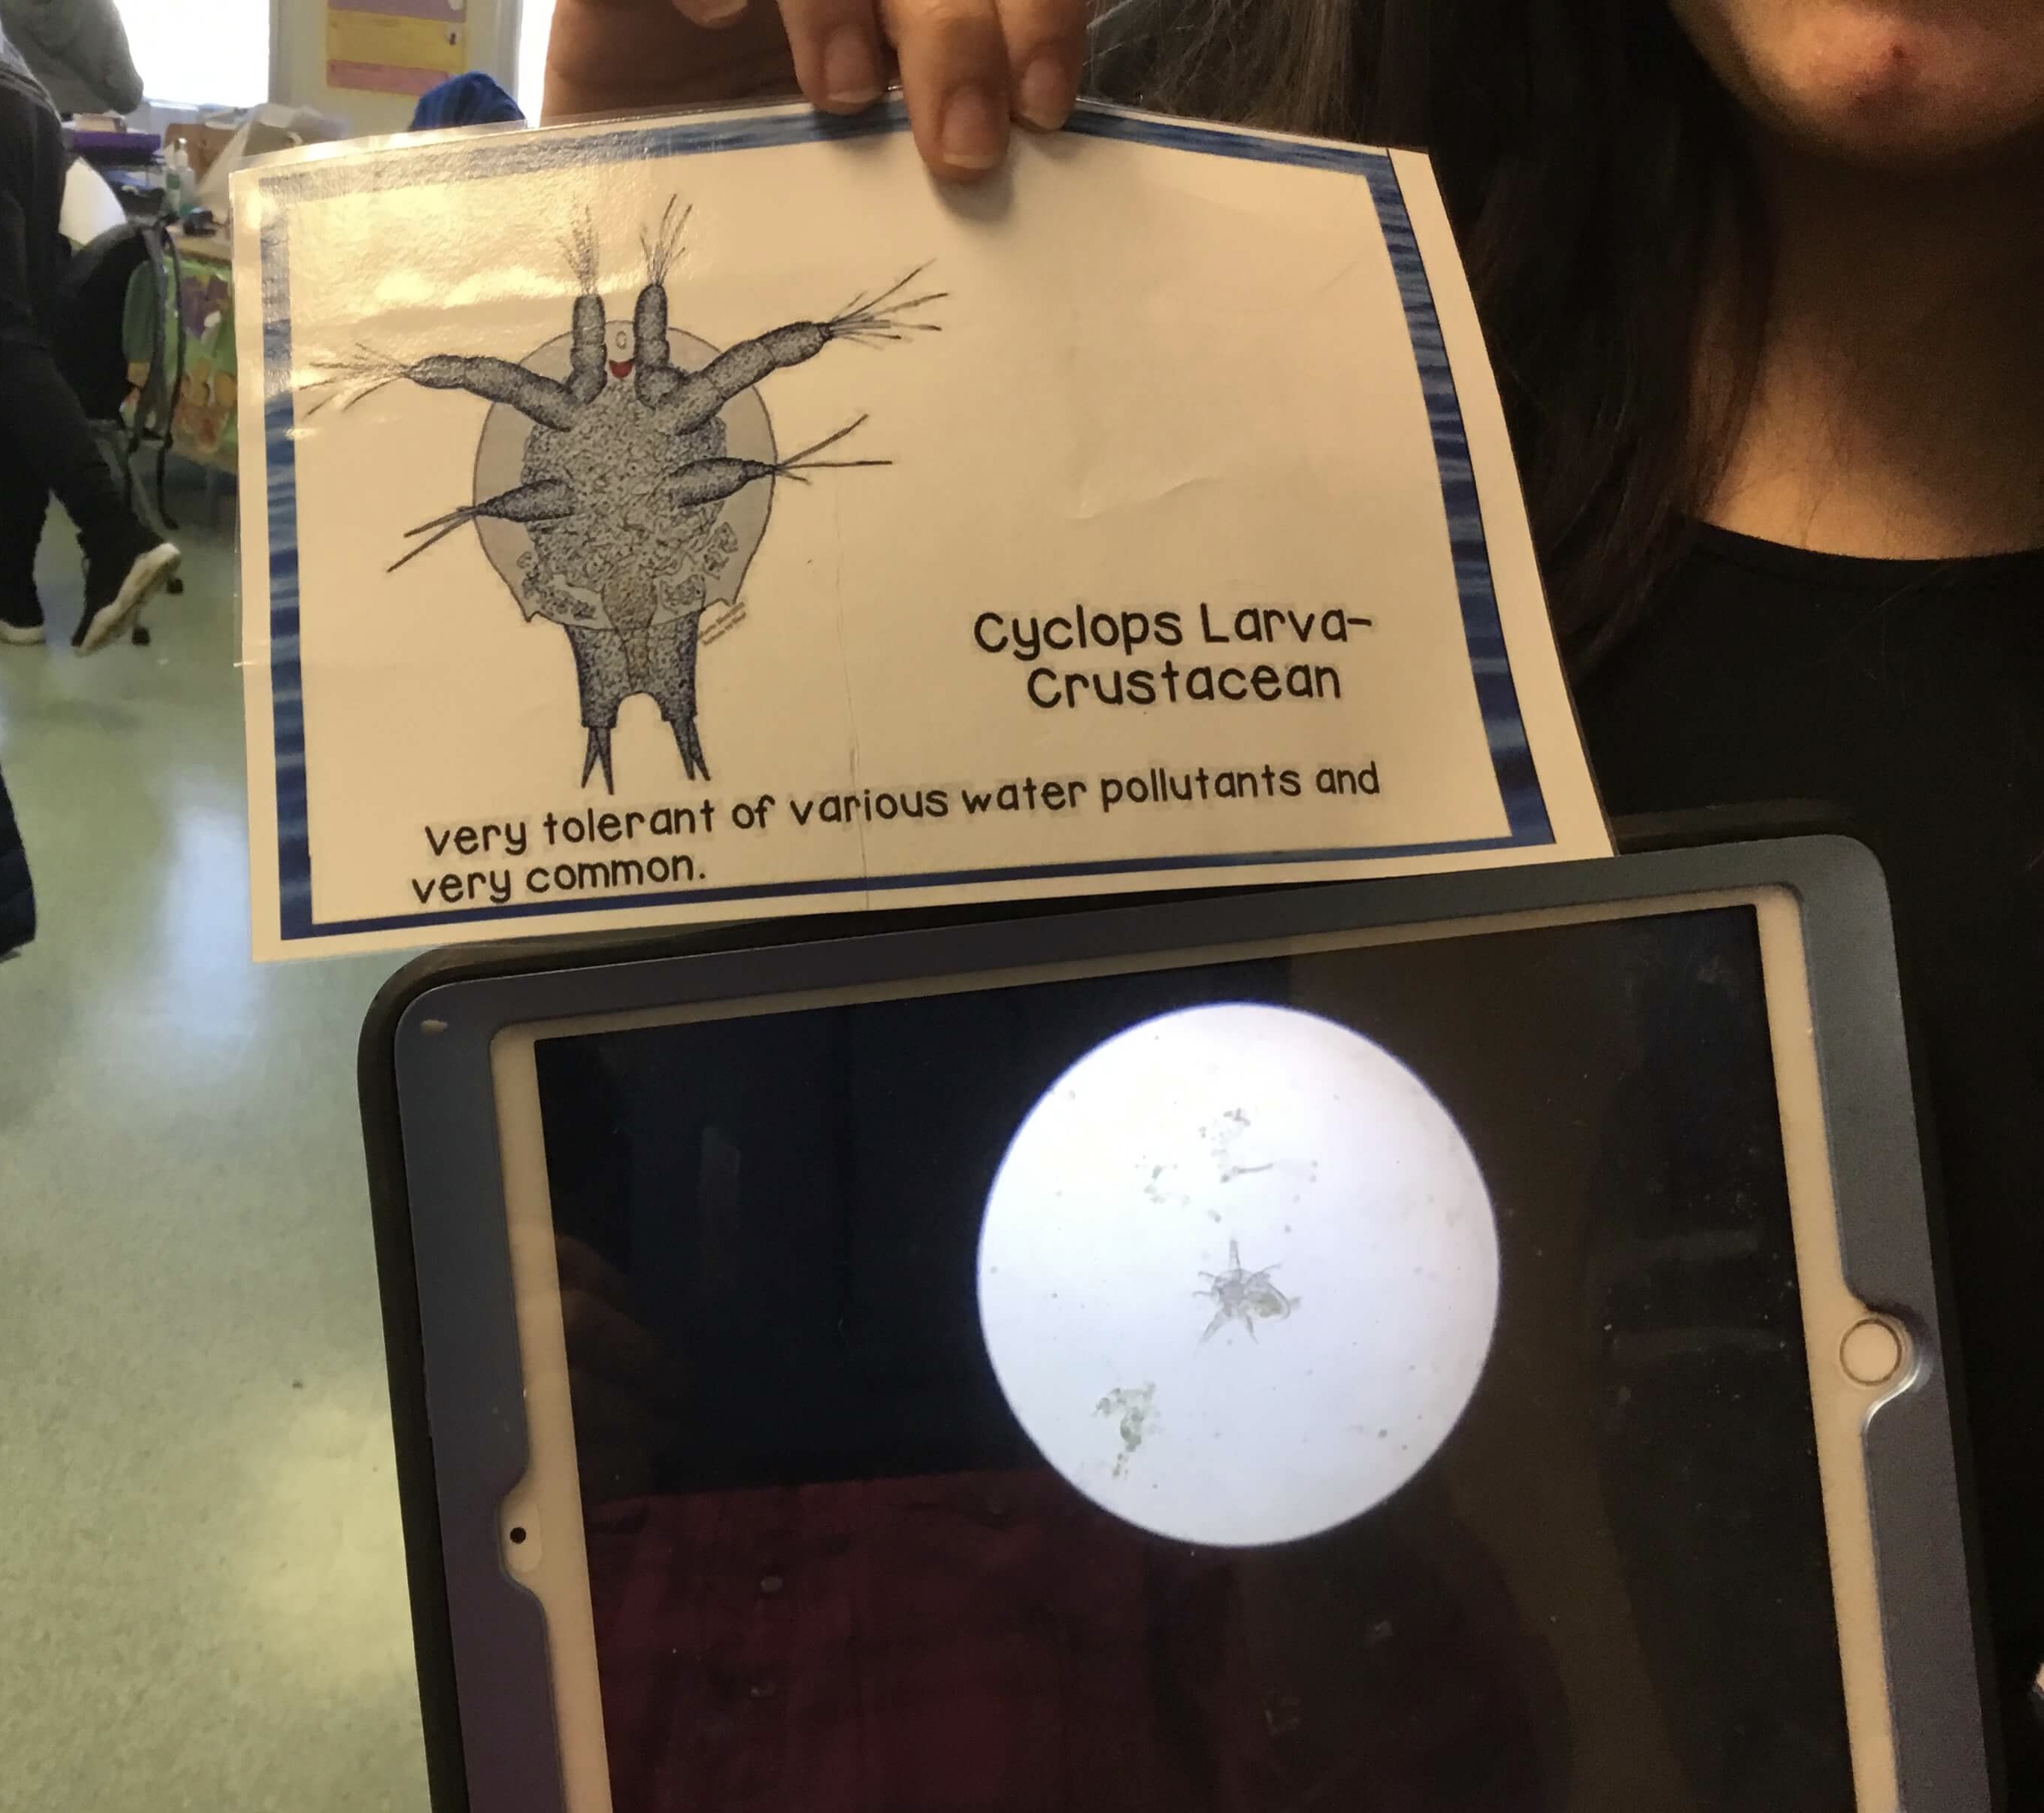
After doing this lab for many years, I realized that I need to have quick references for the students. Using books and the internet was tedious for the students and the choices were overwhelming in terms of identification. I would end up drawing the most common organisms on the board and having them refer to them which was also becoming tedious. Students now use my reference cards, with 46 different macro and micro organisms, that includes my background research on what type of conditions the organisms can tolerate. We spread these cards out on the table and it becomes almost like a game as the students discover the creatures!
How Each Day of the Lab Works
As students find each pond water microorganism, they add the information and pictures to a template that I give them. They put these into their digital science notebooks or they can be printed.
I usually allow a week to do this lab and they usually beg me to let it go on longer. If you are keeping your samples on the windowsill, the populations of the microorganisms will continue to change and grow. I usually know that the lab is winding down when the students are finding the same organisms over and over.
I like to keep a running challenge as to who can find an amoeba, which is fairly rare and hard to find. I love when the students from previous years stick their heads in the room and ask “has anyone found an Ameoba?!”
Ideally, I’d like all of the students to find a balance between macro and micro organisms. This allows us, as a class, to try to summarize the health of the pond water that we are using.
How Will the Students Analyze and Present Their Bioindicator Organisms?
My ultimate goal is to have the students use their CER skills (see my blog post called BOOST YOUR STUDENT’S CRITICAL THINKING WITH CER IN SCIENCE CLASS). A lot of the students know where the pond is located in reference to their homes and we try to come up with a claim about whether the pond is polluted from local runoff from lawns and streets. The evidence that they are gathering are the species that they are finding over the week. As they gather their evidence they use the research that I have provided on the microorganisms cards to develop their reasoning.
I ask the students to create either a PowerPoint/Keynote or an iMovie summary of all of their observations. They break the presentation down into unicellular versus multicellular organisms. The unicellular organisms are then broken down into the very basics of flagellants, amoebas and ciliates. You will likely find mostly ciliates and multicellular organisms.
Since we have iPads, students pull together their 6 to 8 second video clips, photographs and their observation templates into a concise presentation. What I love about this unit is that we can refer back to it for the rest of the year while discussing so many other concepts.
I do this every year and it is a well loved activity that the older kids tell the younger ones to look forward to! I do this in my sixth grade water pollution unit and even up to eighth grade the students beg me to pull out the microscopes. And I do! What can be more exciting than having students so engaged??
Dedication
I would like to dedicate this blog post to my late father who instilled my love for science at an early age. One of his most favorite hobbies was gathering pond water, puddle water, or ocean water and sitting with his microscope for hours searching for microorganisms, or what he affectionately called “wigglies”. He did careful, beautiful drawings with incredibly accurate descriptions and measurements of every creature that he found. He kept it in a journal that I will always treasure. So often when one of my students finds an organism, that I’ve never seen before, I would love to call and discuss it with him. I miss him very much and I appreciate everything he taught me.
- Embracing The Mess: Why a “Messy” Science Classroom is a Good Thing
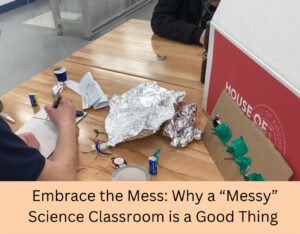 Embracing The Mess: Why a “Messy” Science Classroom is a Good Thing Do you have a messy science classroom? Are supplies scattered everywhere, with half finished…
 - Why Digital Science Notebooks Make the Ultimate Study Guide
 Why Digital Science Notebooks Make the Ultimate Study Guide Do you find that your students don’t know how to study for tests?Are they losing papers, forgetting…
 - 10 Tips For Engaging Disinterested Students
 10 Tips For Engaging Disinterested Students We all know the struggle of engaging disinterested students no matter how hard we try. Over the years, I’ve found…


Hi Karen,
Are you using pipettes to suck up the pond water or do you use another tool to gather pieces of the leaves where the microorganisms are hiding?
By the way, great blog. It has been a very useful resource for me.
I’m so glad the blog was helpful! When we go over to the pond I use a turkey baster to get most of the water and I buy the dollar store metal strainers to scoop up the mud and leaves. When we bring it back to the room I give each group a glass jar and a plastic pipette.
Do you discard the turkey blaster and metal strainer afterwards, or wash and reuse? I’m excited to try this out.
I have reused them for years and years. I don’t mind if they stay a little bit dirty because I save them just for this project. If you do try it out, I’d love to hear how it went!