Science Activities to Do Outside with Middle School
Do you want to do science experiments, scavenger hunts and activities outside, with your middle school students, but you’re not sure about what lessons and structures to use?

written by
Karen Sinai
Science Activities to Do Outside with Middle School
July 2022
Even if your playground/schoolyard is limited, there are many activities that you can do outside as long as you prepare your students with expectations and structured procedures.
Review Procedures and Expectations BEFORE Going Outside
My advice is to go over the procedures the day before and have the structured activity on a clipboard or iPad. I prefer to have the students read the procedure the night before. (How I Use Digital Science Notebooks to Maximize Student Learning).
My experience has been that it is not a good idea to surprise them with “today we are going outside”. Students get too wound up and it becomes more like a recess. I want the trip outdoors to be an extension of my classwork, so I need them to have that mindset.
Have a policy in place for what you will do if a student, or students, act up and stop the learning of others. I usually stay fairly close to the front of the building so that if I need to send a student to the office, I will do so. I make sure the students are aware that that is something that may happen.
Some Structure As You Take Science Activities Outside
Some helpful strategies to establish order while outside:
—Set times to meet back at a certain point. They can see the time if they are using iPads or you can ring a loud bell. I average 10 minutes and then call students to regroup. You can touch base, review objectives, and let them go work again.
—Remind them of the rule “if you can’t see me then I can’t see you”.
—Give them a specific range they may wander such as “from that yellow sign to that tree”.
—Remind them of the accountability of the assignment.
—Always follow up with the activity inside. Remind them that they “need to collect data” while they are outside.
Examples of General Ecosystem Science Activities to Do Outside
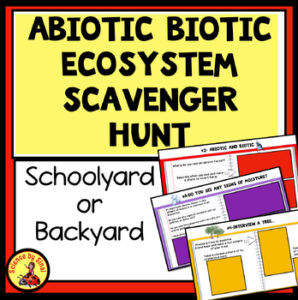
Abiotic Biotic Scavenger Hunt-Take the students outside, with their iPads or phones, and have them do an extensive scavenger hunt of the schoolyard. It mostly involves them taking pictures of their discoveries and plugging them into the Google Slides presentation. (Go Outdoors on an Exciting Schoolyard Ecosystem Scavenger Hunt).
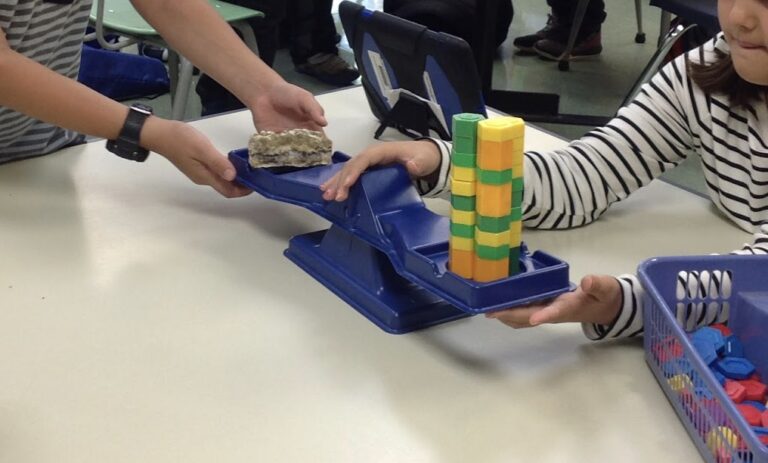
What is in a Square Foot?-Using string, have the students form a square foot and then they should count how many different abiotic and biotic items they find. Typically they count the different types of plants(no need to identify them), any insects, rocks, dead leaves, etc. The idea is to have the students really looking closely at the area in front of them.
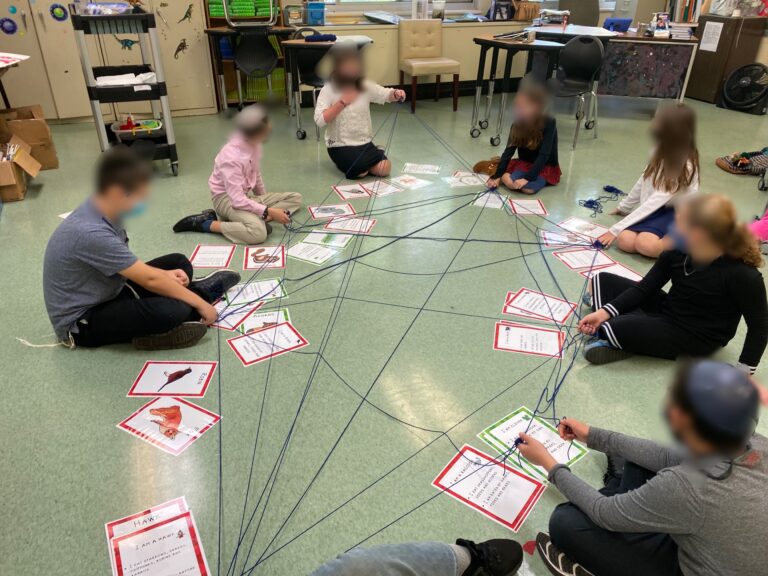
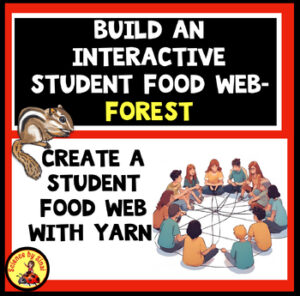
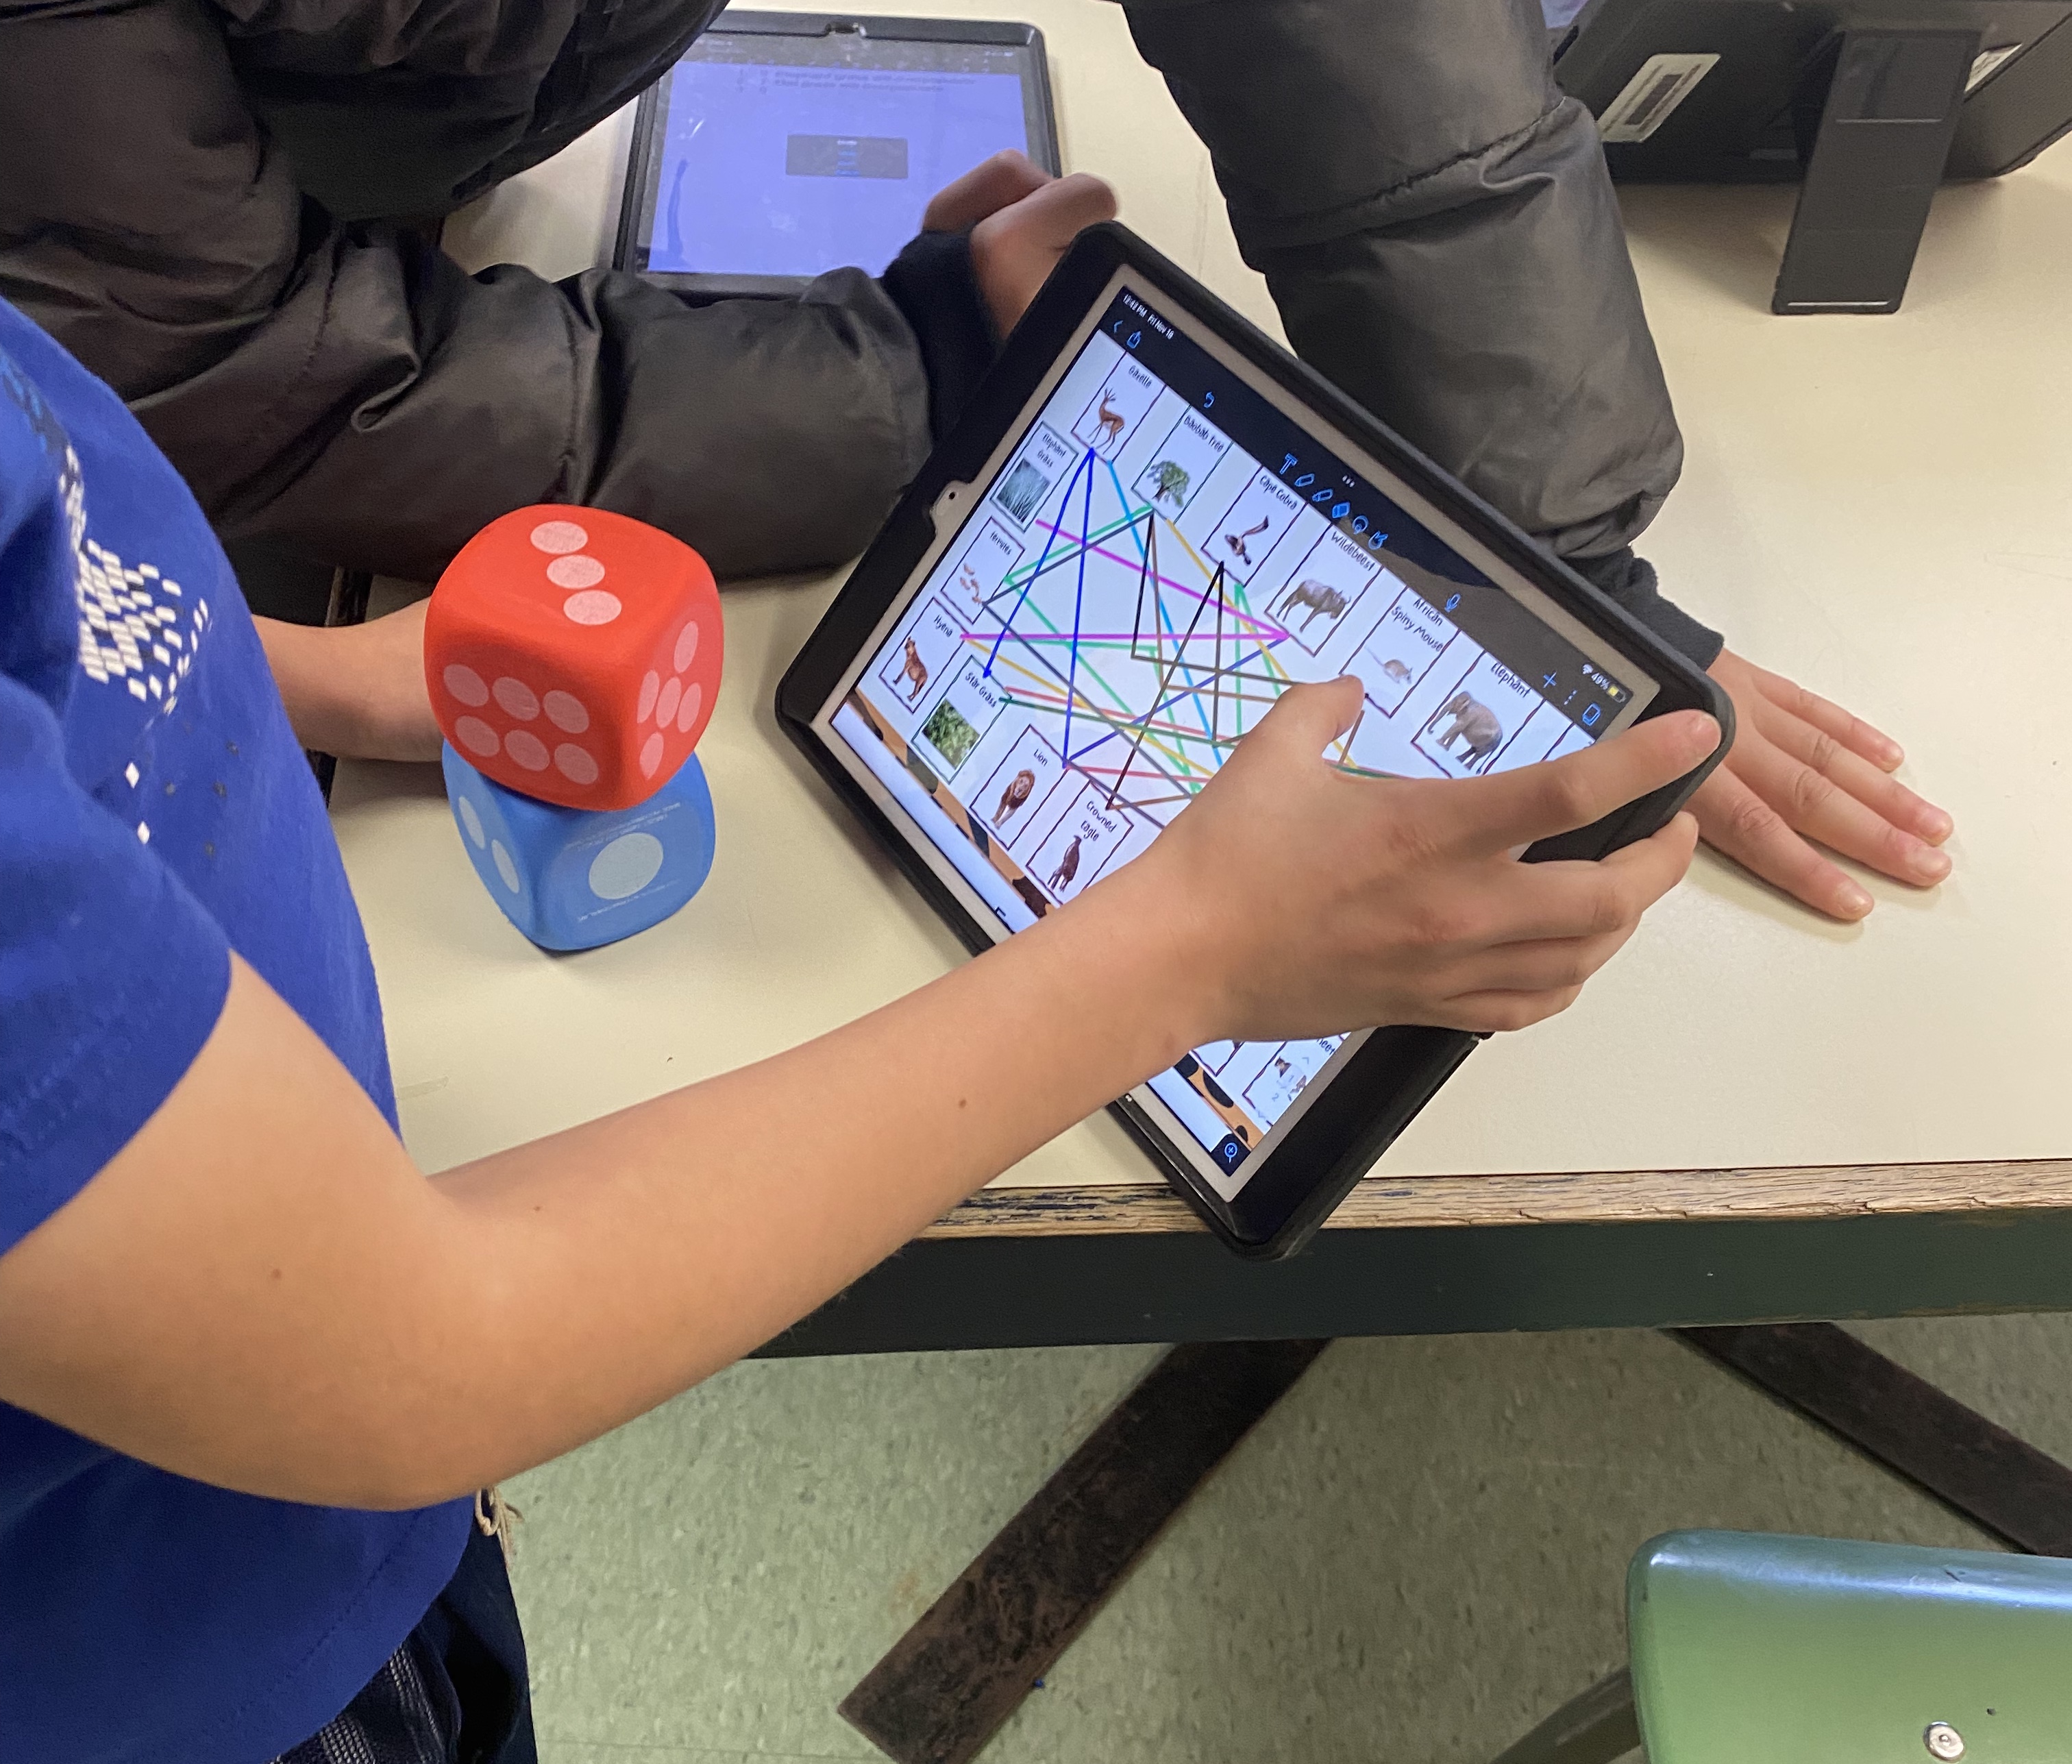
Build a Student Food Web– This is a super fun activity where the students stand in a circle and they are each given a card with either a plant or animal represented on it. The card tells who their creature eats or who eats them. You connect students with string or yarn based on the food chains until you have a giant yarn web! (Bring your camera!)
This results in so many great discussions as students lower or raise their yarn to show the effect of a single organism on the entire web. I have a digital/printable version of this as well, so once we get back inside, I have them draw the lines between the organisms to reinforce the concept. (How to Make Food Webs Interactive and Fun!).
Bat Moth Sonar Game-Remember the game Marco Polo that we used to play in the pool? You can do a variation of this with a bat and moth and discuss the sonar that bats use to catch their prey.
Students stand in a circle and they are the “trees”. Assign one student to be the bat and another is the moth that the bat is trying to catch. Both the bat and moth are blindfolded in the middle of the circle. The bat must keep saying “bat, bat, bat” (sonar) and the moth must keep saying “moth, moth, moth”. If either the bat or a moth gets too close to one of the “trees“ then that tree must say the word “tree“.
The object is for the bat to use its ears to find and capture the moth and not hit the trees. The moth is using its ears to avoid the bat and the trees.
Shrink Down- “If I were 2 inches tall, where would be the best place for me to hide?” You could have the students make a small piece of cardboard that is 2 inches high, or a small drawing of a creature before they come outside. The idea is that they are looking for a place that would have good protection from predators, a food source and a possible water source.
I like to have the students take a picture of their creature in the location and then have them support it with a paragraph. If they get stuck, I ask them to write it as if they were a real estate agent selling a small plot of land to the creature.
Nature Journal– Even if your schoolyard is relatively small, there should be enough space where you can separate the students and let them sit quietly. They can write about anything at all that has to do with the nature around them. It could be about the clouds, the temperature, any bugs that they see, birds that they hear, etc. Some students will simply make a list, while others will do a much more descriptive paragraph. I also offer them the opportunity to draw something that they see, such as a pretty plant or a distant tree.
Outside Activities and Experiments with Plants
Plants Adapting to Humans-Have the students search for plants that have adapted to living around human structures and take pictures of them. If no cameras are available then they can do a written description or even a drawing. Examples could be a vine climbing up a fence, grass in the cracks of the sidewalk, and moss or lichens on the side of a brick wall.
Bark Rubbings– Grab some paper and some crayons and have the students go from tree to tree getting bark rubbings. Warn them not to press too hard and they will get very interesting patterns that are very different from tree to tree. We call them “Tree Fingerprints!”.
Leaf Rubbings- Hand out clipboards, paper and different colored crayons. The students put a leaf that they find with the veins side up under the piece of paper on the clipboard. They gently rub the crayon back-and-forth so that the shape of the leaf and vein pattern appear. Most students like to use multiple colors for each leaf.
You can expand on this assignment by having them find a parallel vein pattern, a palmate vein pattern or a pinnate pattern.(I review these patterns before we go outside).
Plant Identification App– I paid for the app called “Picture This”, which is a great plant identifier. Students like to name things! With the iPads, I have them take pictures of the plants, that they want identified, and then I just hold my phone up to their screen. Otherwise, if no iPads are available, I let each student choose one plant that they want to name and I use the app for them.
Paint Sample Strips– I like to go to the paint store and get as many variations of green, yellow, orange and red that I can. The students search for that exact color and then we talk about the variations in the amount of chlorophyll or other pigments. This is a great way of talking about why the leaves turn color in the fall!
Observing Plant Transpiration– This classic experiment is to take Ziploc bags and put them over the end of a branch of a tree or a bush. Seal up the Ziploc as tight as you can to hold in the moisture. This would be set up and left overnight. If the conditions are good, with bright sunshine, students should come back to a bag full of water droplets.
This leads into a discussion of the products of photosynthesis and how the stomata on the underside of the leaves help regulate the water levels of the plant.
What exactly is a weed?- I love to set this question up to the students and have them go find a “weed”. I ask them for the definition of a weed and they usually say “it’s a plant that we don’t want”. I ask them if there are any weeds in the desert, or in the rainforest or in the deciduous forest? They start to doubt themselves a bit.
They are blown away by the fact that there is no such thing as a “weed“. It is simply a plant that humans don’t want growing where it decided to grow! If that same plant was found in the middle of the forest, you would not classify it as a weed. It would simply be another plant. This also leads to a great discussion about how a lawn or a crop field, composed of one plant species, is not a situation that happens in nature.
Seed Hunt- I do a structured STEM project having the students design a seed dispersal method from their own imaginary plant. Before beginning the project, we go outside and look for actual seeds and discuss the means of dispersal such as wind, water, explosive release or animal transport. I have usually already introduced the project before we go outside so that they are super tuned in to finding examples.
Science Activities to Do Outside Involving Animals
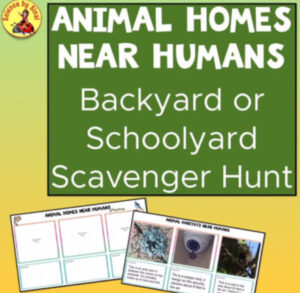
Find Animal Homes Adapting to Humans – Animal Homes Near Humans-Backyard or School Scavenger Hunt. This is a free resource on my blog and it involves taking the students outside on a scavenger hunt searching for animal homes that are near humans. They look for nests in trees, holes on the side of a building, openings in street signs, nests between cracks on the sidewalk, beehives in the corner of the building, etc. The students take pictures and then add them to the description which leads to great discussions back in the classroom. They can also use them for drawing if the camera feature is not available.
Writing prompt –“If I were a hawk, where would be a good place to find a mouse in the schoolyard?”. Since I have iPads, I have students take pictures of their chosen areas. They could easily draw them and then write a paragraph about why it would be a good place for mice to live, therefore making the hawk able to catch them. This is a good activity to do after they have done the food web.
Try to Build a Bird’s Nest-After looking at pictures of the types of nests of local birds, have the students gather materials and try to create a nest themselves. It is not easy at all. I like to bring out some water, or be near a hose, so that they can have mud available. You can have a discussion with them about how they are using their hands but birds do it with their beaks!
Make a Camouflaged Critter-This is a really fun activity where the students look around for a place that they would like to have a critter to hide. They then design a camouflaged creature to hide there.
I have done this two ways. One was to have lots of natural materials for the students to use while we are still outside. The alternative was having them do it for a homework assignment. I tend to lean towards the homework assignment, using non-natural materials, to make students think harder about the camouflage concept. When they use natural materials it is sometimes impossible to find their creature!
Dig for Worms– Good ‘ole earthworms are fun to dig up after a good rain. Some students have never done this before, and may be a bit squeamish, but it’s a good opportunity to get them more familiar with these very important creatures.
Find “Bug Resturants” in Leaves– This activity is included in my abiotic and biotic scavenger hunt. The students search for leaves that have signs of insects or animals that have eaten them. It is interesting to see that there are some leaves that have no damage at all, which leads to a great discussion about plant adaptations.
Outside Activities About the Movements of the Sun and Earth
UltraViolet Beads- These amazing beads are white indoors and then turn vibrant colors when ultraviolet rays hit them. Ideas for how to use these are endless!
I like to have the students build protective shelters. I give them each about 5 beads and a pipe cleaner to create a UV bead creature that will “hide” in the shelter. If the beads stay white, then their shelter has protected their creature from the ultraviolet rays! I have seen ideas online where students construct a spaceship capsule that is protecting an astronaut from the dangerous ultraviolet rays in outer space.
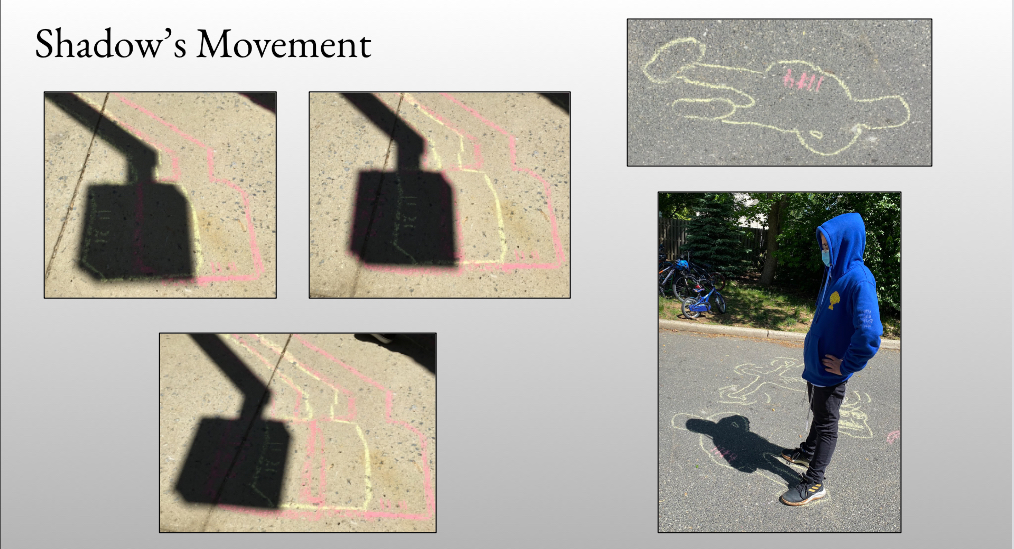
Shadow Chalk– An old faithful activity that is very dramatic! Students stand on a black surface and trace the outline of their shoes with chalk so that their feet don’t move. A partner traces the outline of their body. Even after 15 minutes, the shadow has already changed! Come back in 1-2 hours and the students are amazed! Great discussions will come out of this activity.
Sundials-This is great to do with the activity above. The students use paper plates to make sundials and then watch the movement of the shadow. The history of timepieces can be brought into this as you review how to read an analog clock.
Read Compasses– Most students have never used a compass, so it can be fun to have them work together to figure out directions. It can be a lot of work at the front end for you, but making an orienteering challenge is so much fun. Students use their compasses to take a certain amount of steps in a certain direction, as per directions, to find a “treasure”.
Weather Activities to Do Outside
Temperature in the Shade vs. Sun– Have students use thermometers to find the temperature of several locations in sun or shade. This can lead to discussions about uneven heating of the earth and wind currents.
Wet vs. Dry Socks- Students put a thermometer in a wet sock and a dry sock and put them both in the sun to see the difference. Cooling by evaporation can be discussed.
Cloud types- It’s easy to find cloud charts online, or in books, for students to identify and even photograph. One year my six graders became obsessed with taking time lapse photography of the clouds changing. They were so amazing.
Look for Cloud Shapes– If you have a nice, grassy area students can lay on their backs and look for shapes in the clouds!
Bubbles– So much science going on with bubbles! For weather, we blow them close to the school building and then further away to watch the wind patterns. The Dollar store has small bubble containers in the wedding favors section! They come several in a pack.
Outline a Puddle– This is best on a hot, sunny day. Students trace the edge of a puddle and check on it periodically to see evaporation occurring. There’s your water cycle introduction!
Physical Science Activities To Do Outside
Scavenger Hunt for High or Low Friction Surfaces– Students search for both high and low friction surfaces and create a chart of examples. Taking pictures is also great during this activity.
Paper Helicopters– Super easy to make! I prefer to have students make them inside and then take them outside to test. link. this would be a great introduction to balanced and unbalanced forces.
Paper Airplanes– I mentioned in another blog post that I am always surprised how many middle school students never really made paper airplanes! Research some YouTube videos or easy directions and let them test their skills. Perhaps set up some competitions such as fastest airplane, straightest, most curved path, most horizontal path, etc.
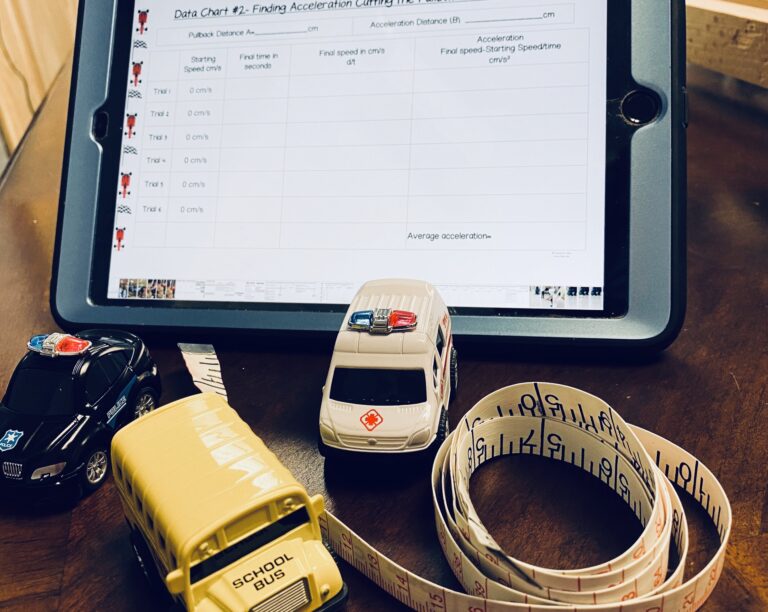
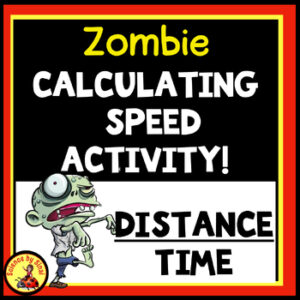
Zombie Speed Activity– Use the formula: speed = distance/time and turn your students into zombies! They pretend to be strolling through the park, running through the park, running backwards as they spot a zombie, and then they become a zombie themselves with whatever weird gait they invent. They need either a phone/iPad or a stopwatch.
Film Canister Rockets– Plain baking soda, vinegar and film canisters can make very fun rockets. Slightly more expensive, and more dramatic, is to use Alka-Seltzer tablets. This can lead to great discussions about gas release and the pressure of gasses.
Conclusion
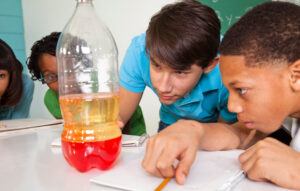
This was just a small sample of so many ideas that you can take outside. What could you do to study the human body with pulse and respiratory rates? What messy chemistry demos could you take outside like elephant toothpaste or coke and mentos?
A change of scenery is good for everyone and, as long as it is structured, it can be a nice relaxing break in your day.
Looking for science resources? Please visit my store called Science by Sinai on Teachers pay Teachers for hundreds of activities.

- Embracing The Mess: Why a “Messy” Science Classroom is a Good Thing
 Embracing The Mess: Why a “Messy” Science Classroom is a Good Thing Do you have a messy science classroom? Are supplies scattered everywhere, with half finished…
 - Why Digital Science Notebooks Make the Ultimate Study Guide
 Why Digital Science Notebooks Make the Ultimate Study Guide Do you find that your students don’t know how to study for tests?Are they losing papers, forgetting…
 - 10 Tips For Engaging Disinterested Students
 10 Tips For Engaging Disinterested Students We all know the struggle of engaging disinterested students no matter how hard we try. Over the years, I’ve found…