Design Water Filters With This Exciting STEM Project!
Are you looking for a cheap and exciting STEM project for your students to design water filters? Are you teaching the standards of MS-ESS3-3 and MS-ETS1-2 while covering water pollution?

written by
Karen Sinai
Design Water Filters With This Exciting STEM Project!
Jan 2023
This is a very low budget project that can be made into a very engaging and fun engineering activity. I have had my students design water filters for many years and the upcoming class looks forward to it! My past students love to come into my classroom to give their helpful hints.
NGSS Standards
MS-ESS3-3
Apply scientific principles to design a method for monitoring and minimizing a human impact on the environment. Examples of the design process including examining human environmental impacts, assessing the kinds of solutions that are feasible, and designing and evaluating solutions that can reduce the impact.
MS-ETS1-2
Evaluate the competing design solutions using a systematic process to determine how well they meet the criteria and constraints of the problem.
Why Design Water Filters?
While we are learning about water pollution with my sixth graders, I am always amazed at how little they know about where the water from the toilet goes!
We have a sewage treatment plant less than 10 miles from our school and none of the students are aware of it! I used to be able to bring the kids there on field trips, but for insurance reasons, they closed that program down. It was probably one of the most disgusting trips but that’s what made it so memorable!
Since sewage treatment plants vary in their actual structure, I focus on the basic premise of filtering larger particles and then smaller particles through consecutive steps before the water is put back into the river.
Background Information on Natural and Manmade Filtration
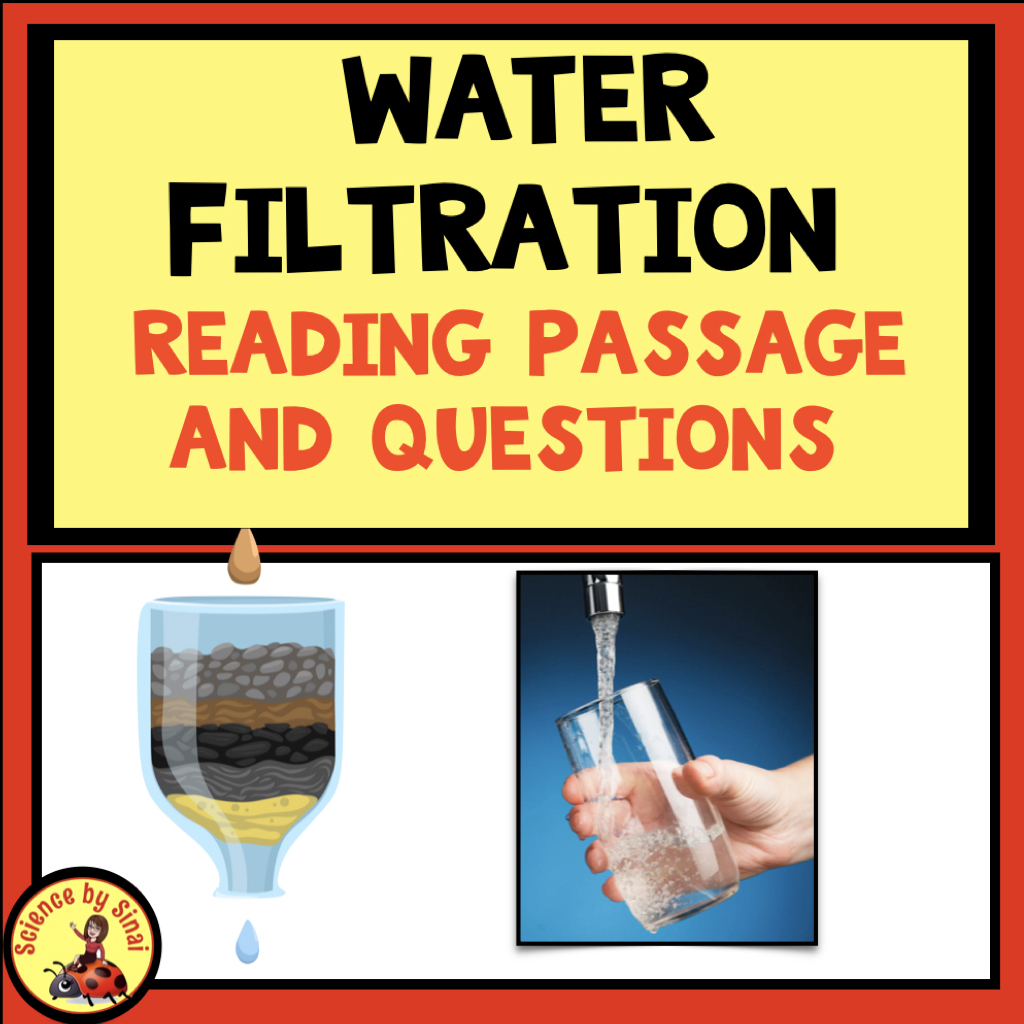
I like to give the students some background information before they get started on their project. I found that most of the students don’t realize that places like wetlands and riparian zones are crucial to filtering pollutants out of the environment.
I give them a four page reading passage, with questions attached, that involves some graph reading. This gets the students thinking about what materials they should gather for their project.
Introducing the Filter Project
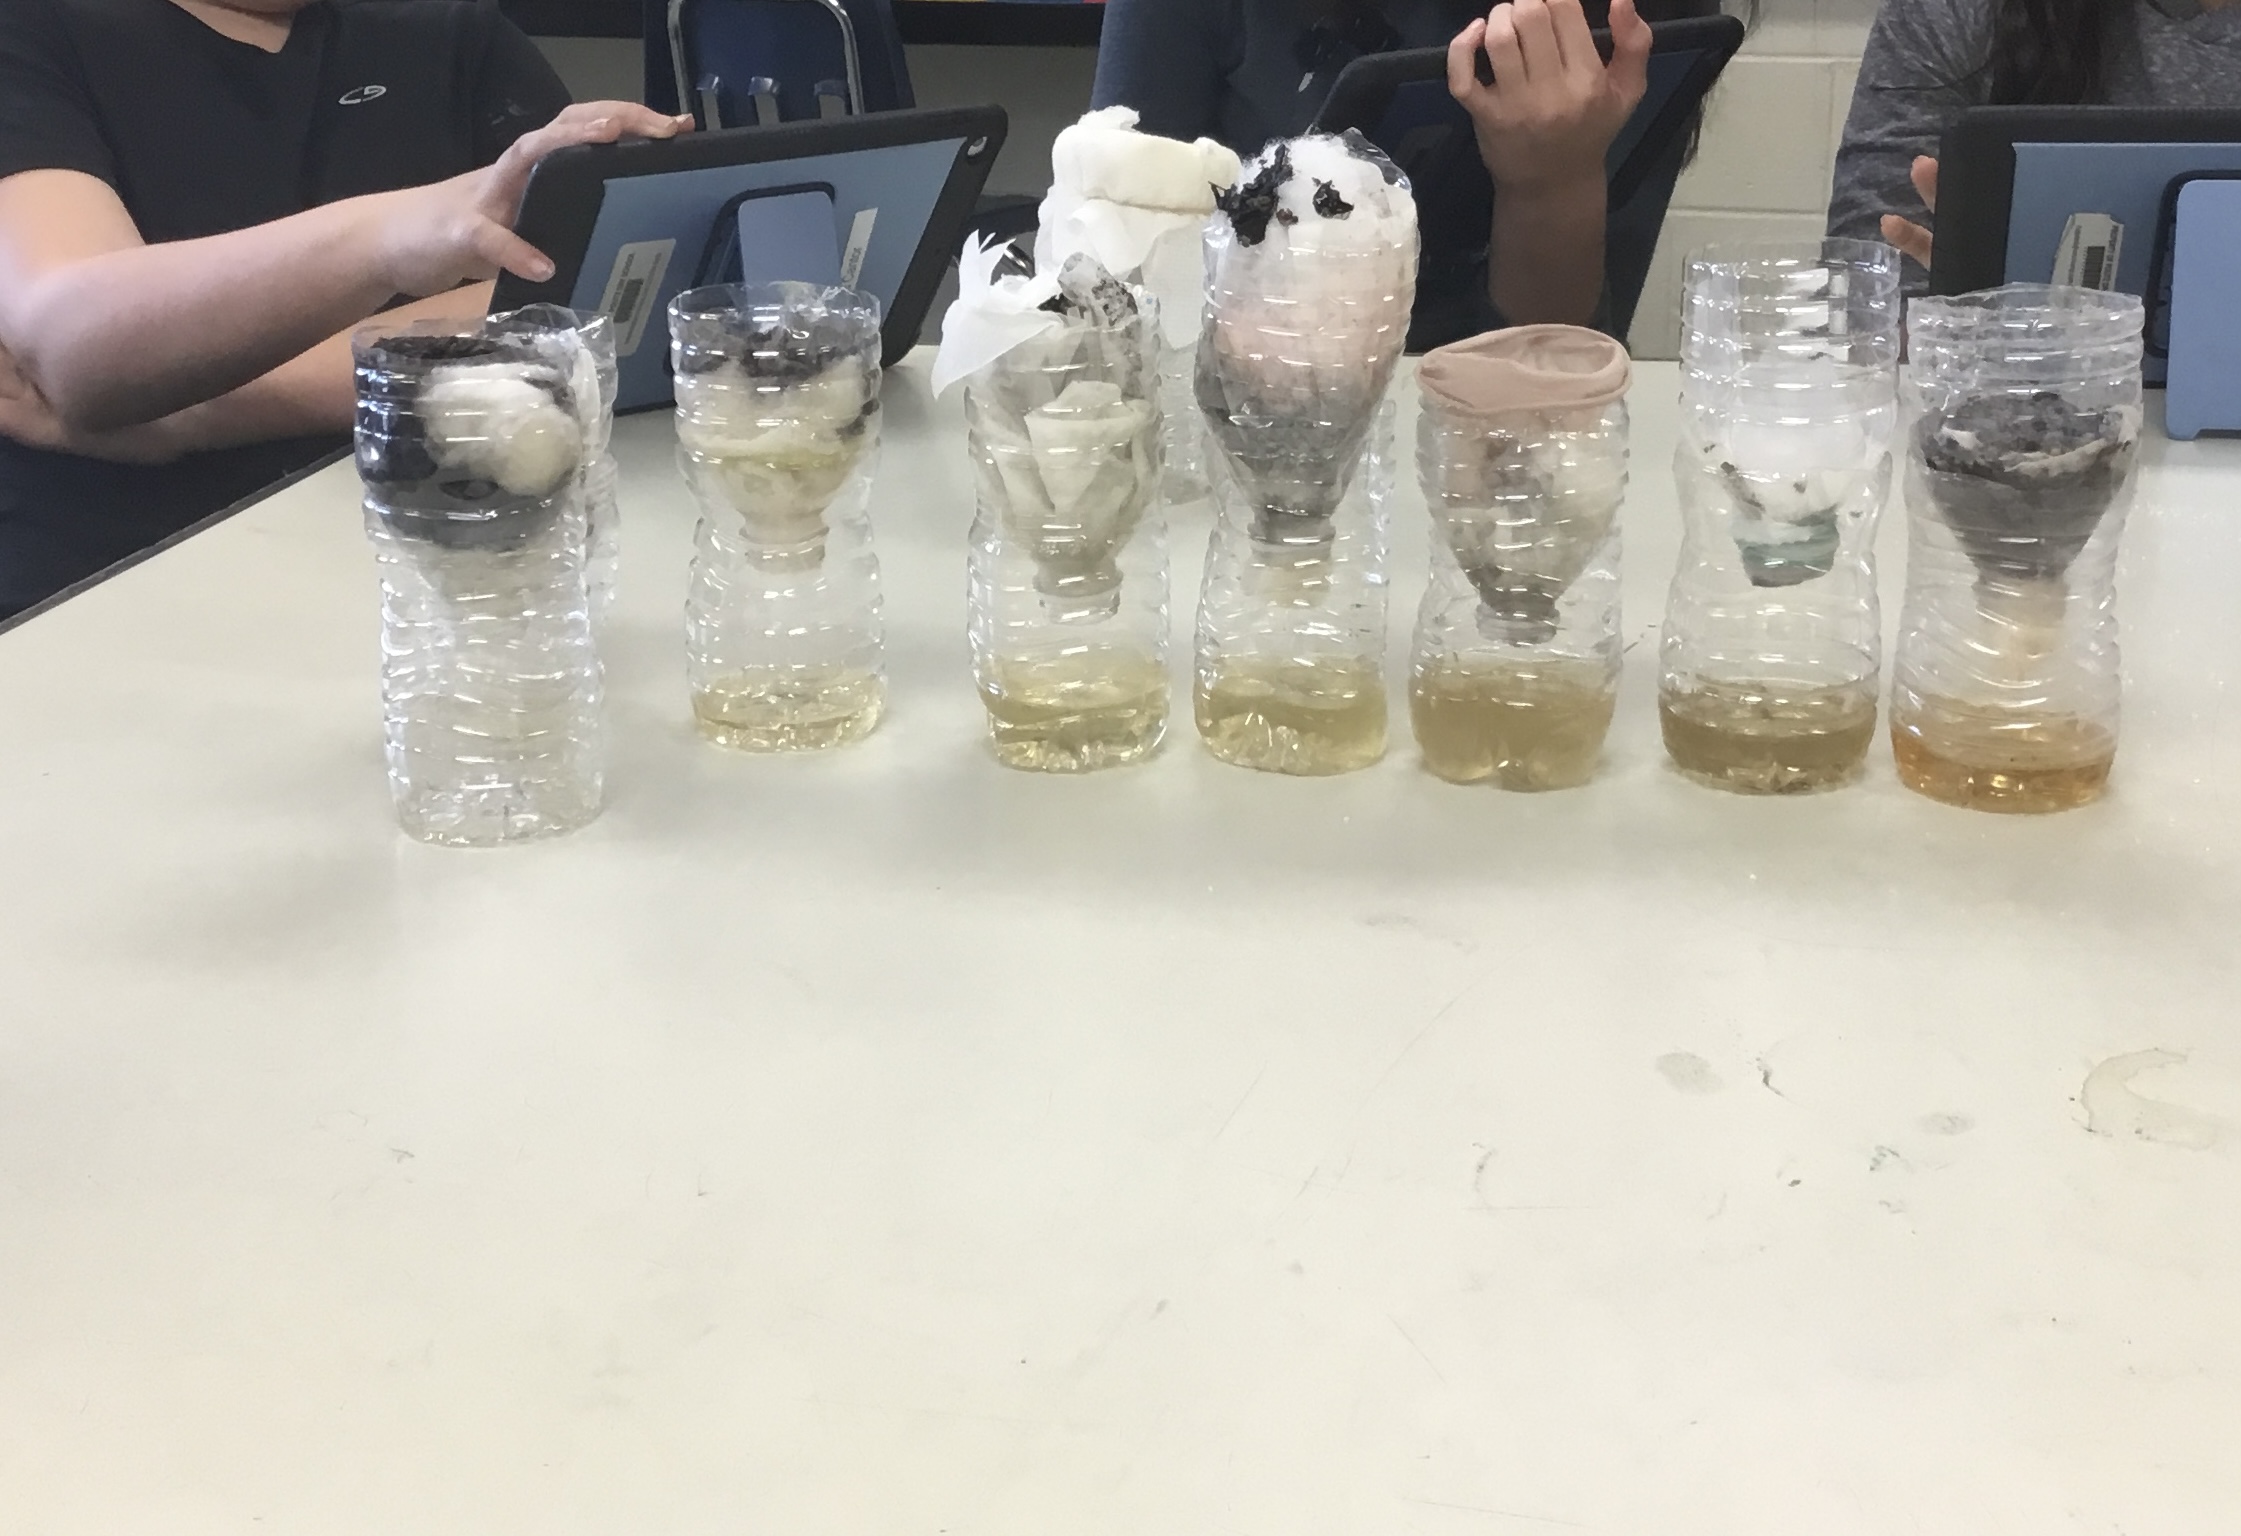
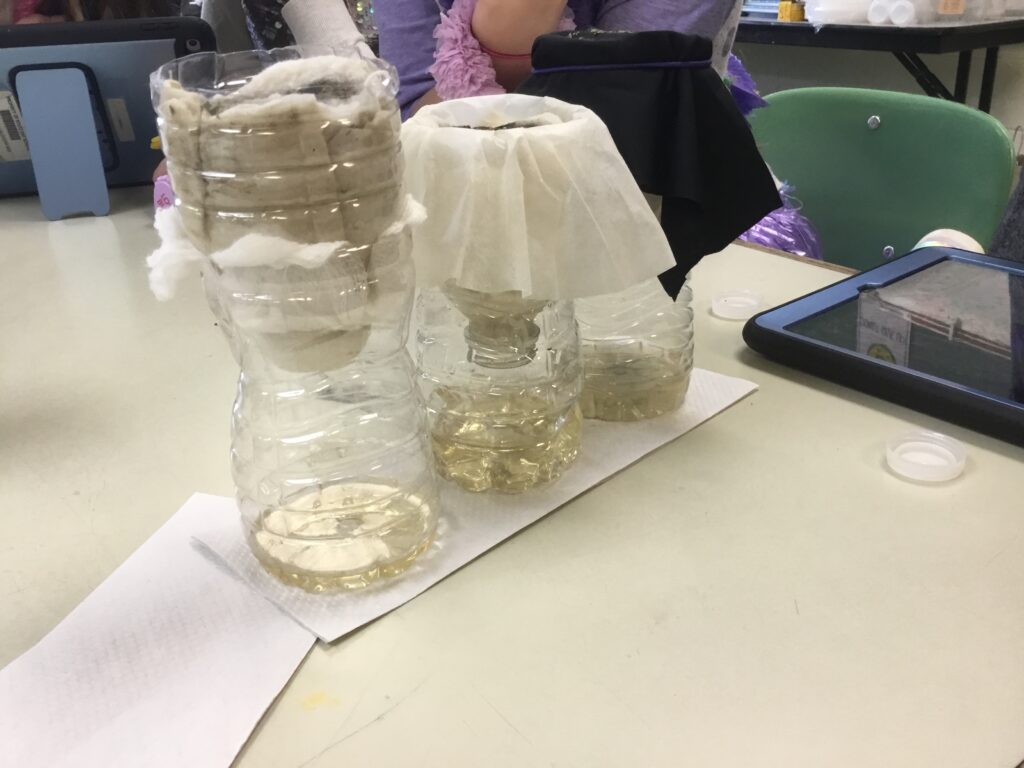
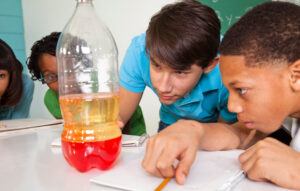
I introduce the project about a week ahead. I let students know that they will need to use a STANDARD SIZED plastic water bottle. I give them the directions as to how to cut it, along with the sketching form and reflection questions.
I cut a bottle in front of them so they can see where exactly to cut the top off. With the top cut off, we invert it to become a funnel. This is where they will add their filter materials.
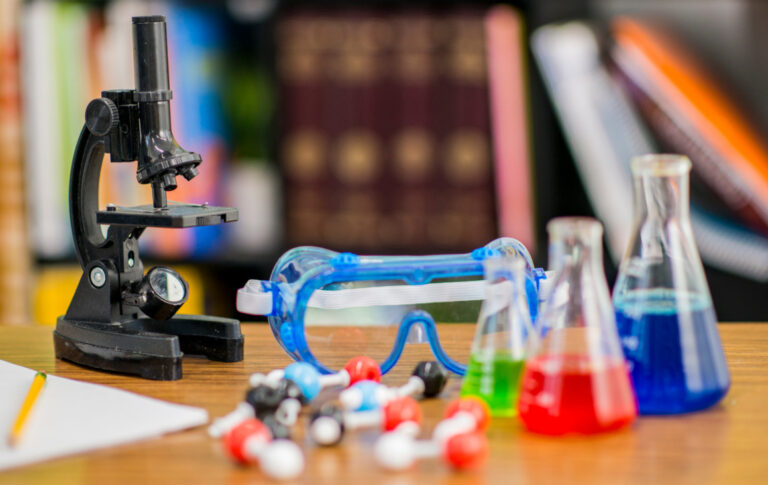
Suggestions For Water Filter Materials
Throughout the many years I’ve done this project, the students have been super creative with what they have used for their layers in the filter. Some suggestions you can give your students may be:
- Sand
- Pebbles
- Charcoal
- Paper Towels
- Cotton Balls
- Coffee Filters
- Sponge
- Cloth
- Toilet Paper
- Fish tank Pebbles
- Face Masks
How Do I Make the “Fake Sewage” Water?
Making the “Fake Sewage” water is so much fun! When I walk in to the school with it, the kids are all grossed out and super excited!
How do I create it? I go to my backyard and dig up some dirt to put in a gallon jug. I add about one or two centimeters of that soil. Then I go into my kitchen and add black pepper, oregano, mixed spices, etc. The rest is water.
The spices helps it smell funny plus it gives it lots of chunks to be removed.
Note: I would advise against adding coffee, tea or anything where the particles are so small that they won’t break apart in the student’s filters. My goal is to give them a chance to have “clear and clean“ water dripping from their filters!
Let’s Make It A Contest!
In general, I don’t do contests, but the excitement this one generates seems worth it. Plus, I do ask them to do the experiment twice so they have a double shot at winning.
The students sit around the table with extreme anticipation on their faces. I pull out my nasty “fake sewage” and give each student exactly 100 mL in a graduated cylinder or beaker.
We have about a half hour that they can slowly pour the “sewage” into their filters. The rule is that it has to have dripped completely through to be in the contest. I have found that most filters start off looking clear, and over the course of a few minutes, the filtered water gets darker.
After the filters have all drained through, we line up the finished products. Being sensitive to the students who may have had unsuccessful filters, I only ask the top four or five to line theirs up. Again, remember that we design water filters twice, so there is always a second shot.
Time to Redesign the Water Filters
The results of the first round of the contest are usually not very clear water. Occasionally I will get a student that makes the water come out very clear, but in general, most filters produce more of a tea color.
During the second round it can be a very tight race as the students have refined their techniques. I had one year where we were holding the top three filters against a white paper and shining a flashlight through them as they hotly debated which one was the “clearest”.
Reflections Questions
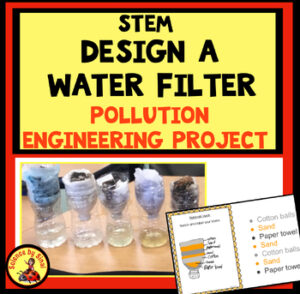
In my product called STEM Water Filter Pollution Engineering Project, I include directions, an area to sketch the layers and reflection questions for them to review the process. We have a discussion about frustrations and accomplishments.
The students love to talk about their trial and error process!
Follow up with Great Water Pollution Content
Once student interest has been peaked, it is time for content in the form of stations around my room. Holly, of Flying Colors Science, has put together just the materials I need to keep the critical thinking going and to introduce data analysis. (Water Pollution Data Based Stations.)
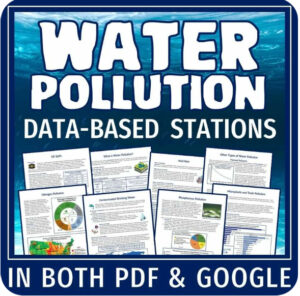
Students visit eight different stations that focus on types of water pollution, nitrogen and eutrophication, phosphorous and algal blooms, oil spills, micro-plastics, drinking water health, acid rain plus other types of water pollution. Students read text passages and then analyze graphs or maps. These lead to great discussions about topics most students have never heard of before this unit.
The stations prepare students for the next activity where we visit a local pond. We gather pond water to view under microscopes to search for bioindicators of pollution. Students use their knowledge from the stations, and the data from the microorganisms, to determine if the pond is “healthy” or not.
You can read my post called Identifying Pond Water Organisms as Bioindicators to see how we do that exciting lab!
- Embracing The Mess: Why a “Messy” Science Classroom is a Good Thing
 Embracing The Mess: Why a “Messy” Science Classroom is a Good Thing Do you have a messy science classroom? Are supplies scattered everywhere, with half finished…
 - Why Digital Science Notebooks Make the Ultimate Study Guide
 Why Digital Science Notebooks Make the Ultimate Study Guide Do you find that your students don’t know how to study for tests?Are they losing papers, forgetting…
 - 10 Tips For Engaging Disinterested Students
 10 Tips For Engaging Disinterested Students We all know the struggle of engaging disinterested students no matter how hard we try. Over the years, I’ve found…