How to Introduce the Characteristics of Living Things
Do you find that students struggle with being able to determine the basic characteristics of living things?

written by
Karen Sinai
How to Introduce the Characteristics of Living Things
Even in middle school, students have a hard time distinguishing the differences between a living versus a non-living structure. It is better to deal with any misconceptions first, using engaging activities, rather than later in the school year.
NGSS Standard
“MS-LS1-1 Conduct an investigation to provide evidence that living things are made of cells; either one cell or many different numbers and types of cells.”
Introduce the Concept of Living vs. Nonliving
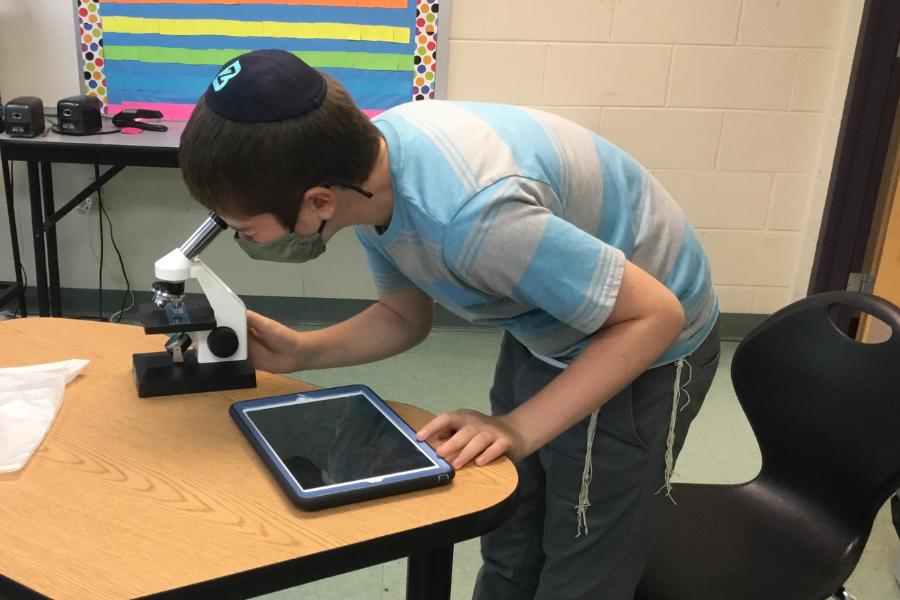
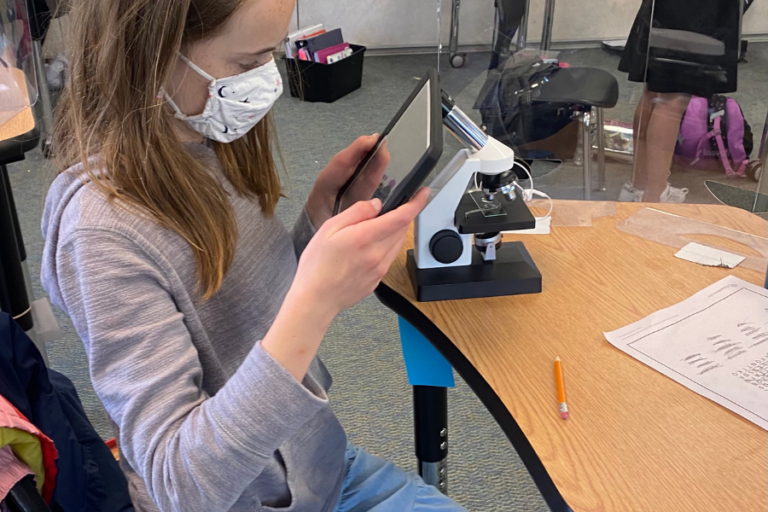
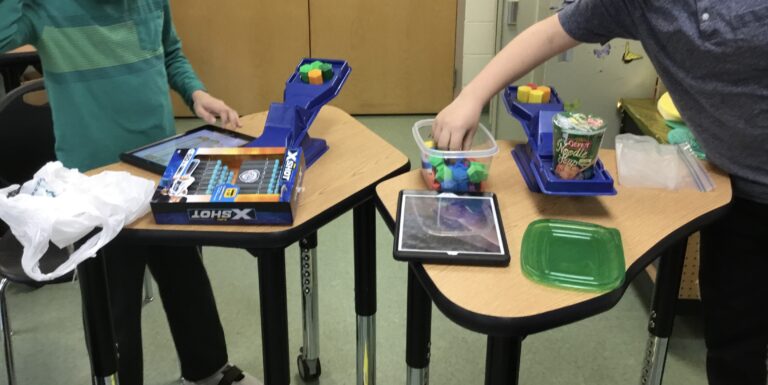
I prefer to have the students draw conclusions about whether something is living or not based on their own observations. Kicking off this unit, I have microscopes set up around my classroom with examples of sand, salt, Epsom salts, soil, baking soda and steel wool. Slides include pieces of paper, cork, onion skin, hair from my horse’s tail, and pieces of dead leaves.
My students have iPads so I ask them to take good photographs through the eye pieces of the microscopes to put in their digital science notebooks. If students don’t have the ability to photograph, they can still do good sketches in their notebook.
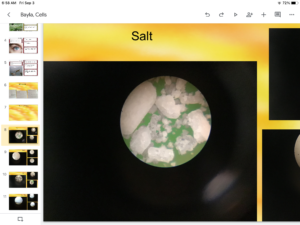
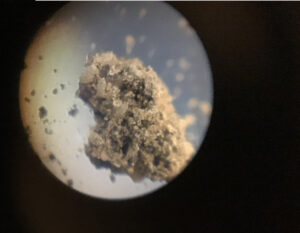
Students are asked to conclude which slides show living or nonliving materials. The dead leaves and papers usually trip them up which leads to good discussions. A common misconception is that if something is dead then it is classified as non-living. It is important that they understand that, even if it was once alive, it is still classified as a living organism.
Analyzing Microscopic Images with a CER Approach
This next engaging activity, INVESTIGATING LIVING/NONLIVING, UNICELLULAR/MULTICELLULAR USING MICROPHOTOGRAPHS involves analyzing photographs, taken at the microscopic level. It is exciting to see the students use high-level thinking as they interpret the images!
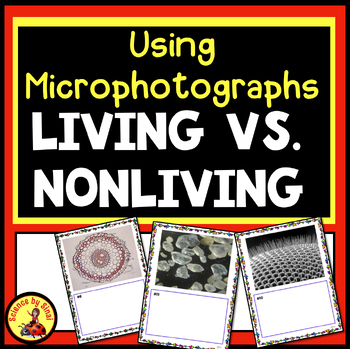
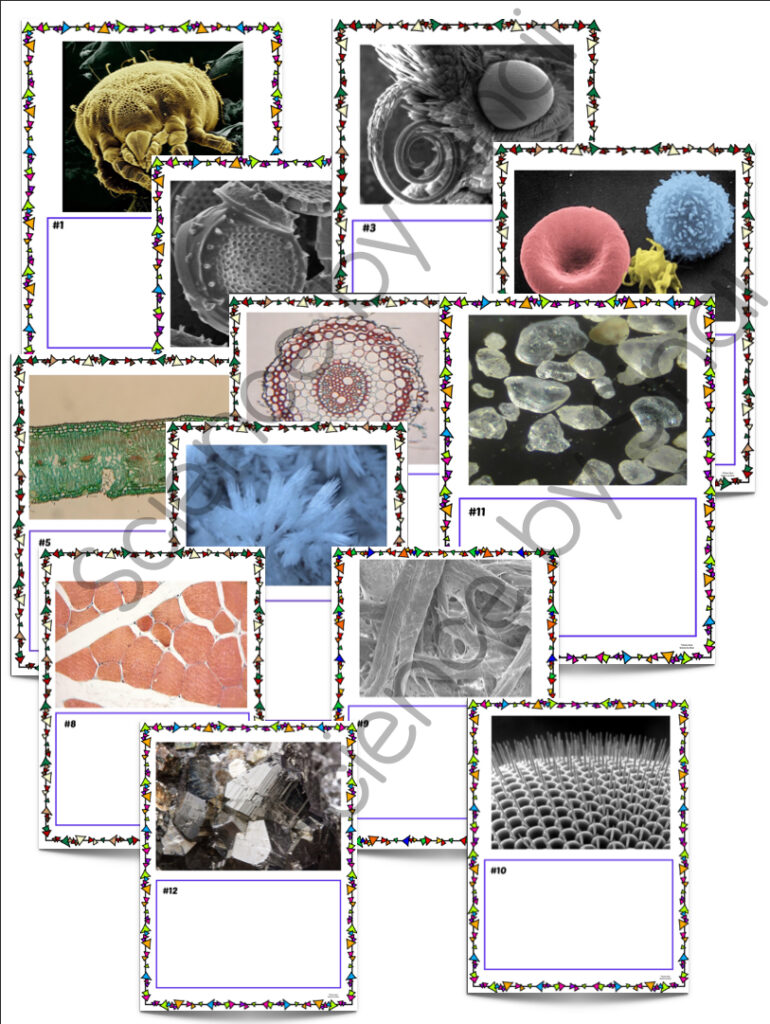
It is best to approach this activity with minimal instructions or clues and simply give them the 12 images either in laminated form or in their digital notebooks. Their goal is to decide whether they’re looking at a living or nonliving object and support their decision. Also, if they determine that the object is alive, is it single celled or multicellular? They are encouraged to look at the photographs closely and make educated guesses.
If students are struggling, I may drop some hints as to what object or organism is being depicted.
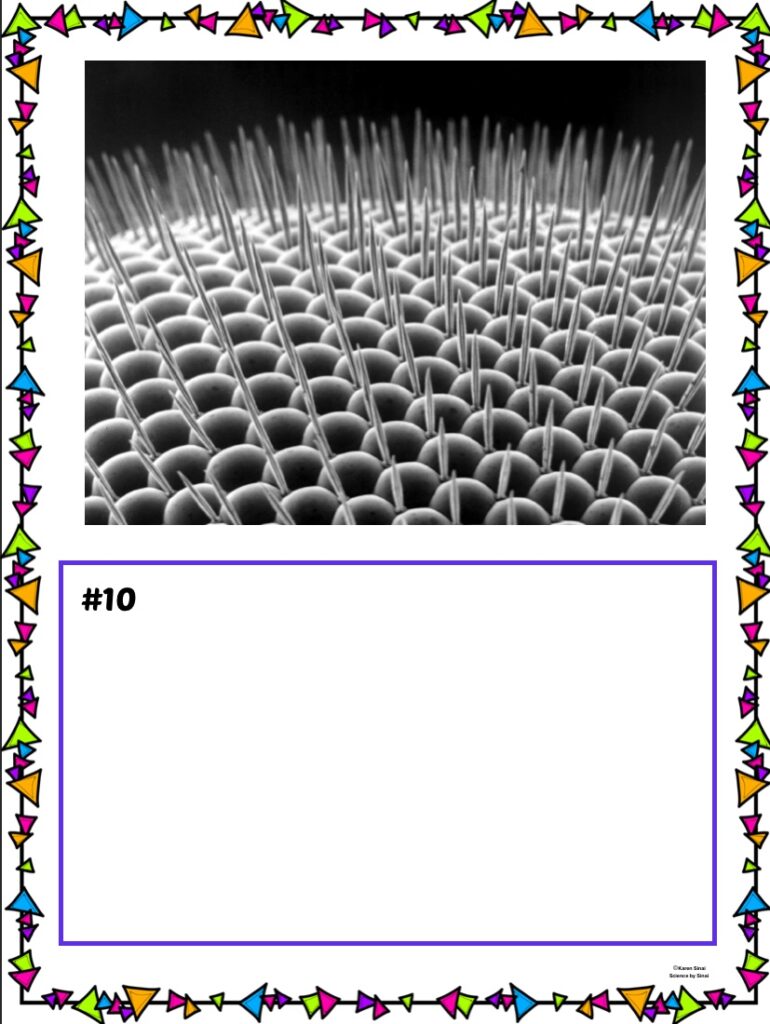
An example from this activity would be the image above. As they move through the other photographs they may start to determine that a non-living, or man-made object, seems to have a regularity to it. Encourage the students to look closely at this image and if they are working digitally they can zoom in. In between each lens are little hairs which can be a clue that this is from a living creature. You still may need to drop hints such as “this structure is involved with detecting light” or “this is at the front end of an object”.
I stress that the goal is not to guess what the objects are. They should be trying to determine whether or not it seems to be alive.
They use the blank space underneath the photographs to defend their decisions. I really prefer to use the CER method where they make a claim, gather visual evidence from the image, and then use reason to support their evidence.
Super discussions can result from this!
Students may notice that the nonliving objects have sharper angles, as they are quite often made of crystals, versus the more organically shaped design of a cell or multi celled tissue. Encourage that line of thought and perhaps use that as a discussion prompt later as you go over these.
Activities to Determine the Characteristics of Life
Learning about the characteristics of life is the natural introduction to a unit on cells and then body systems. After the students have done the above activities, looking for the distinctions between living and nonliving, I move onto the specific characteristics of living things.
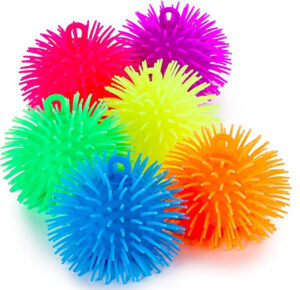
I’ll give each group a squishy ball and ask them to pretend that this was something that they found in their backyard and they were trying to determine whether or not it was alive. Students are asked to brainstorm with their groups what they would need to look for to determine if something is alive such as the ability to grow, bring in energy, and to reproduce, etc.
Students will try to be very specific about the ability to move or catch food. Remind them about plants being unable to move or a fungus that stays in one place. I create their list on an anchor chart in the front of the room and encourage them to be as broad as possible. I prefer statements such as the object “takes in energy“ versus “it can eat”.
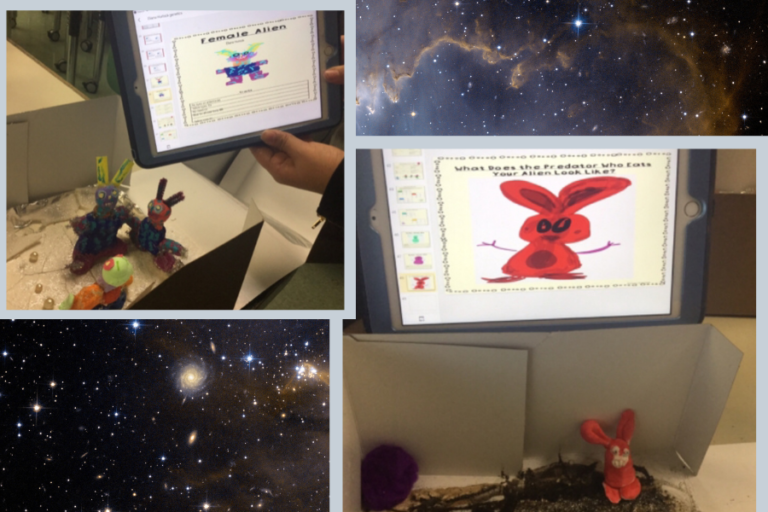
I wrap up this introduction unit on the characteristics of living things with this fun CER activity by THE LEARNING HYPOTHESIS where a boy named Riley is highly suspicious that his friend named Quinn has been turned into a zombie. Riley comes up with his own evidence as to why he believes this and students need to use their list of the characteristics of life to decide if they agree with Riley or not.
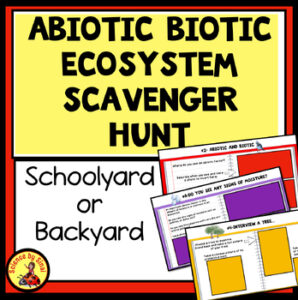
An Activity to Look at the Biotic and Abiotic Parts of The Local Ecosystem
Before moving onto the specific characteristics of cells, I love taking the students outside on an Abiotic Biotic Ecosystem Scavenger Hunt. You can read about how I do this activity in my blog post called GO OUTDOORS ON AN EXCITING SCHOOLYARD ECOSYSTEM SCAVENGER HUNT!
This activity pulls the importance of living and nonliving components in the natural world and how they interact.
Conclusion
Although the temptation is to jump into learning about cells and living things, it is well worth your time to make sure that students completely understand the characteristics of living things vs nonliving. The activities discussed above will avoid misconceptions throughout the school year.
Looking for science resources? Please visit my store at Teachers pay Teachers called Science by Sinai for hundreds of activities.

- Embracing The Mess: Why a “Messy” Science Classroom is a Good Thing
 Embracing The Mess: Why a “Messy” Science Classroom is a Good Thing Do you have a messy science classroom? Are supplies scattered everywhere, with half finished…
 - Why Digital Science Notebooks Make the Ultimate Study Guide
 Why Digital Science Notebooks Make the Ultimate Study Guide Do you find that your students don’t know how to study for tests?Are they losing papers, forgetting…
 - 10 Tips For Engaging Disinterested Students
 10 Tips For Engaging Disinterested Students We all know the struggle of engaging disinterested students no matter how hard we try. Over the years, I’ve found…

I have never looked at a fly’s eye through a microscope. That is a fascinating idea. Your Microphotographs TPT product will come in handy.
It is weird! I’m glad this resource can help you.