13 Ways Using Photography Helps You Teach Science
How can you increase comprehension and retention in science class?

written by
Karen Sinai
13 Ways Using Photography Helps You Teach Science
Updated Dec 12, 2021
A picture is worth a thousand words! Students are already immersed in a world of photographs and quick videos. It is literally how they communicate now. Why not speak their language? There are many ways to utilize photography in science class to enhance your curriculum.
#1 Photography in Science Class Tells a Story
Since my students use digital science notebooks, it is natural to add photographs as they move through their activities. Their notebooks become an illustrated story of the entire unit!
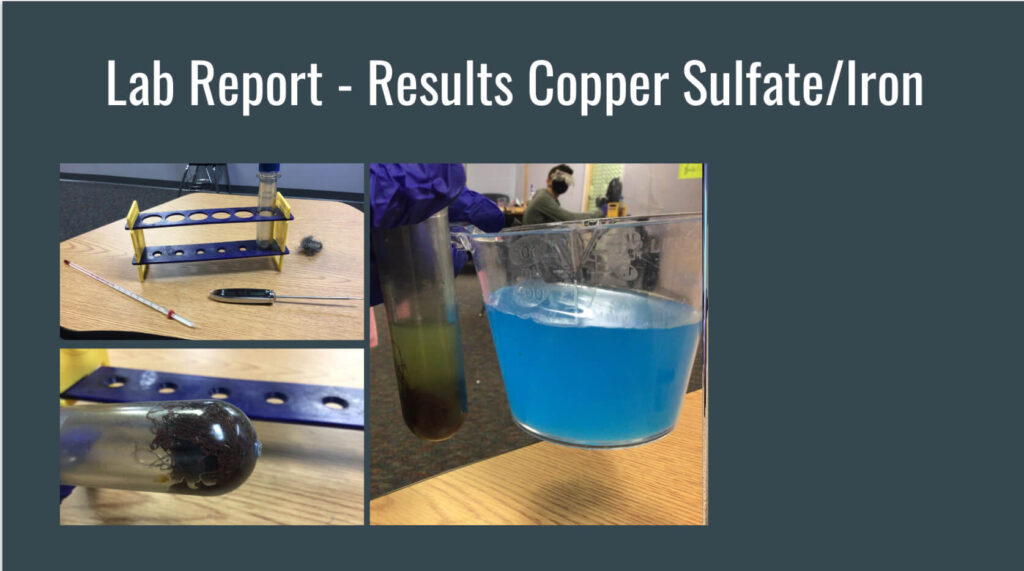
I don’t do a lab report for every activity, but I do ask them to document it in some way. This helps them to remember it while they’re studying for a test.
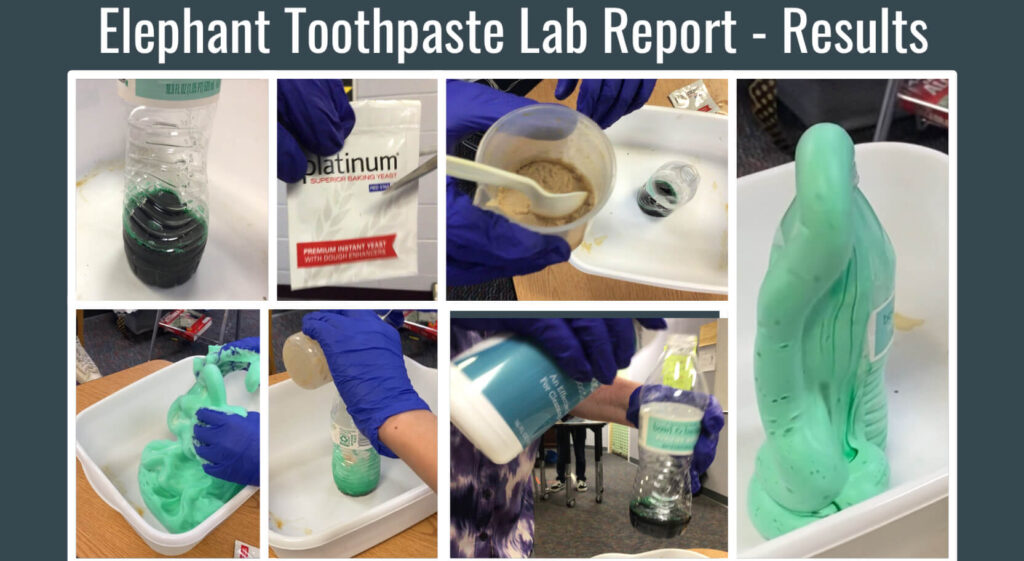
For example, when my seventh graders were learning about classification of the Animal Kingdom, we used Play-Doh to create different animals to compare and contrast their complexity. Once the class was over, they would no longer have these 3-D models. However, the students took lots of photographs and were able to organize and annotate on them for later reference.
#2 Taking Videos and Photographs Saves Money!
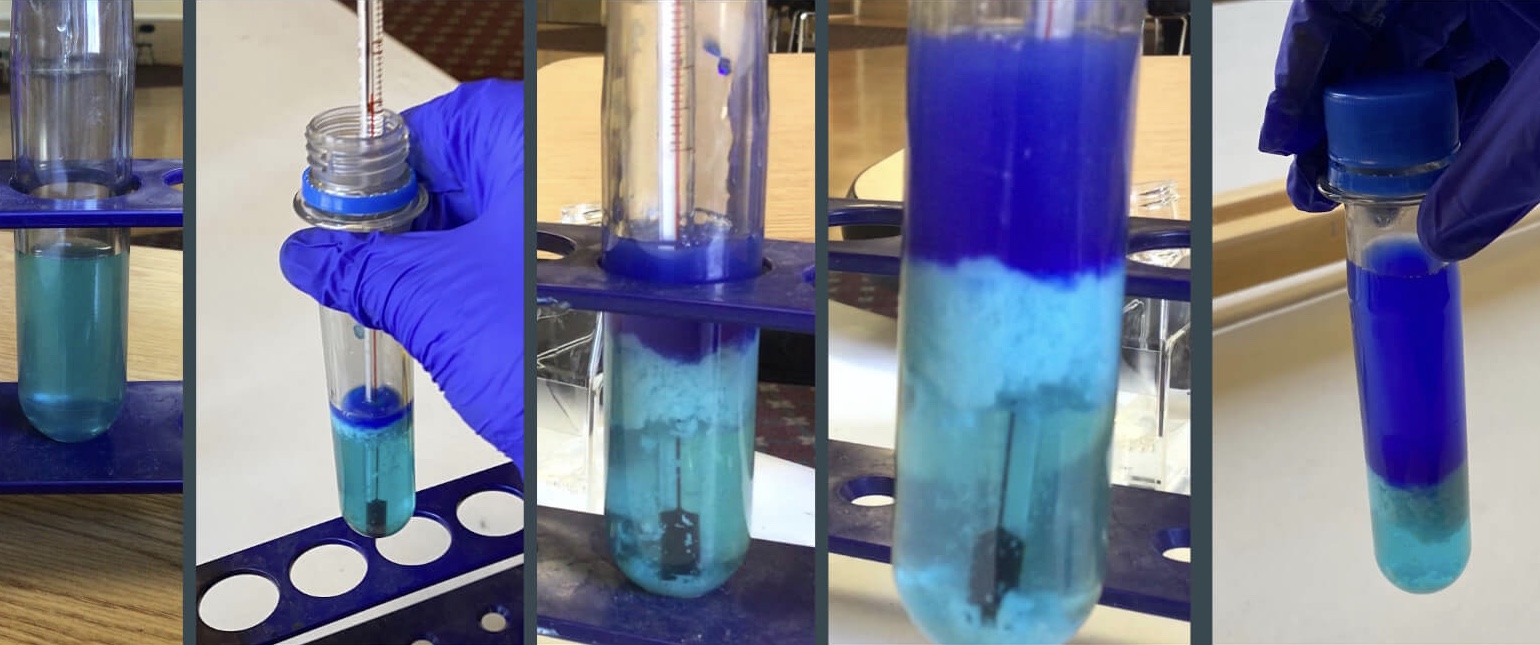
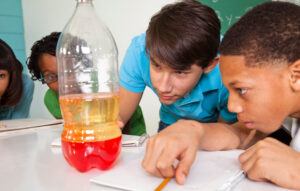
A lot of us are dealing with a limited budget while teaching many students. Purchasing materials, such as chemicals, can be costly. Most chemical reactions are over quickly and it can be expensive to repeat the process.
If several students are taking videos, in both slow motion and real time, then the reaction gets a lot more bang for it’s buck!
I like to use the iPad to have them go frame by frame to watch the moment that the chemicals reacted with each other. We can then take screenshots of those moments and put them in our digital science notebook.
#3 Photography For Those Irreplaceable Activities
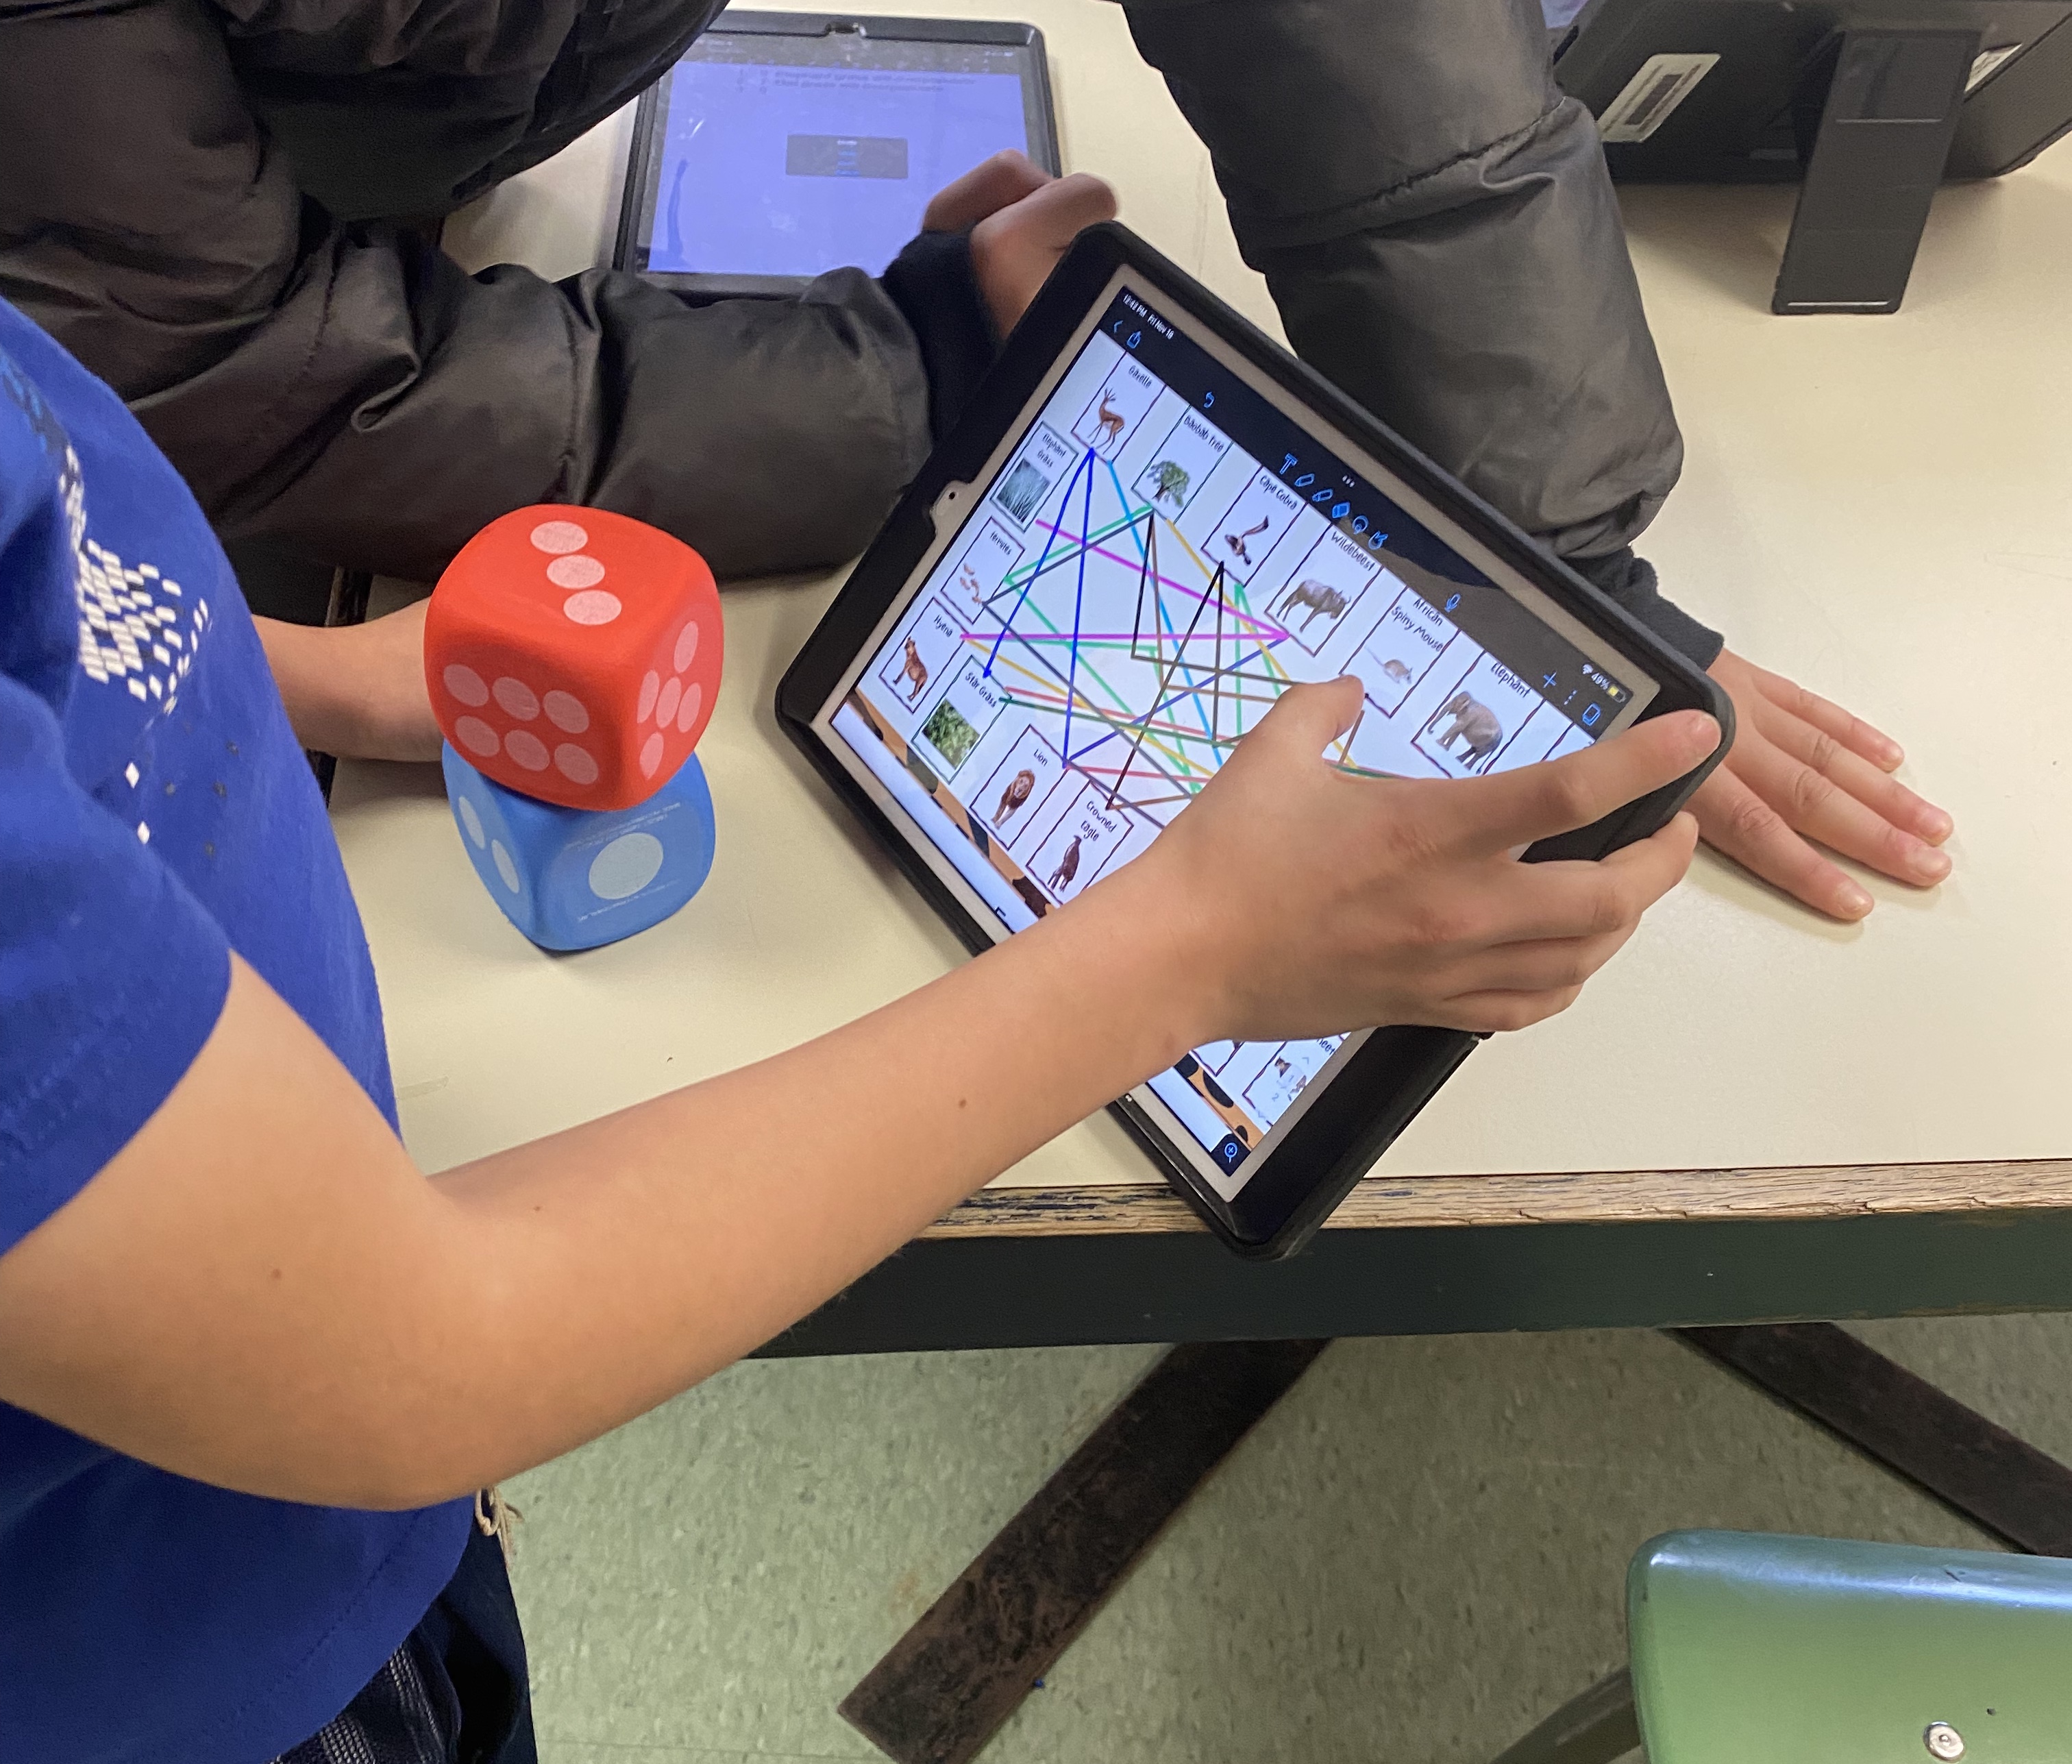
I do a lot of STEM projects with my students, such as building cells, creating water filters, making magnet mazes, building electrical circuit games and so on. These projects can be rather large and fragile, plus students may want to reuse some of the materials after being graded. We take many photographs and videos to preserve their hard work as memories.
These images double as great introductions for the students the following year!
Students also love going back and looking at their projects that we have saved on their Google Drive from years before.
An added bonus to having videos is that I can use them to help me grade the projects without even being in school.
#4 Increase Student’s Awareness of Their Local Environment
It’s sad that a lot of kids don’t get outside and really look at their environment anymore. I love taking the kids around the schoolyard and having them search for all sorts of living and nonliving elements. See my blog post called Go Outdoors on an Exciting Schoolyard Ecosystem Scavenger Hunt.
Armed with a camera, it becomes more of a challenge for them. Students have learned to have the patience to sneak up on squirrels or birds to get that perfect shot.
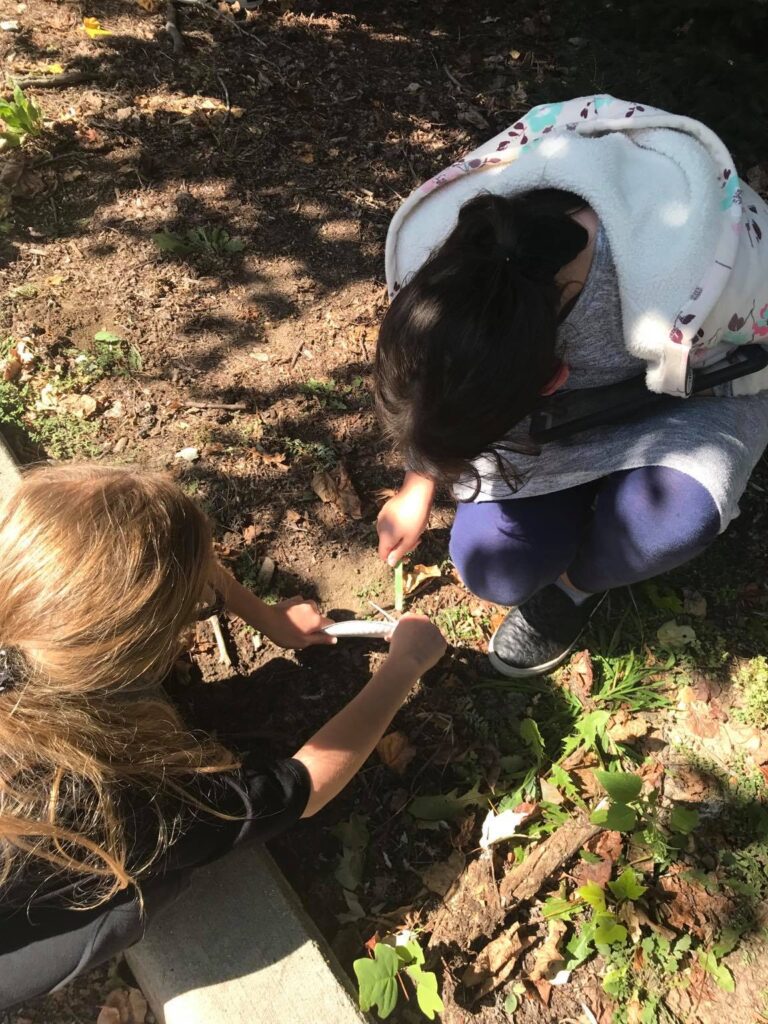
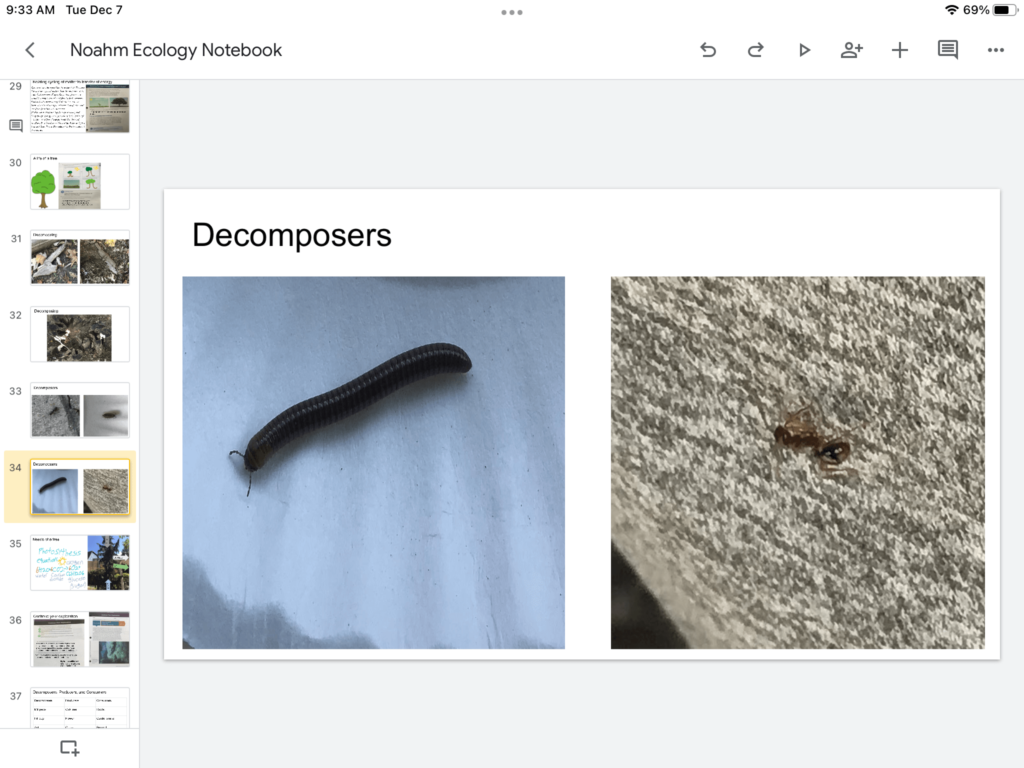
When we go outside to look at animals, such as millipedes and worms, taking photographs is a perfect way to use the capture and release method. They take lots of photographs and then let the creature go about it’s business with no harm. We can then go back inside and examine the photographs and have great discussions.
Students love to have their images projected for the class to see which is a great motivator.

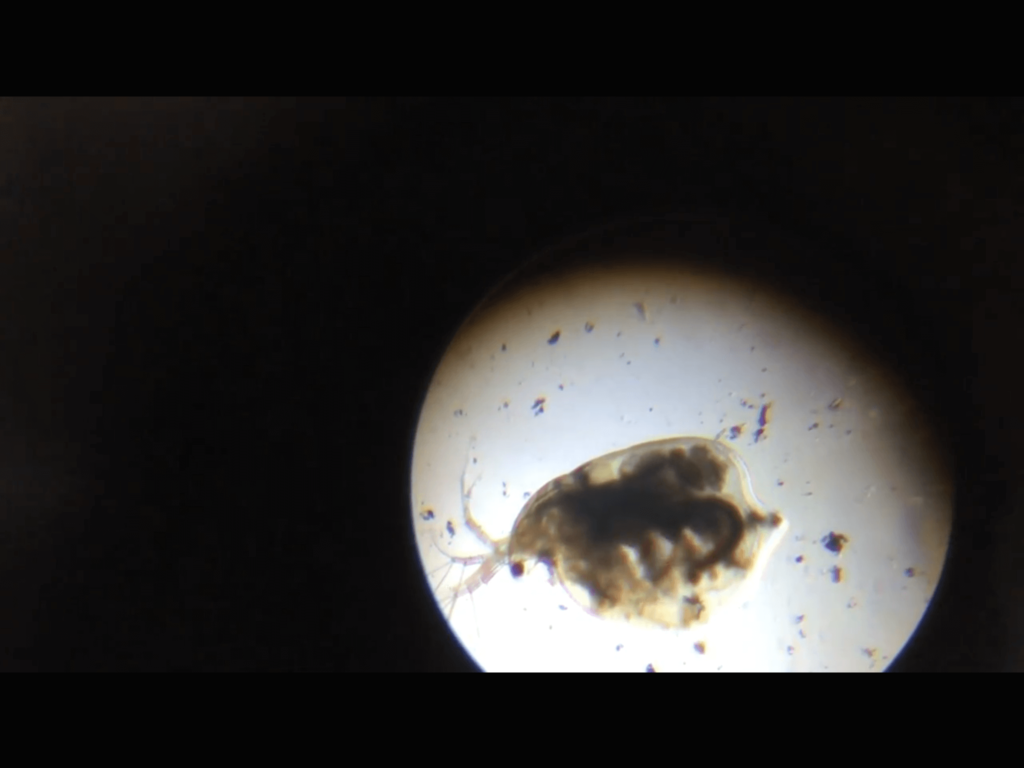
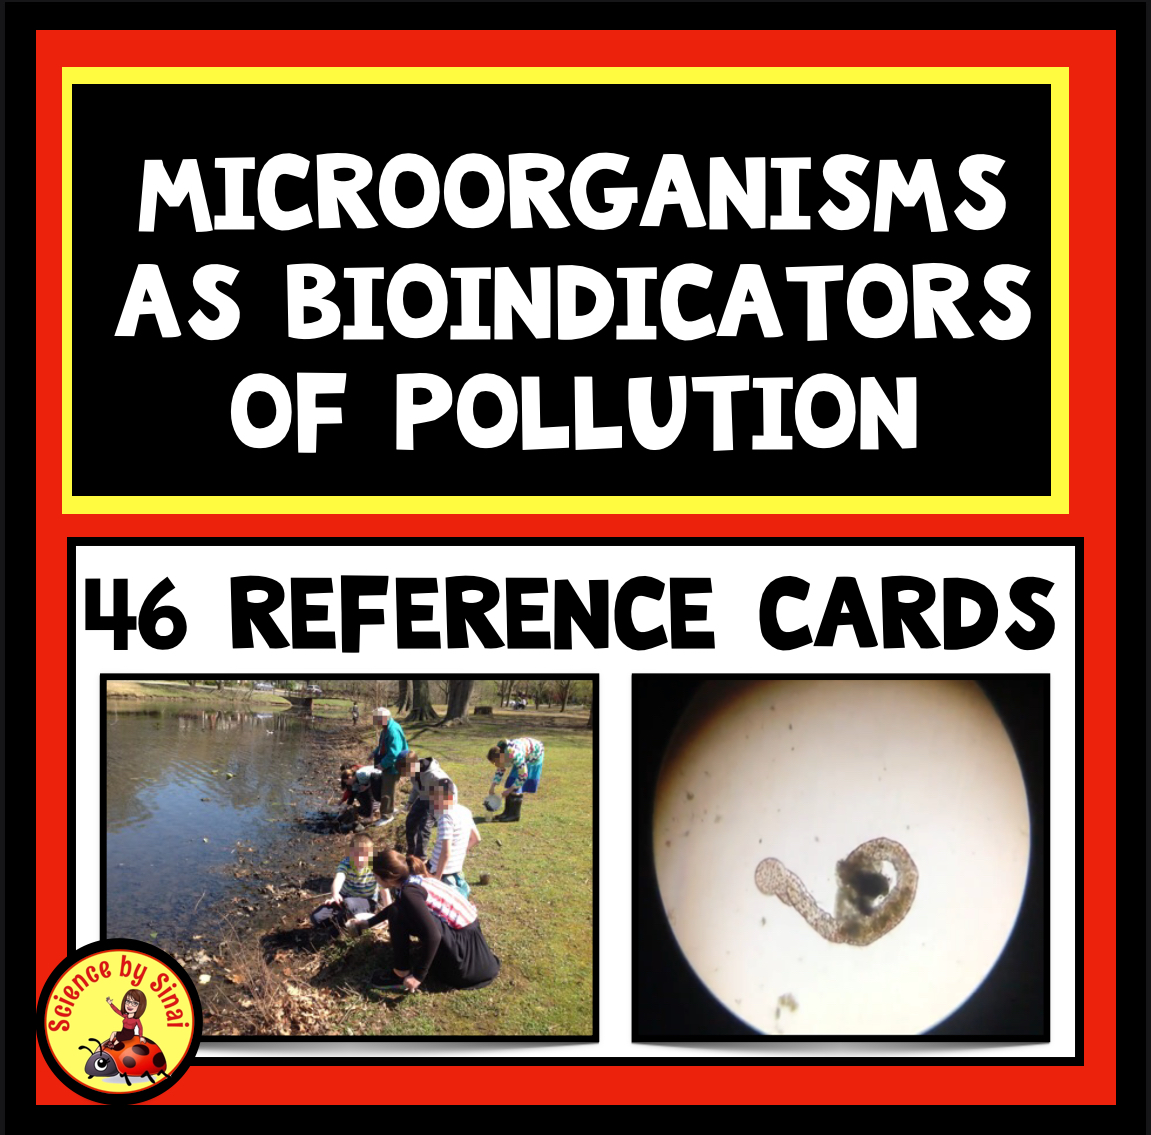
#5 Photography with Microscopes Is So Fun!
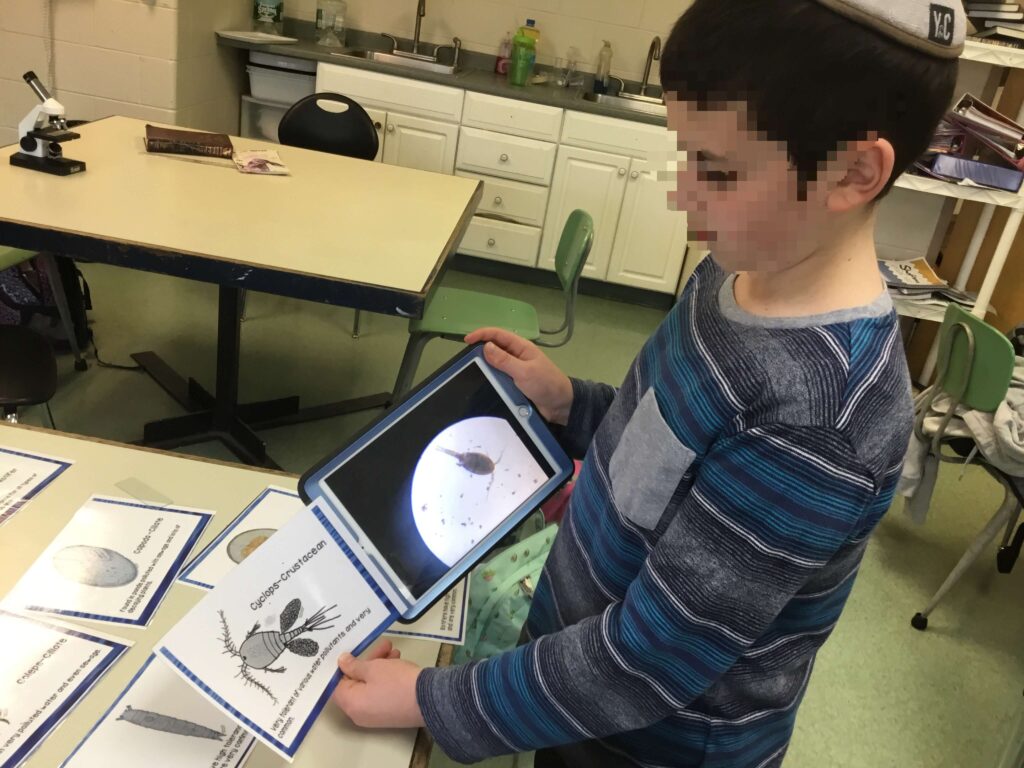
By far one of my most favorite labs is getting pond water and using the microscopes to check out all of the microorganisms! See my blog post called Identifying Microorganisms as Bioindicators.
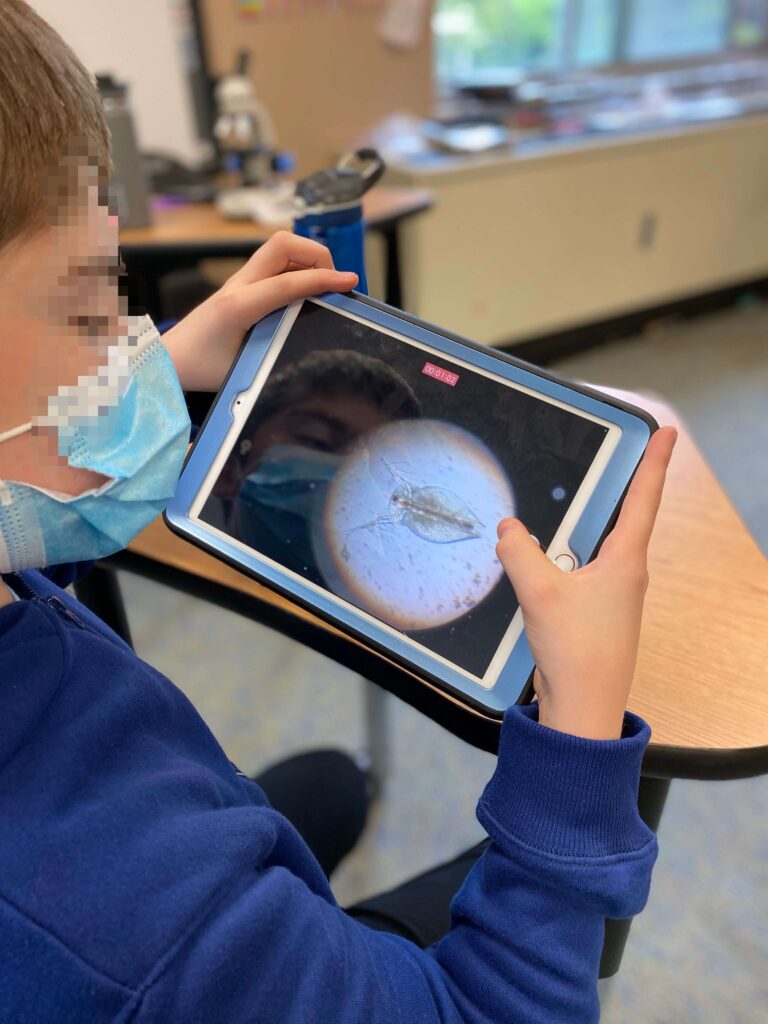
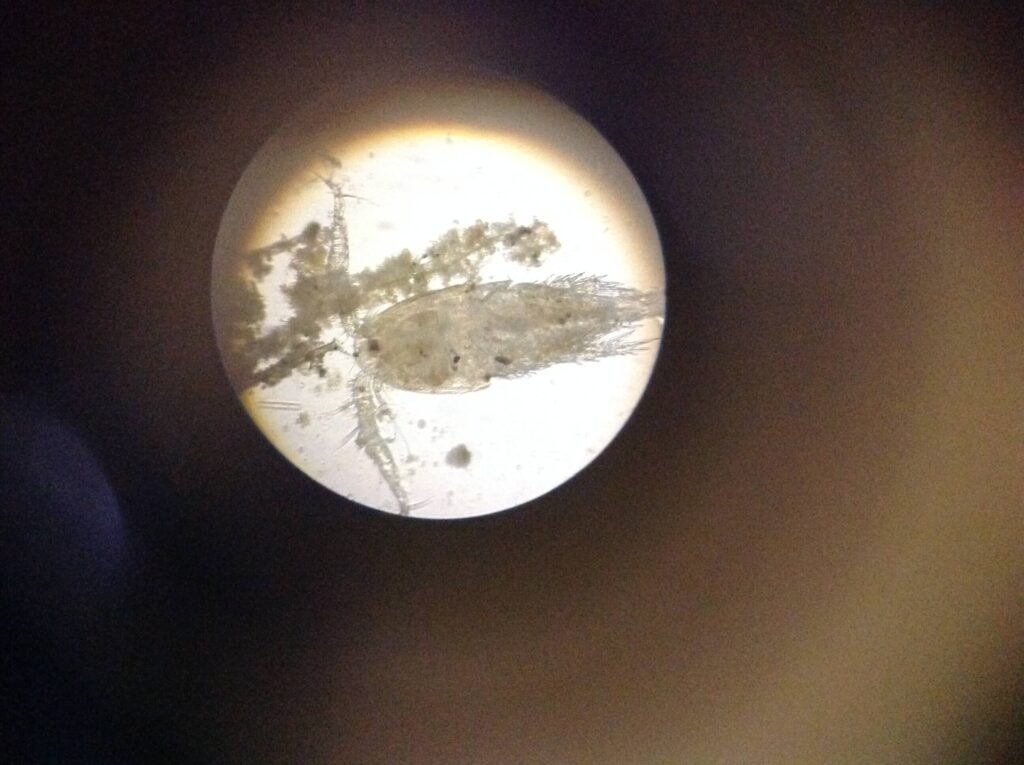
We have 1:1 iPads and the students become skilled at holding the camera up to the eyepieces of the microscopes to take videos and photographs. This method was a lifesaver during the pandemic when I couldn’t put my eyes on student microscopes. I simply told them to take a video and then we could look at it together or I could even project it for the class.
These videos are also great for introducing the project for the following year to get the students excited. My class from the previous year always begs to come in to help the new class learn how to take videos through the microscope. I’m happy to let them!
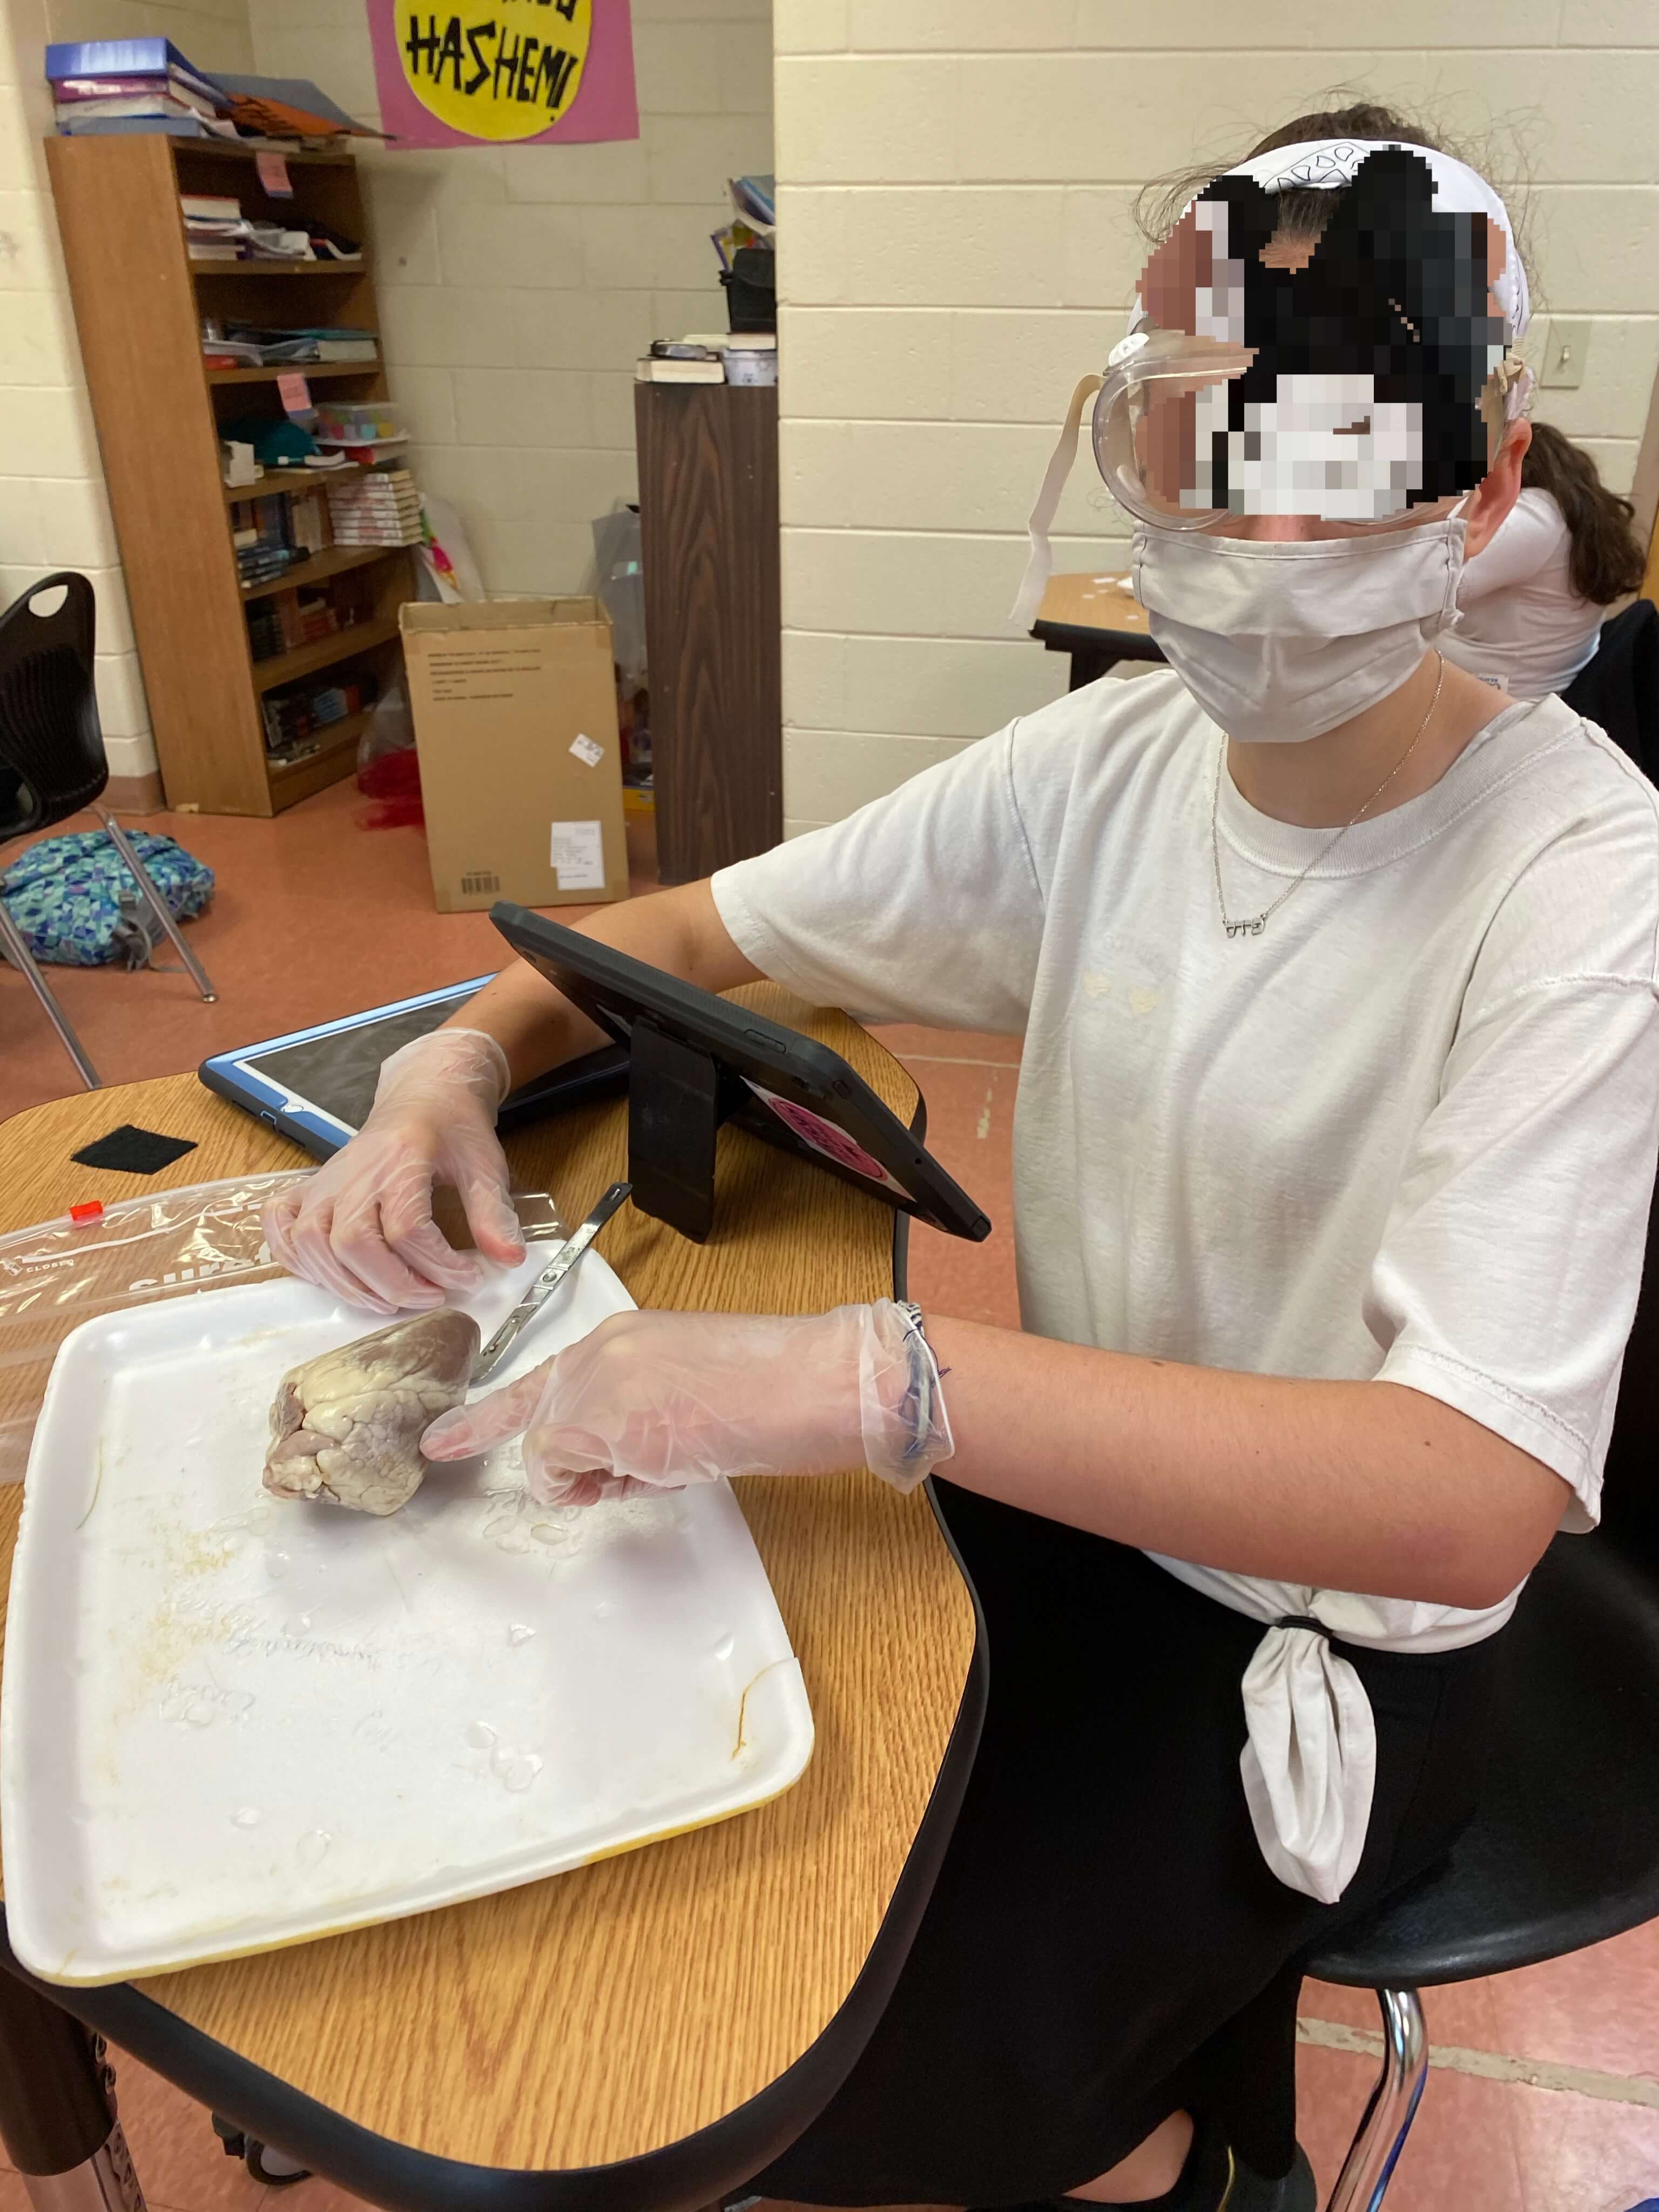
#6 Take Photographs During Dissections
We dissect sheep hearts and brains and the preserved materials last a maximum of 3 to 4 days before they really start to smell. I have the kids take detailed photographs to create a study guide for themselves as they dissect. This way I can throw out the actual materials and we can still carry on learning.
The photographs can also be used by the more squeamish students to learn the parts without doing too much touching of the specimens.
#7 Slow Motion Videos Show Unseen Details
Slow motion is a super fun way of recording events in the classroom. One of my favorites is ball collisions to show energy transfer. Students roll balls of different masses towards each other to watch the resulting impacts. We also use it to record water bottle bowling! See my blog called Labs with iPads to Teach Balanced And Unbalanced Forces.
As mentioned above, slow motion chemical reactions are great for seeing all the details. Even simple activities like lighting a match or bouncing a basketball are fascinating to see in slow motion.
Watching a process frame by frame really helps explain the concepts.
We use slow motion while learning body systems as we record the fast reactions of a ruler drop challenge, pupils dilating in a bright light, running in place, or jumping high. We also get grossed out watching a slow motion sneeze!
I show videos of my horse walking, cantering or jumping in slow motion. We talk about how the location of his joints, such as elbows and knees, compares to ours.
Students are allowed to take their iPads home so I get slow motion videos of dogs, cats, kitchen chemistry, basketball, trampoline jumps, siblings, etc. Absolutely fascinating!
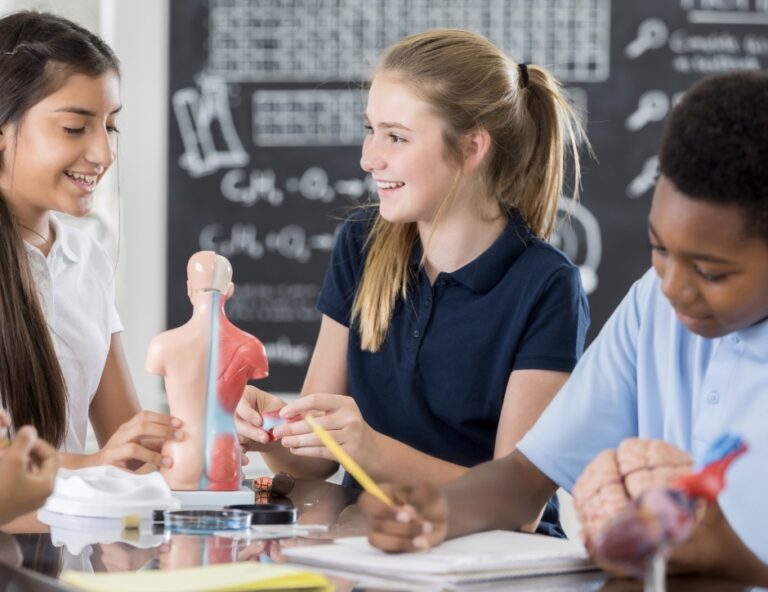
#8 Students Annotate on Images of Themselves
While teaching body systems, I have students take pictures of each other so they can annotate on the images using their devices. They draw either their bones, muscles, respiratory system or digestive system on top of the image of themselves.
It’s fascinating to watch them finding the bottom of their rib cage, or hip bones, to decide where they should draw it on their photographs.

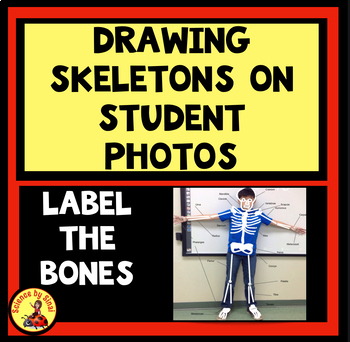
I also have them draw the skeleton of animals on top of pictures of horses, dogs, cats or even a camel. It’s not as easy as it sounds!
#9 Time Lapse Photography in Science Class
Time lapse is a lot of fun! The biggest interest my students display with time lapse photography is of the clouds, especially if a storm is coming. When we were on remote, there was a tornado watch, and I had so many cool videos come in of the gathering storm!
If we are watching something rust, or oxidize, we could leave an iPad on a time lapse cycle. We have also done this with growing crystals, germinating seeds, melting ice cubes, boiling water, etc.
#10 Video Lab Reports Show Student Comprehension
It is second nature for most of the students to take videos nowadays so why not let them do what they do best?
I either have them do the entire lab on camera, or describe the lab using the pictures that they took while they did the lab in class.
These types of videos are an amazing way of checking for comprehension and any misconceptions. I quite often make this homework after a lab.
#11 Photographs as Project Check-ins Increases Accountability
I have the students use their cameras to send me a progress check-in on any projects that they are doing at home.
A photograph of their work cannot be “fudged” easily. When the students know that I am going to be asking for an image, they tend to be a little bit more accountable!
I do this with my cell project and water filter which I want done at home.
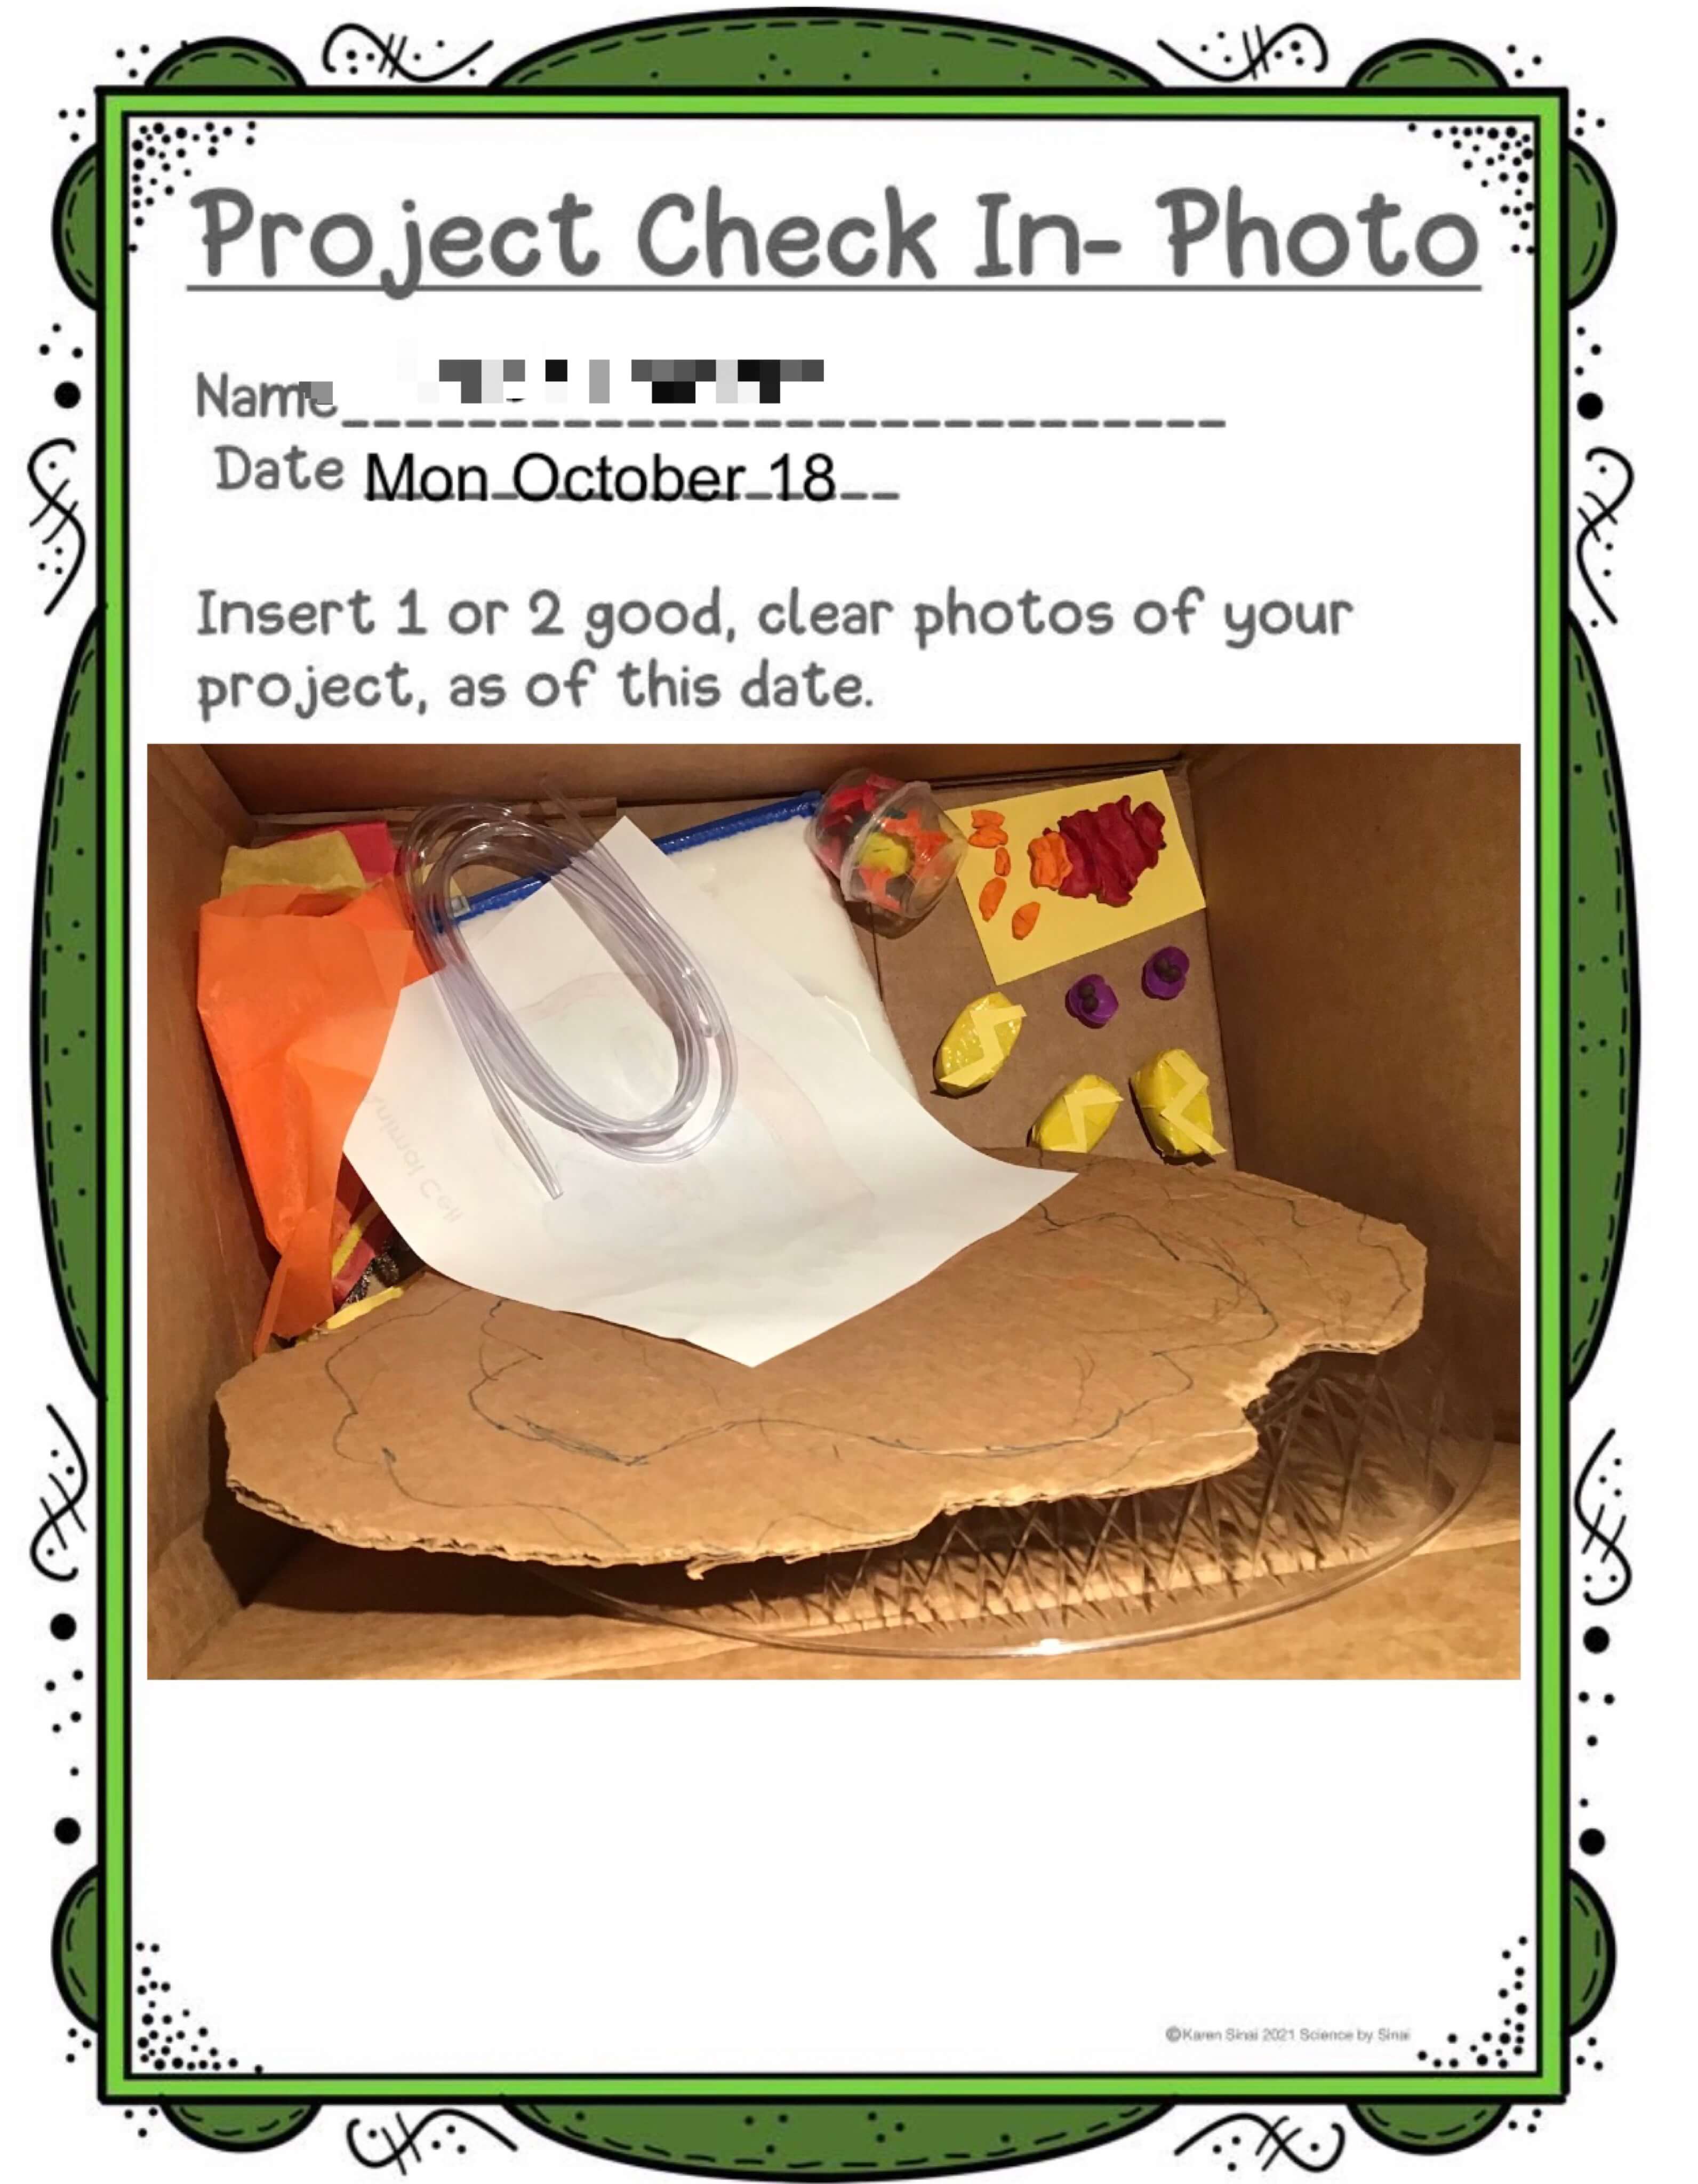
Student check-in photo as he worked through the cell organelle project.
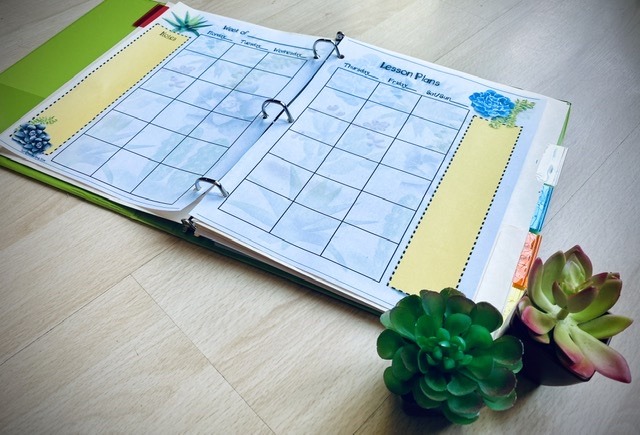
#12 Teacher Organization Can be Helped With Photographs
Taking pictures has helped me tremendously with organizing myself as a teacher. If I have a complex set up for a lab, I will quickly snap a photo of the materials that I put out for the students. I keep this in my Trello, see my blog called How Teachers Can Use Trello For Organizing Lesson Units. This way, when I’m writing my lesson plans next year, I have it handy.
I also use images of the lab or projects to rev up excitement before I assign it. Since I have been doing this for years, I have a decent sized Google Drive folder with pictures and videos of each activity. Lesson planning gets easier and easier!
#13 Always Build up Your Teacher Portfolio!
I am always taking pictures of the students working in class. When it’s my turn to do the hallway bulletin board, I use them for a “What’s Happening In Science Class?” theme. The students, administration and visitors love to see the pictures.
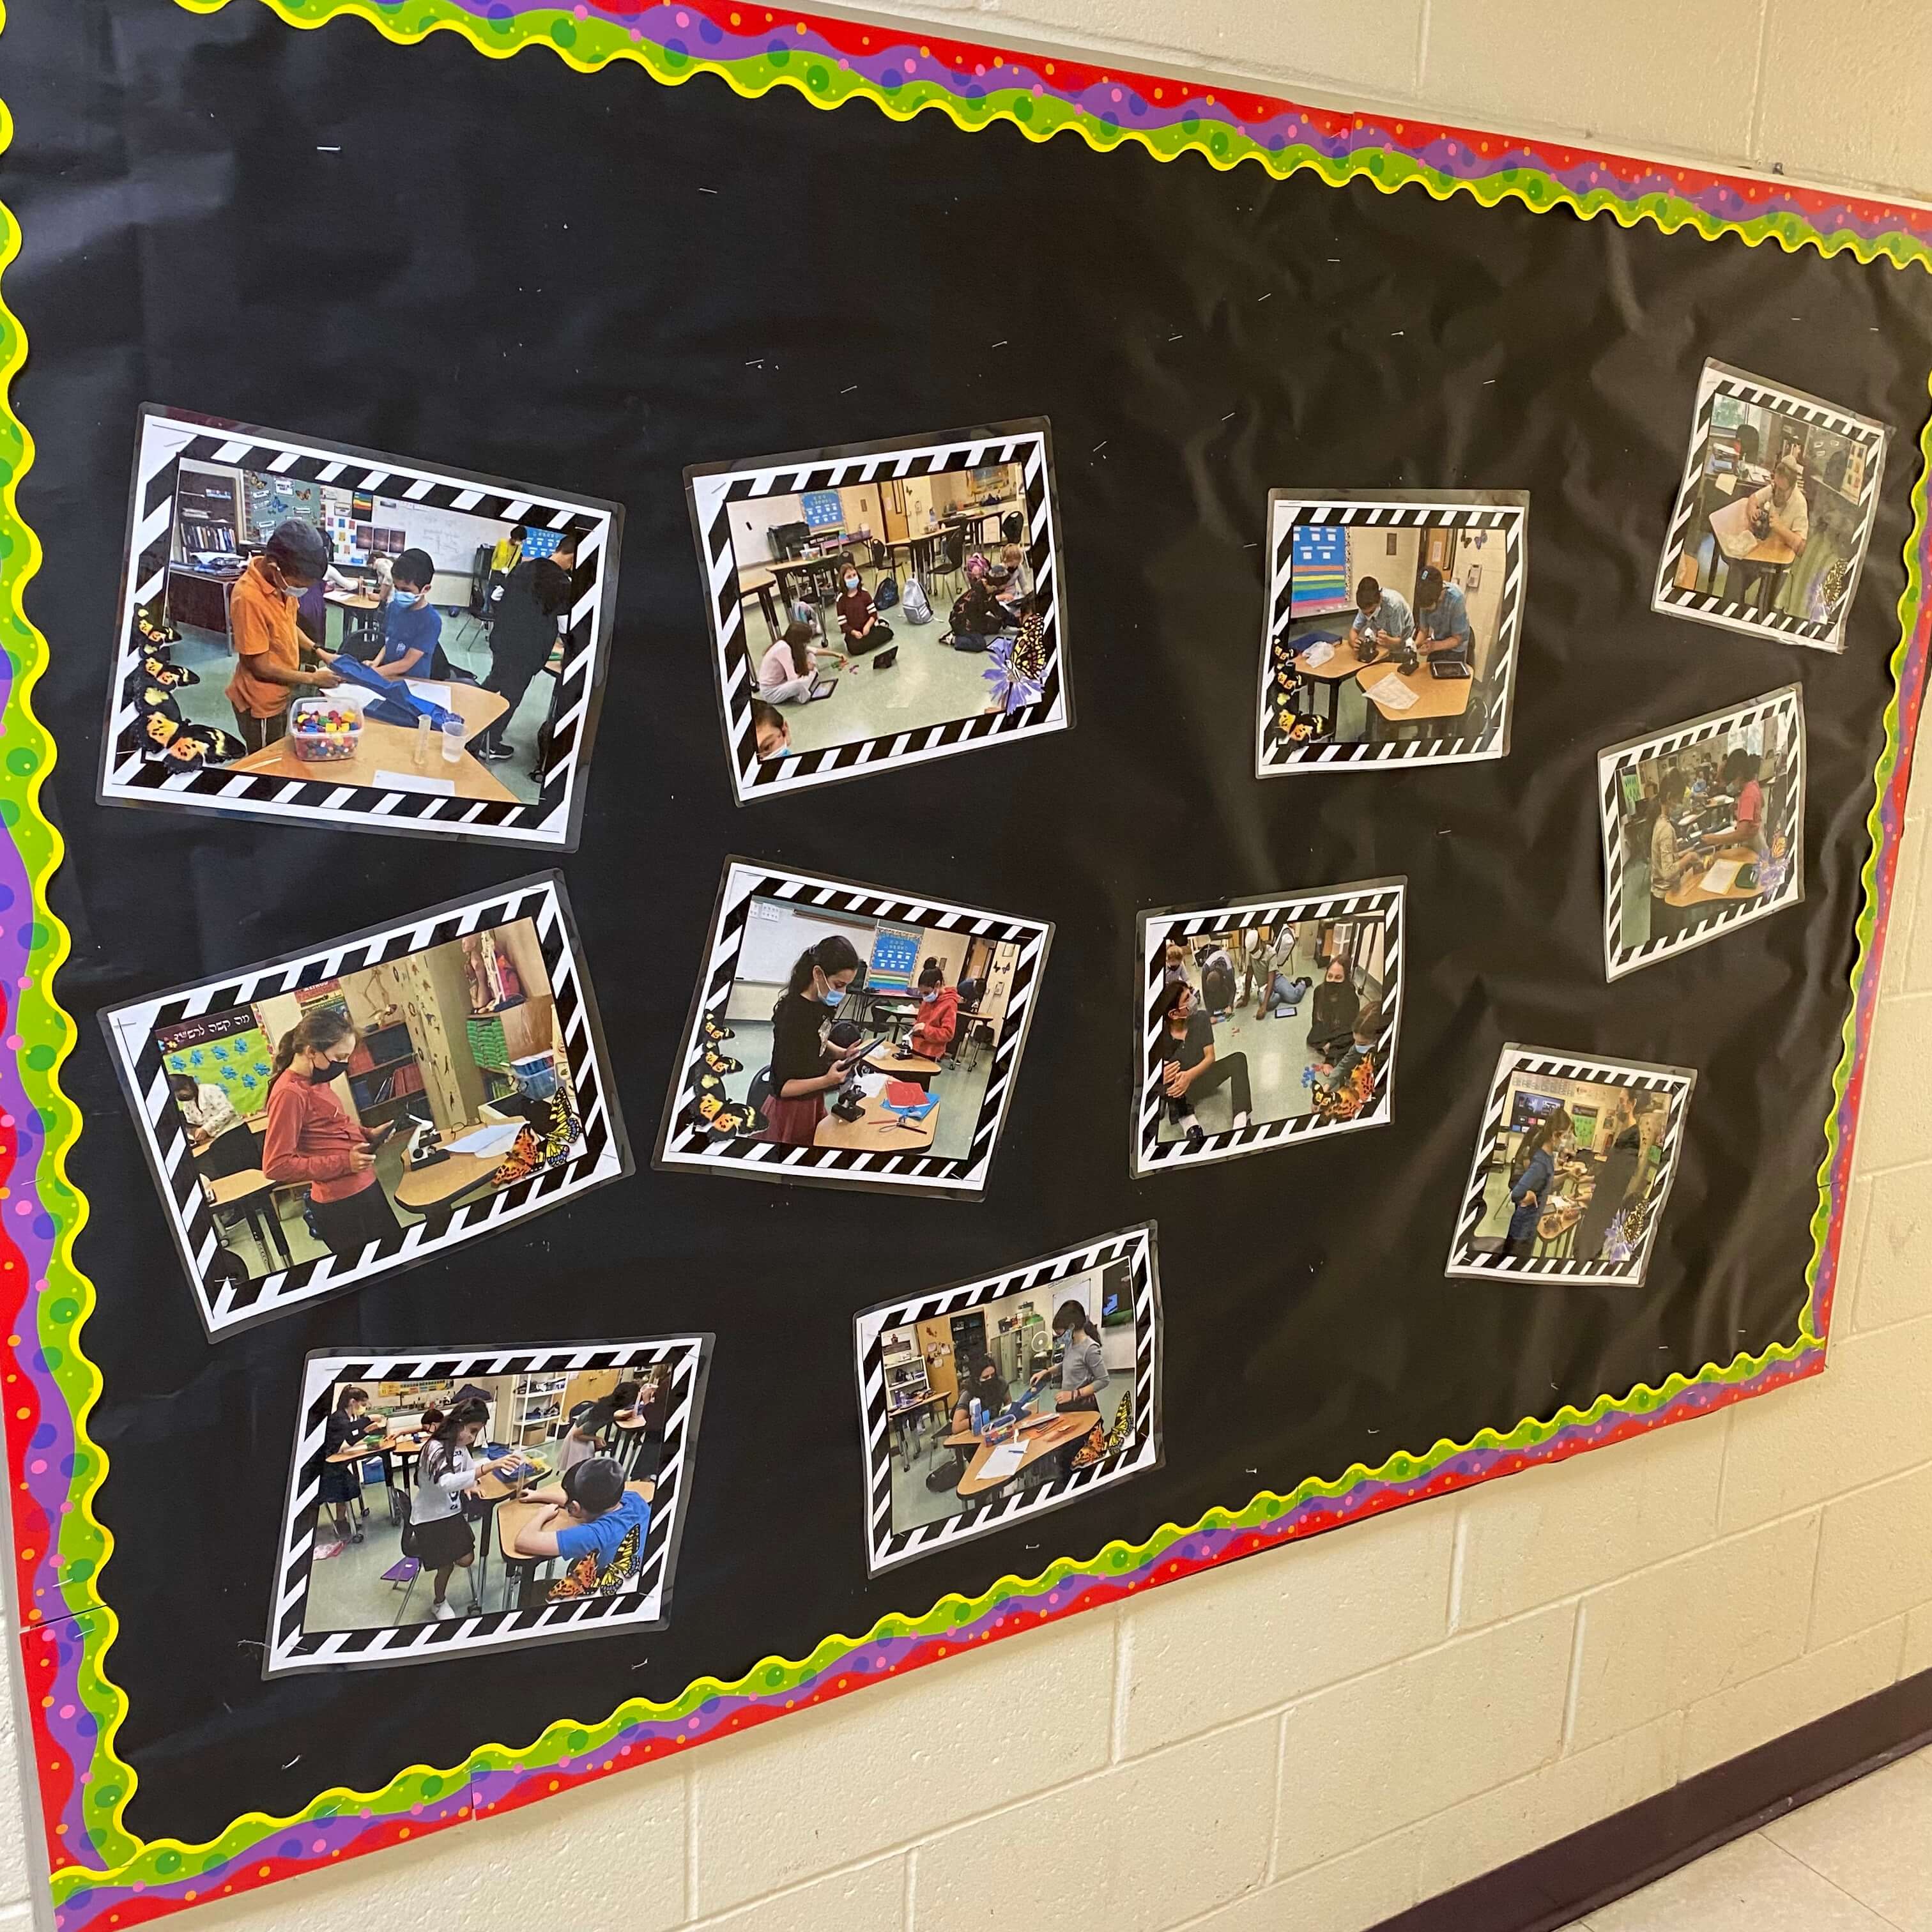
As a teacher, you should always be keeping a portfolio of your hard work, and photographs really show your talent at work!
Looking for science resources? Please visit my store at Teachers Pay Teachers called Science by Sinai for hundreds of activities.

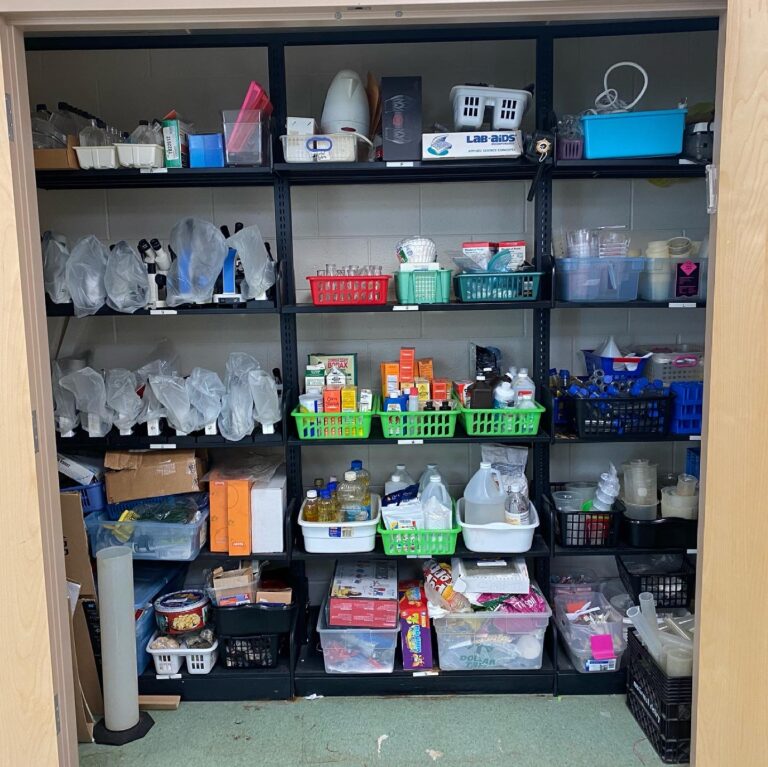
- Embracing The Mess: Why a “Messy” Science Classroom is a Good Thing
 Embracing The Mess: Why a “Messy” Science Classroom is a Good Thing Do you have a messy science classroom? Are supplies scattered everywhere, with half finished…
 - Why Digital Science Notebooks Make the Ultimate Study Guide
 Why Digital Science Notebooks Make the Ultimate Study Guide Do you find that your students don’t know how to study for tests?Are they losing papers, forgetting…
 - 10 Tips For Engaging Disinterested Students
 10 Tips For Engaging Disinterested Students We all know the struggle of engaging disinterested students no matter how hard we try. Over the years, I’ve found…

I just found your website/blog today and I am really enjoying the ideas you share. I teach for an online only public school so your use of cameras and digital resources is really helpful for me. Our one road block can be that our students don’t always have the same kind of computer (most do, but not all). We also cannot use Google. I personally use apple computers/iPads but that is not what our school uses. Anyway I hope to translate some of the things you’ve shared into our system. Thank you for your generosity in sharing so many resources.
I’m so glad some of the ideas are helping you out. Before we had our iPads, I was doing a lot of the things I talked about on this post on my own phone. I would then share it with my students and they still enjoyed it.
Before I started using Google slides, I had the kids doing PowerPoints and I would give them some of my photos and videos to add to their digital notebooks. It can be annoying to have restrictions, believe me we have a lot in my school, but there are usually some workarounds.
If there’s anything I can help you with, let me know . I really do appreciate your feedback!