Teaching a Unit on Newton’s Laws of Motion
Are you teaching a unit on Newton’s Laws of Motion as part of your MS- PS2–1 or MS- PS2–2? Are you struggling to come up with ideas to help students understand how the laws apply to their everyday life?
Teaching a Unit on Newton’s Laws of Motion
Updated January 2024
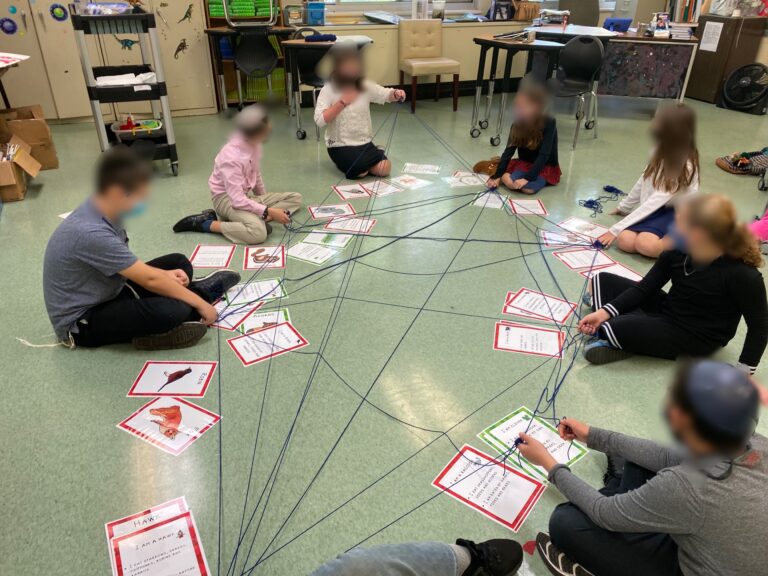
My focus, during my two to three week unit on Newton’s laws of motion, is how everything we see around us is demonstrating the laws in some way. By the time the students finish the unit, they have a clear idea of how the laws are applied.
Introducing the Three Laws of Motion
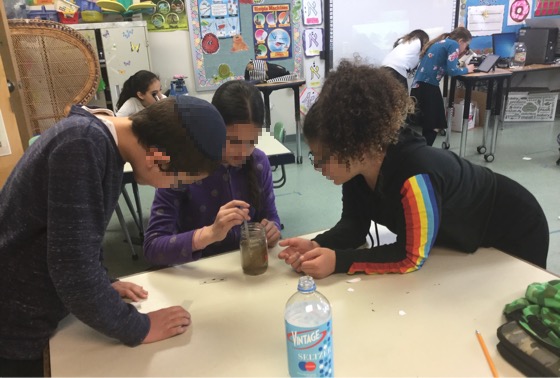
I start my unit on Newton’s Laws of Motion with examples of balanced and unbalanced forces, as seen in my post called LABS WITH IPADS TO TEACH BALANCED AND UNBALANCED FORCES. This gives the students a basic awareness that various forces drive our world.
When introducing the three laws, I start with my PowerPoint that introduces the wording of the laws. There are several ways we can approach using the PowerPoint rather than simply having the students sit and watch. The PowerPoint’s structure has an image with a question and students work alone, or in groups, to decide which one of the laws they are seeing. You could show the first slide with the image and then the following explanation slide. You could also challenge students to come up with all of the answers first before viewing the explanations.
I created a workbook for students to fill out as they look at the images. There is a differentiated version with guided, fill in the blank reading. You could also put the PowerPoint at a center/station and cut up the workbook into task cards for students to work through.
Project Choice Board
I love to have ongoing projects as students move through a unit. This way they learn concepts themselves while getting the classroom information as well. Once students have moved through the PowerPoint mentioned above, I introduce the PROJECT CHOICE BOARD. Depending on the class dynamics, I may have the projects done completely at home, half at home or entirely during class periods.
I prefer the half at home and half at school situation so I can see students working. Either way, I have them fill out the check-in sheets as they move along. If they have devices, they also photograph their progress. This simple act revs up the accountability so much!
I tried to create project choice ideas to hit the talents and interests of different students. They can also petition me for their own ideas. Sometimes their ideas are spectacular!
CER laws of Motion Image Writing Prompts
I use the CER image prompt bellringers each day to get students really digging into critical thinking. I love hearing students argue about which law the images best represents when multiple laws are possible. I have used the CER prompts for early finishers or even as an assessment instead of a test. (I rarely test this unit because once they have finished the PowerPoint, CER’s and project, they OWN the information!)
Drawing Vector Arrow on Images
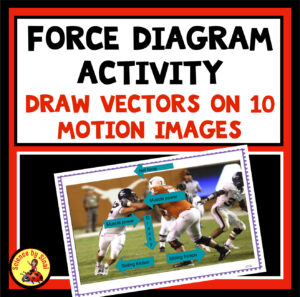
Looking at the net forces acting on an object is something we do either in this unit or in the balanced/unbalanced previous unit. Students look at images and draw vector arrows on them to represent forces. We don’t use values, just the forces such as gravity, friction, thrust, or air resistance. I have them make the arrows thicker or thinner to represent which ones are stronger.
For example, with a parachutist, the main arrows would be gravity and air resistance. The gravity arrow will need to be a bit wider as the parachutist is falling downward. If the air resistance was higher the parachute would fly up and away!
Finding the Resultant Force on a Graph
We dabble a bit with actual vector amounts on a graph where each block represents a Newton. Students draw the resultant force arrow after some simple math as to which direction is pulling or pushing the most. They also understand that multiple forces can be pushing/pulling in the same direction.
Looking at Friction as an Unbalanced Force
Delving deeper into unbalanced forces, I have a PowerPoint introducing the four types of friction which are sliding, rolling, fluid and static. The PowerPoint is laid out very much the same as the Laws of Motion PowerPoint.
Students are given an image with a question and they must determine which of the four types of friction is being depicted. The following slide has an explanation. You can remove the explanation slides and have the students just work through the image slides. I also provide a workbook for the students to work through. There is a differentiated guided reading, fill in the blank version.
If you want to go deeper into teaching friction, I have a matching sort game that the students enjoy doing. It would make a great center activity
Observing the First Law of Motion
Car crashes. Scary but very relevant when talking about the first law! By middle school age, students know that they should be wearing a seatbelt. However, can they explain exactly WHY using physics? After watching crash test dummies, especially in a school bus, you will notice that the students sit up and pay much more attention!
I give the students the reading comprehension passage about how car manufacturers have to understand and study the Law of Inertia to create safety features. Seatbelts, airbags, crumple zones and shattering windshields are discussed. The idea that our cars are DESIGNED to crumple blows the students minds!
The Second Law of Motion
Moving along to the second law, we practice F= ma problems. We use the triangle to solve for either force, mass or acceleration. For example, to solve for mass, you can put your finger over the “m” and see that F is divided by a. Solving for acceleration, you can cover the “a” and see that F is divided by m.
Collisions Lab to Observe the Third Law of Motion
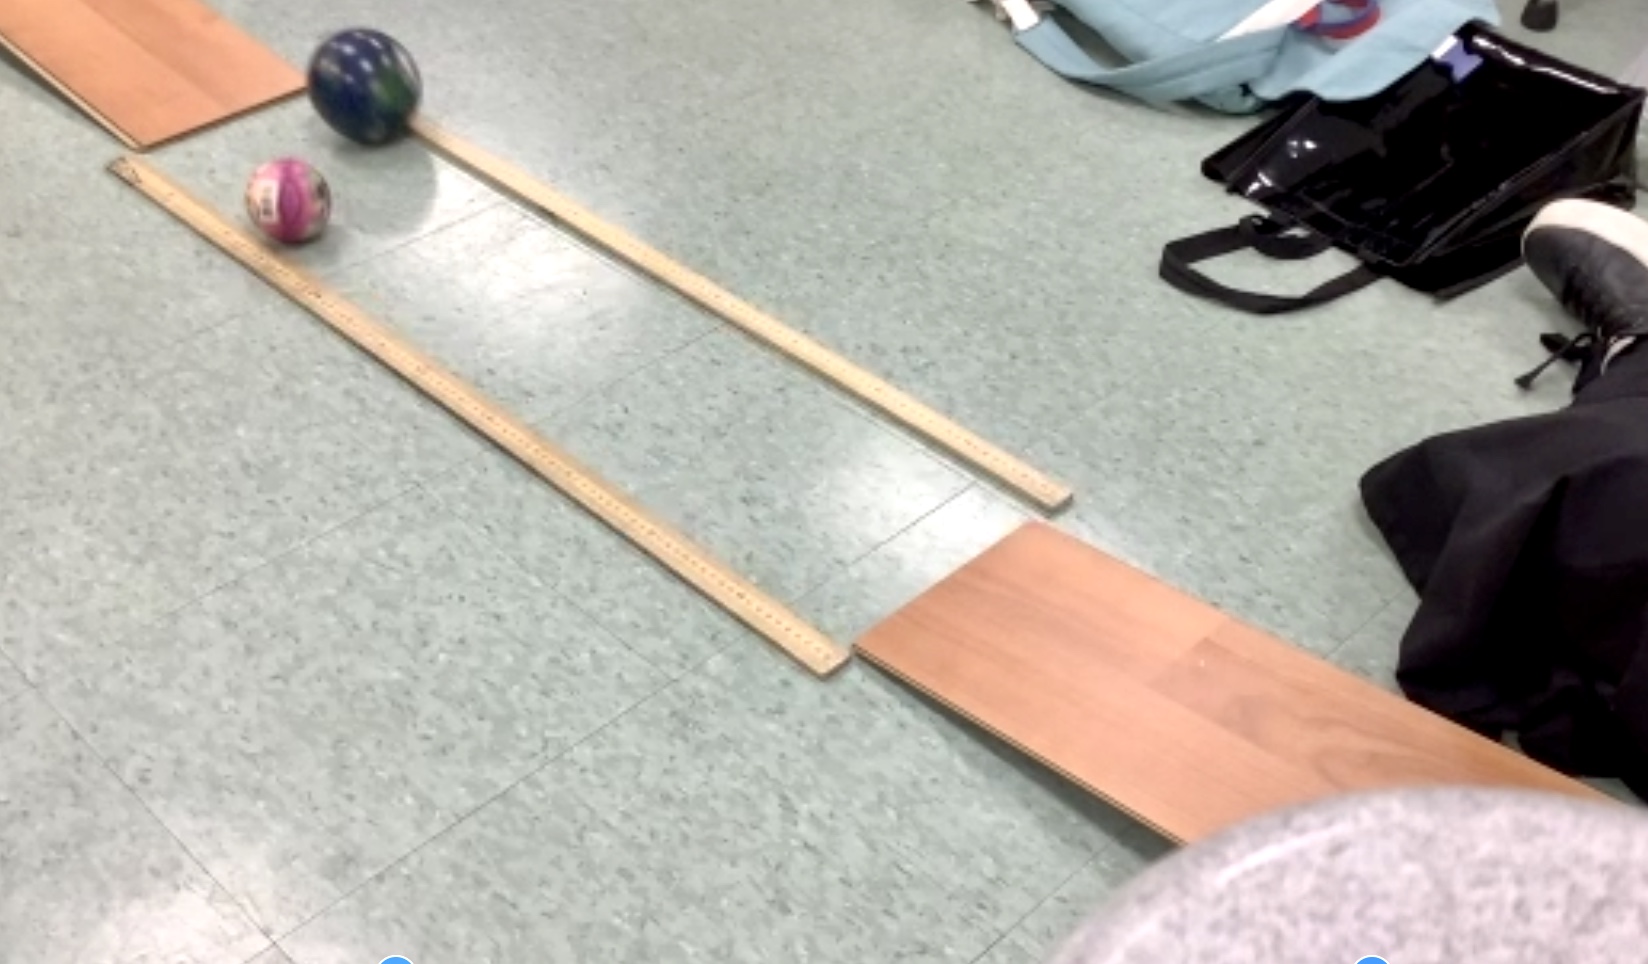
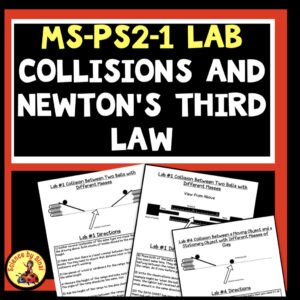
Now it’s time for a two to three day lab using the collision of balls as part of the third law of motion! Students find the mass of at least eight different smaller balls such as dollar store rubber or plastic balls, ping-pong balls, golf balls, tennis balls, etc. They set up two identical ramps facing each other and let the balls roll into each other.
Because I like students to predict what will happen, my lab takes more time. Since we also have iPads, a very cool part of this lab is filming the collisions in slow motion so they can be reviewed later. In fact, we don’t even fill out our data sheets until later as we watch the videos. If students don’t have devices, you can do it on your phone and show it to them. It really is fascinating! Even with no technology, the collisions can easily be observed.
After using the two ramps, we now put one stationary ball at the bottom of a single ramp and another ball rolls down to hit it. The different masses of the balls make for interesting results.
If you want to cover elastic versus inelastic collisions, the last part of the lab replicates the first, but this time uses clay rolled into balls.
All Students Love to Color!
If at any point you have early finishers, and need a quiet bellringer, I have two coloring sheets on the Laws of Motion and two on the Types of Friction. It is amazing how colored pencils, or crayons, and slightly lowered lights can relax and calm a class! They love it! The images on the pages can be discussed as they color quietly. These are also super useful if you have a sub!
Assess Understanding with CER
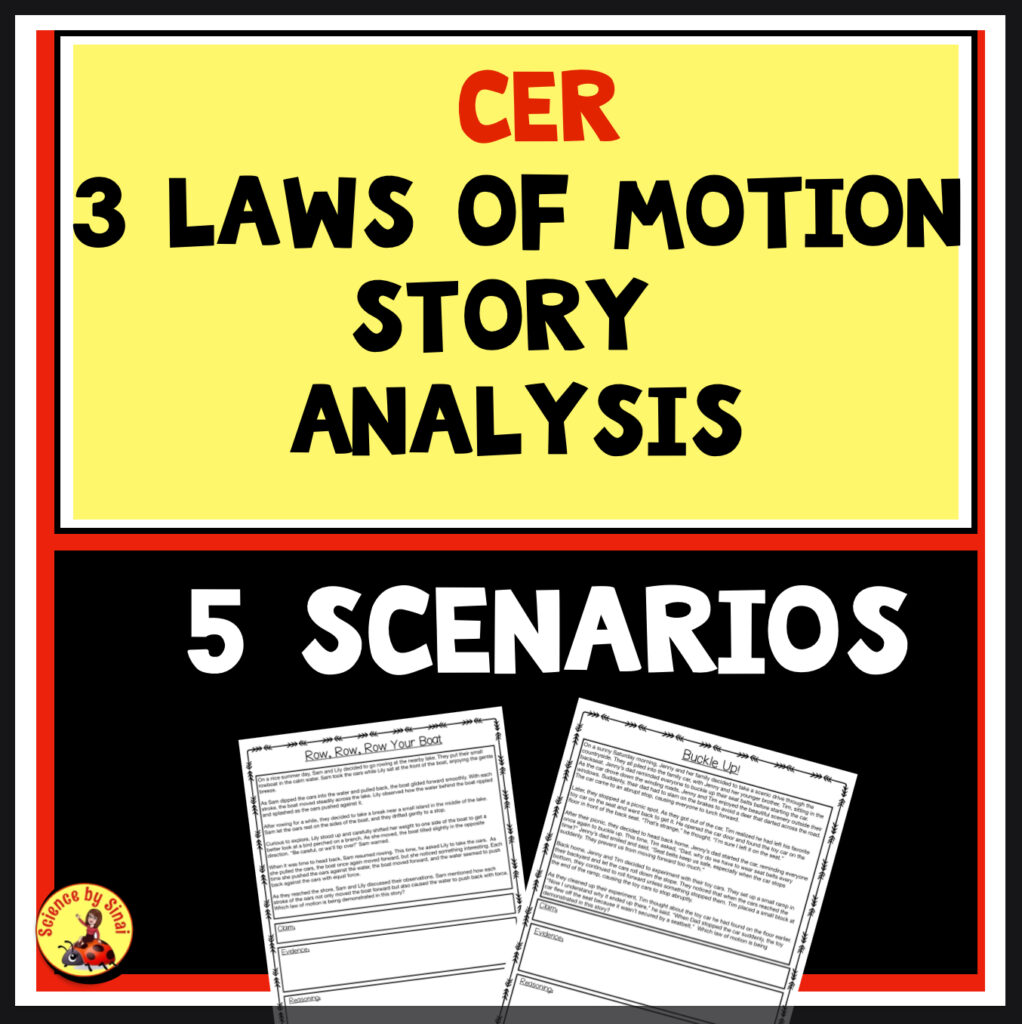
Have students read stories that are depicting one of the laws and defend their choice using CER (Claim, Evidence and Reasoning). They read the passage and pull out evidence to add to a graphic organizer.
Laws of Motion Exit Tickets
At the end of each class I hand out quick exit tickets. It helps me gauge which students are understanding the concepts and who needs center work or extra help. I don’t let students work in groups on exit tickets. Like I said before, with all this ongoing assessment, I don’t give a formal test at the end of the unit.
Conclusion
Learning basic physical laws is an important part of middle school science. Being able to recognize them in everyday situations is a great lesson in applying knowledge through critical thinking. I have these resources all in one bundle called Newton’s Laws of Motion Unit on Teachers Pay Teachers along with a free pacing guide to help you organize your unit.
