Go Outdoors on an Exciting Schoolyard Ecosystem Scavenger Hunt!
Are you looking for a way to get students observing their local ecosystem? Do you love taking classes outside?
Go Outdoors on an Exciting Schoolyard Ecosystem Scavenger Hunt!
Updated Feb 16, 2021
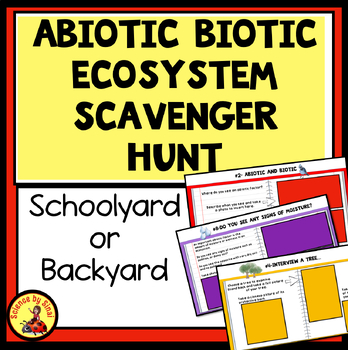
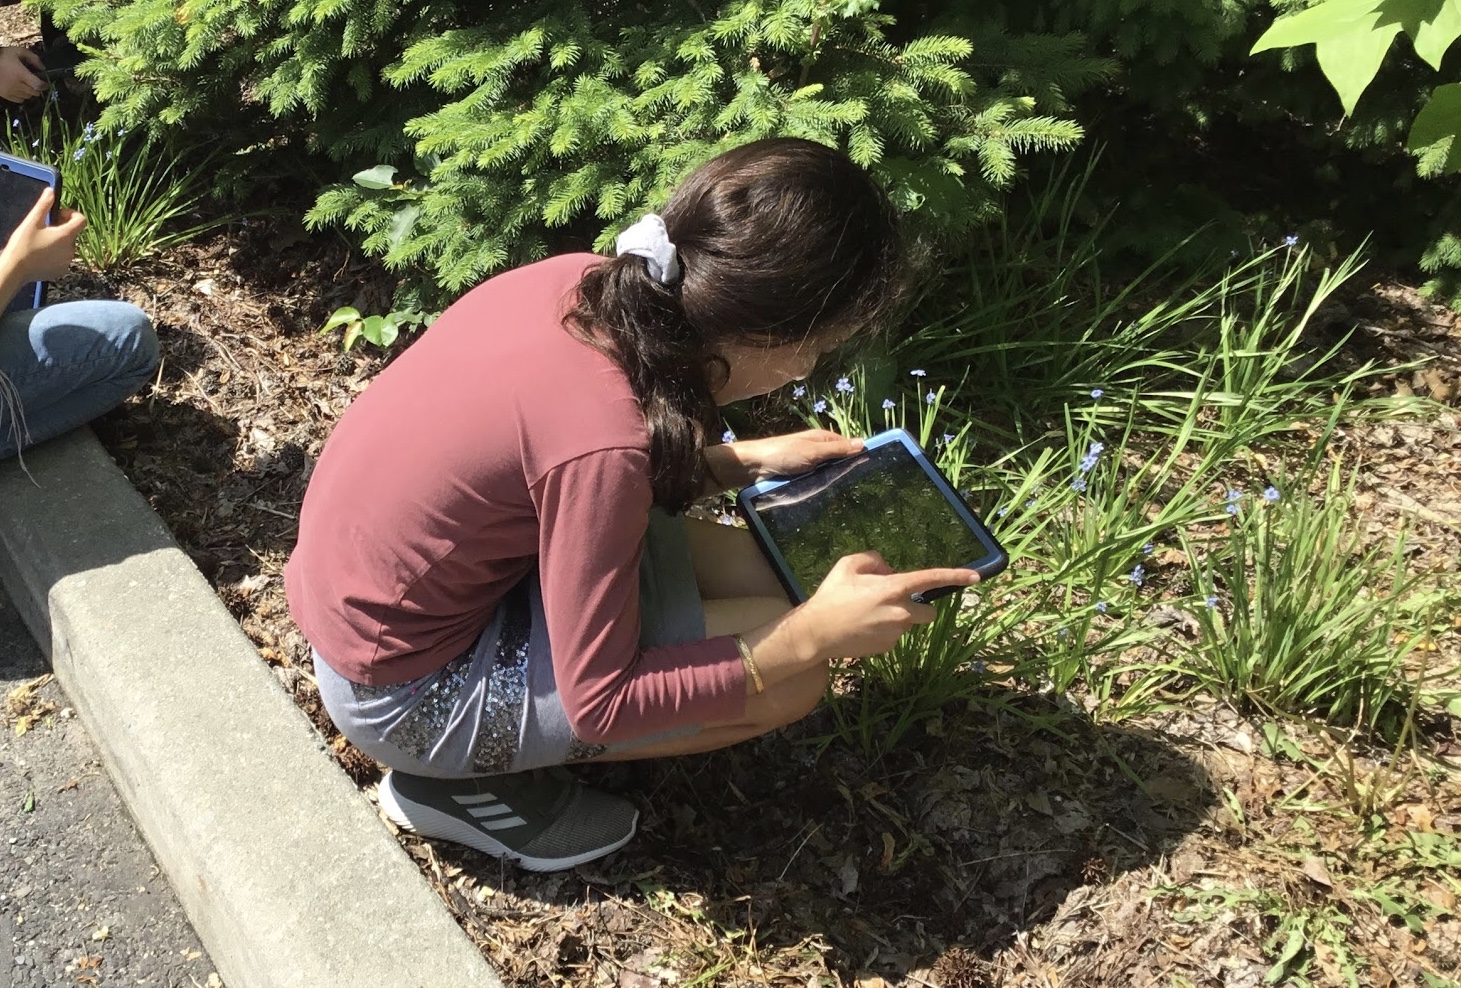
Here is a way to go on a fun scavenger hunt that involves students bringing their devices that have cameras outside!
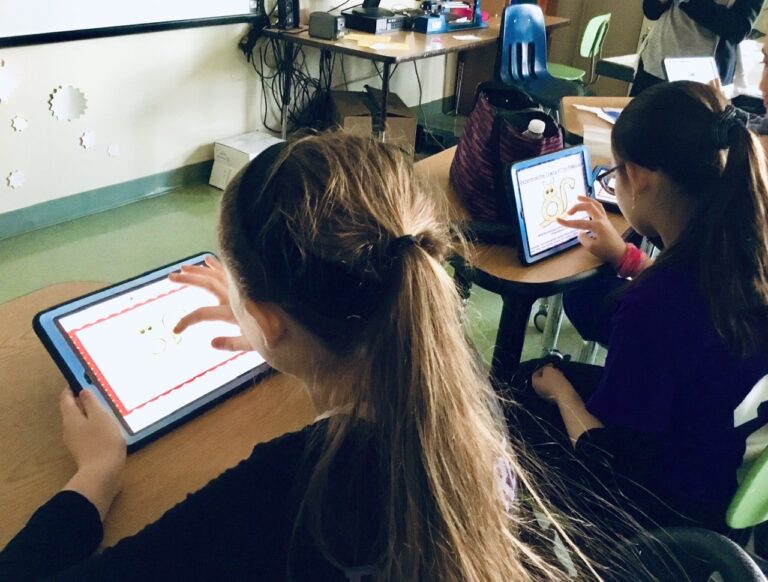
I put together this scavenger hunt to be used on an iPad or phone as students walk around outside and take pictures to add to their Slides presentation.
I do this activity as part of my unit on ecology and they add it to their digital interactive science notebooks.
Before we go outside, we review key terms such as abiotic, biotic, producers, consumers and decomposers. I also review how to read a thermometer and a compass. I find it is much better to discuss these concepts while we are still inside rather than trying to teach them the terms once they are excited about being outdoors.
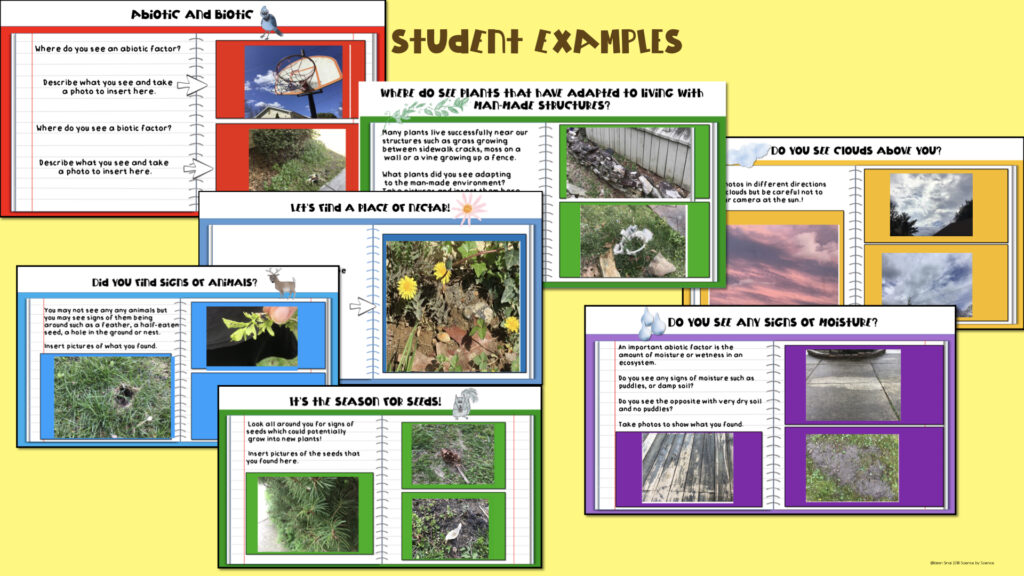
Overview of Their Ecosystem Area
Each slide has them exploring different components of their schoolyard/backyard ecosystem. They start off by taking pictures of the general layout of the area showing the placement of trees, buildings or grassy areas. They are encouraged to step back and look at the whole picture so that we can discuss the interactions later.
An extension to this may be going on Google Earth and finding a satellite picture of the school or, parent permitting, an image of their neighborhood.
Classifying Biotic and Abiotic
Students start off by searching for elements that are either abiotic or biotic and taking photographs to insert in their slide presentation. I found I needed to go over the common misconception that something that is dead is not abiotic. They need to understand that abiotic means something that was NEVER alive such as a rock or water. For the biotic component I encourage them to look closely at the trunk of trees or under leaves to try to find living creatures.
I’m always amazed at how into this the students get! It’s like I brought them to the zoo. Sadly, I don’t feel like students explore as much as we did as kids.
Food Chains and Webs
Classifying producers, consumers and decomposers is an important part of learning about food chains. We search for examples of each and take photos.
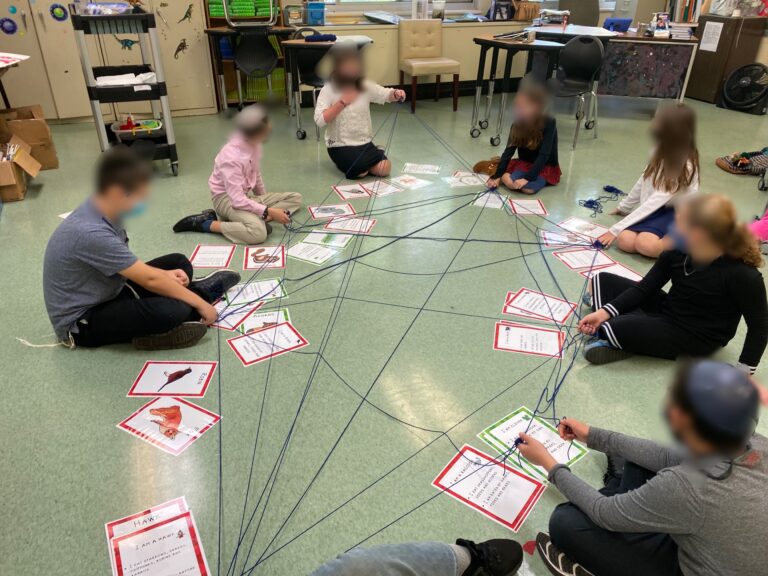
Later, I have them do my Drag and Drop Food Chains activity that they load into their digital interactive science notebooks. We can elaborate with a discussion of food webs with either my full class yarn web activity or, if remote, my digital food web activity.
The students will look for any insects, birds or maybe even animals as representatives of consumers. You can bring up the differences between herbivores and carnivores. Turning over dead leaves and rocks helps them find an ant or a worm as a representative decomposer. We always seem to find the “roly-polys“ that they fall in love with watching their antics!
Interview a Tree!
Now it’s time for an interview with a tree of their choice. Students take multiple pictures of their favorite tree from different views with both close-ups and from a distance.
Students then use string to measure the diameter of the trunk of the tree. Great measuring practice! They then take crayons and paper to take a bark rubbing, which they all love.
I encourage them to look very closely at all aspects of that tree and then when we get inside we try to identify the species. You may want to guide them away from the non-native ornamental trees that may be around their backyards or the schoolyard.
Search for Flowers
Depending on the time of year it may be a bit difficult to find flowers. If you can find an area with long grass you may be able to find some tiny flowers. If students are unsuccessful I sometimes have some native flower pictures ready to send them.
Last year I did this scavenger hunt twice with my sixth graders, once in the fall at school and again in the spring. This gave them many more opportunities to find flowers and to observe changes.
Search for Seeds
During most of the year students should find a good amount of seeds either at home or around the schoolyard. I left three places for photographs of seeds since they are likely to find acorns, maple tree “helicopter“ seeds, dandelions and many more.
Signs of Moisture
We move into abiotic features as the students look for signs of moisture. They will look closely at the plants in the soil to see if there are any signs of recent rain or dew.
If possible, I try to schedule this one or two days after rain so the students are likely to find damp soil and maybe even some puddles. Encourage students to pick up the soil with their hands and see if it feels sandy or if it sticks together. They may also notice that it hasn’t rained for a long time by picking up the soil and watching it blow away in the wind easily. They may see signs of plants wilting if you are doing this in early September after a hot summer.
Finding Wind Direction
students love the slide because it involves them using bubbles in a compass. As fun as it is it can be a bit difficult for them to understand how to find the actual wind direction.
I let them start off by blowing the bubbles and just letting them go up and over trees and buildings until they start to see a pattern of where most of the bubble seem to be
You will need to explain that meteorologists determine wind direction by the direction of the wind is coming FROM. In other words, if the bubbles are flowing consistently South then the wind direction is actually “from the North“. They need to understand that the wind is blowing over their shoulders and taking the bubbles away from them.
Find a Bug Restaurant
Students love this and get all excited when they find leaves or stems that look like they have been chewed by small insects. A bug restaurant!
Remind them that they are searching for first consumers in the food chain.
Observe the Clouds
I have them look at the clouds and I ask them to take pictures in different directions to capture as many cloud types as possible. I sometimes take them out more than once during that week to try to capture other cloud types.
I supply students with either websites or cloud charts for them to try to identify not only the clouds but what kind of weather they represent.
Signs of Animals
When I did this remotely quite a few students were quiet enough that they got pictures of squirrels and birds sitting on trees and one student even got a picture of a deer. However, when I’m doing this at school, we are usually too noisy to see any animals.
I have adapted this to looking for SIGNS of animals such as a chewed seed, a burrow in the ground, a nest in a tree, a feather on the ground, half eaten acorns, etc. I found that this particular slide makes the students really look carefully at their environment and I quite often hear them saying things like “I never really looked at anything around me like this!”
That is a science teacher’s happiness!
Plants Adapting to Humans
The students will then look for signs of plants that have adapted to living in areas with man-made structures.
We search for grass that is coming up between sidewalk cracks, moss on walls, vines climbing up fences, a tree that has grown around a fence, etc.
I can use this slide later to talk about the adaptability of different species to living in urban or suburban areas.
Listen for Sounds
The 14th slide deals with the question “What do you hear?“ Again, the answers I got from the students in their own backyards were very interesting and more thorough than when we were outside in the schoolyard.
However, they also seem surprised at how much they can hear and we talk about how our brain sifts out quite a bit of the background noise in our lives. Last year the students were surprised to hear two Blue Jays “talking to each other“ from two different sides of the school. When one bird “spoke” the other one would answer. The kids were captivated for quite a long time. I honestly think some of the students never thought about animals communicating!
Temperature and Wind Observations
I like to take thermometers outside and set one up in the sun and one in the shade for the students to visit as they work on their other slides.
You may want to set up thermometers in the shade of a tree versus the shade of a building and in the sun on grass or on blacktop.
Having this information can lead into some great discussions later about convection currents and uneven heating causing local and global winds.
Time to Show Off
The last slide of the presentation appeals to every student because it asks them what they found that they would like to share. I found that even the shyest students don’t mind sharing their photographs of something interesting that they found which leads to some great discussions once we get back inside.
Once they pull this Ecosystem Scavenger Hunt together this is basically my landing site for the rest of my unit on ecology and ecosystems. I refer back to this constantly and they add information to the slides as we learn.
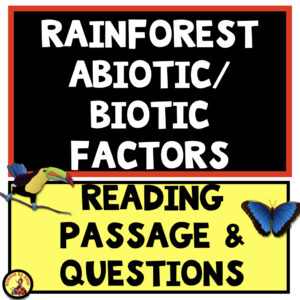
New arrival: Most of us won’t get to a rainforest in our lifetime, so here is a reading passage and questions talking about walking through a rainforest and observing abiotic and biotic factors. Great sub activity!


