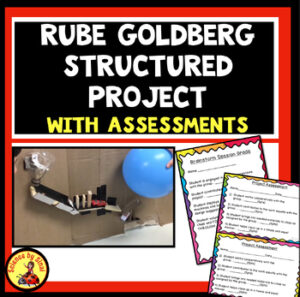
How to Create an Exciting But Structured Rube Goldberg Machines Unit
Have you tried having your students make Rube Goldberg machines and had the project drag on and on with several false starts? Did you have an abundance of random materials around your classroom? Did your students start the project with enthusiasm but then fizzle out, losing direction, making it hard to grade them?

written by
Karen Sinai
How to Create an Exciting But Structured Rube Goldberg Machines Unit
Feb 2021
That happened to me so I decided to take control and design a structured project system. Students now create incredible Rube Goldberg machines within a reasonable time period. They do plenty of upfront planning before they start gathering materials and assembling. I was worried that this would take their creativity away and that they would whine from the beginning. I was very pleasantly surprised when they embraced the planning and brainstorming session and took their time to do the daily progress journals.
Why Make Rube Goldberg Machines?
First of all, they are incredibly fun! The satisfaction when the design works is so gratifying! The engineering, and trial and error process, really pushes the students to plan and use critical thinking.
I do this as part of my unit on forces and simple machines and I require them to use five simple machines. By the time they complete their machines they really understand simple machines and transfer of energy well! I rarely have to do any further unit assessments.
Start with Examples to Create Excitement!
I like to show the students examples from previous years and there are many examples on YouTube. Some are very long and elaborate, but I tell them to watch it with ideas as to how to make individual steps. They absolutely love watching these videos and get really inspired. I try to do the initial brainstorming on the same day that I show the videos to capture that excitement.
Set a Goal for the Students
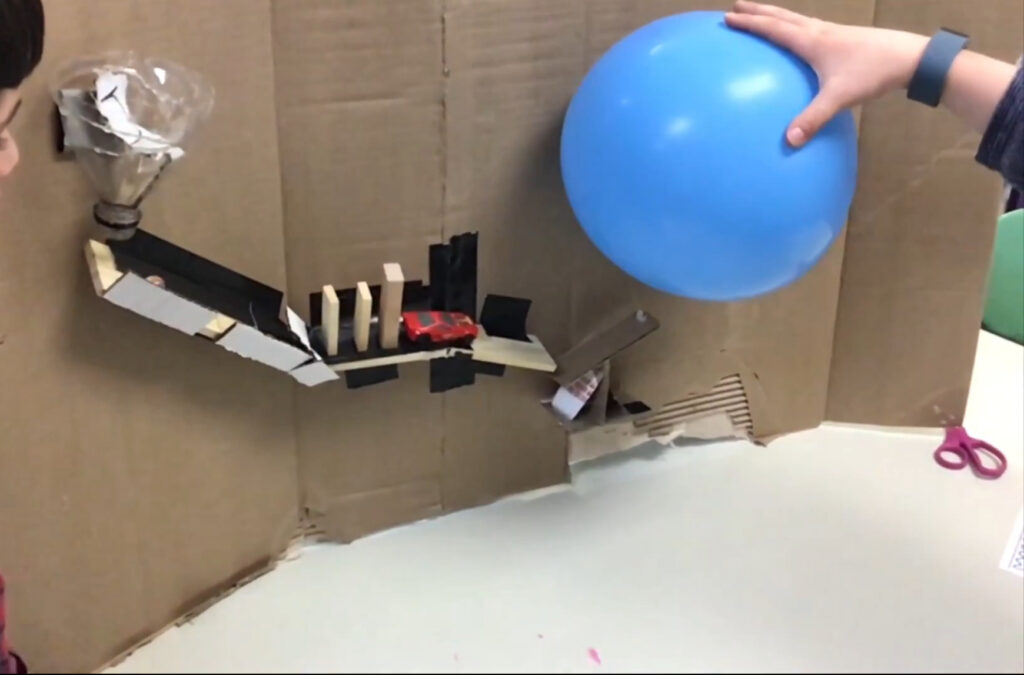
The students should have an ultimate goal such as popping a balloon, pouring a drink, watering a plant, pushing a ball, dropping a ball into a cup or turning a light on and off. I find it easiest to ask them to work BACKWARDS from the final goal. For example, if their final goal is to drop a ball into a cup, then they should start with the step that will put the ball in the cup.
The students should have an ultimate goal such as popping a balloon, pouring a drink, watering a plant, pushing a ball, dropping a ball into a cup or turning a light on and off. I find it easiest to ask them to work BACKWARDS from the final goal. For example, if their final goal is to drop a ball into a cup, then they should start with the step that will put the ball in the cup.
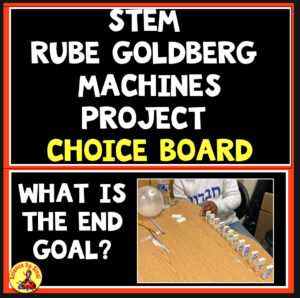
An easy way to help students choose is to use a choice board. I always let them have the option of choosing their own end goal as long as I approve it first.
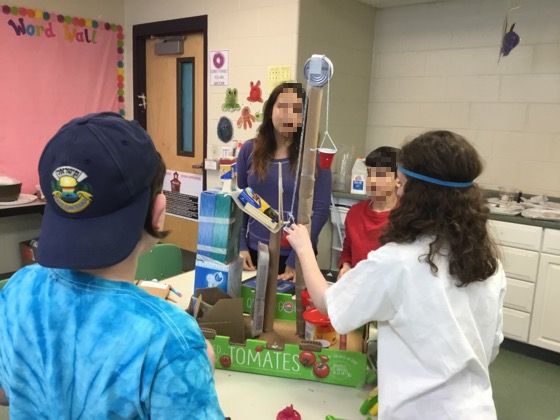
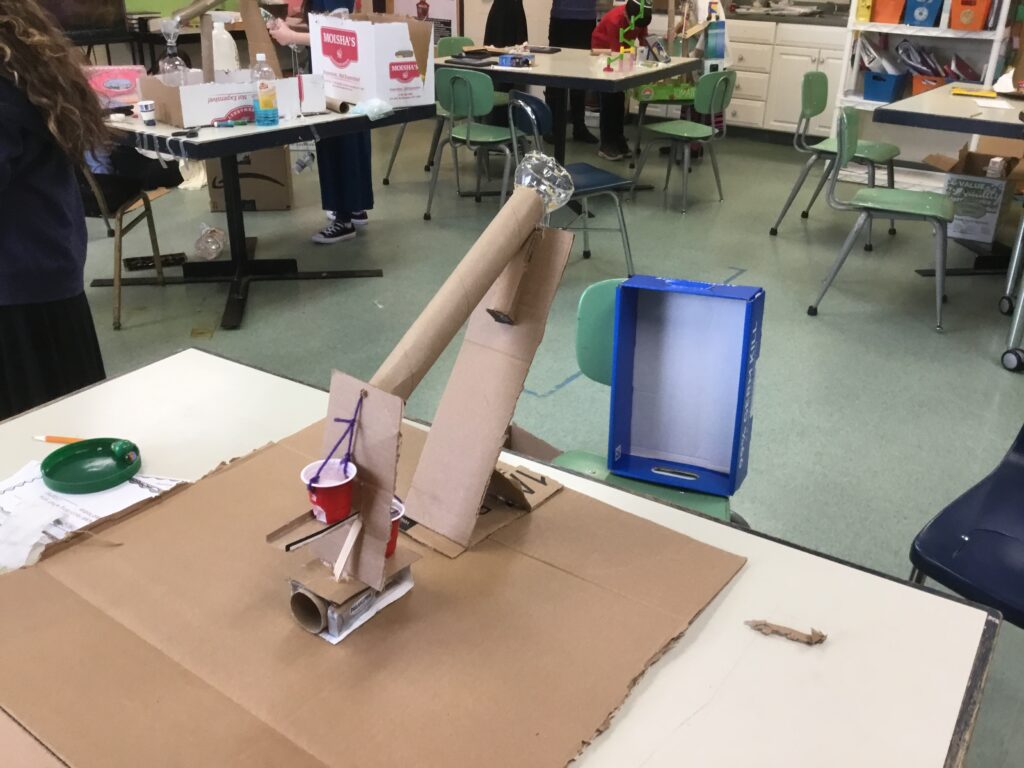
I have learned to set size parameters. In the past, I didn’t specify this and their projects ended up going all around the room. I share my room with different teachers in the morning and that became problematic when things were moved or touched. I now have students create components that will fit on a desktop, with a fixed base, that can be moved and stored at the back of the room.
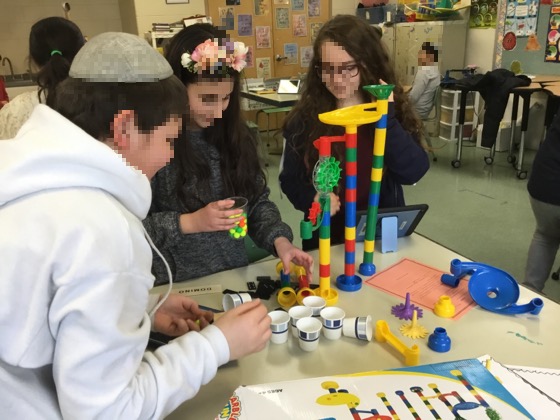
Have Students Brainstorm and Plan
This component of the project has saved me a tremendous amount of headache and aggravation in the long run! I used to simply bring in bags and bags of materials and have them figure out what they wanted to use. Their visions did not always pan out and they would get very frustrated. I have found that if I flip it around, where they have an idea in their head and THEN they go gather materials, then the entire project goes much more smoothly.
As I said earlier, I like to use the brainstorming prompts, in their digital science notebooks, the same day that I show the videos when they are full of creativity. I walk around and discuss the feasibility of their ideas. After they have their plans they then do the rough sketch. I have a rubric for their brainstorming session which really keeps them moving ahead.

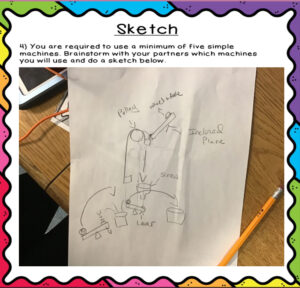
Their sketches must be labeled with the simple machines and a rough idea of what materials they will use. They must have my approval before they begin to gather supplies.

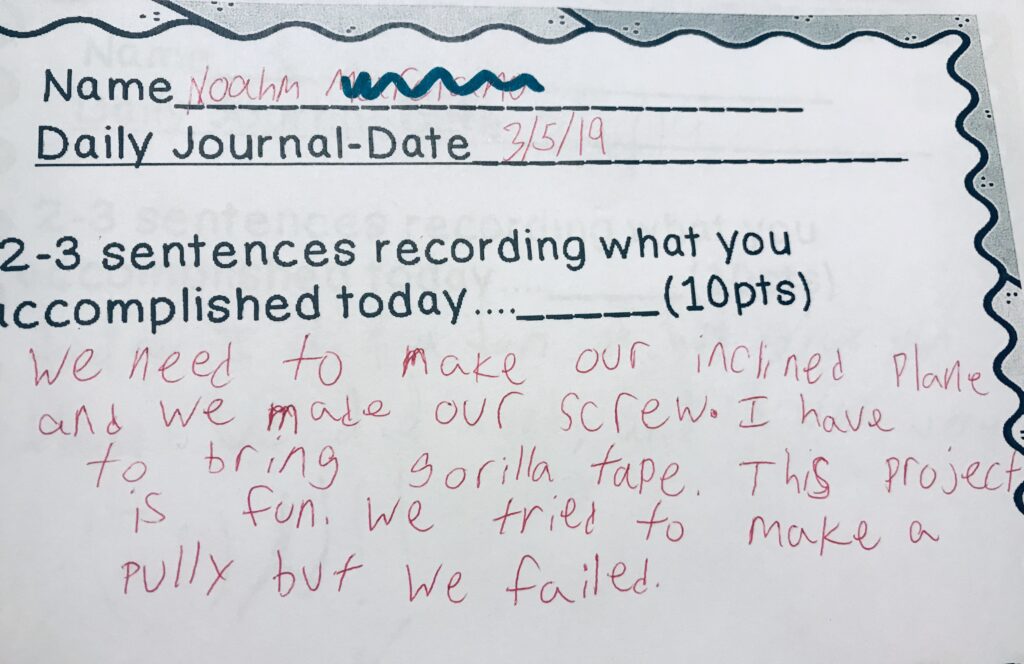
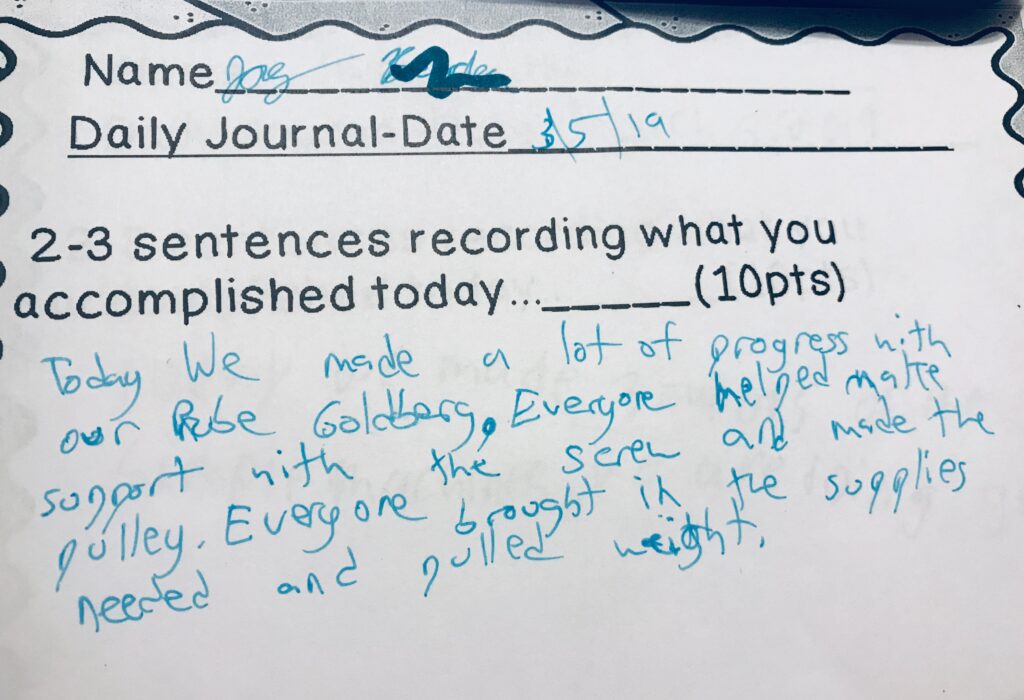
Keep Daily Journals and Rubrics
As I do with most of my projects, I have the students fill out daily journals describing what they accomplished each day. I make sure to budget the time for them to be cleaned up and still have three minutes to fill out these forms. (See my time management post). They are worth 10 points each day which adds value to the project.
Along with this journal, I also walk around with daily rubrics that add up to 20 points. These include how well they are working cooperatively, whether or not they brought in the materials and how well they cleaned up. This simple addition has made a huge difference in the accountability in my classroom!
I am embarrassed to admit that, after weeks of working on this project in the past, I often had difficulty grading each student as the days blurred together. Having this system in place gives me daily points to add to my gradebook and helps me remember any problems we had along the way. The hard-working students really appreciate getting credit for their work and the students that were happy to let others do the work now had to step up.
Rube Goldberg Machine Final Presentation
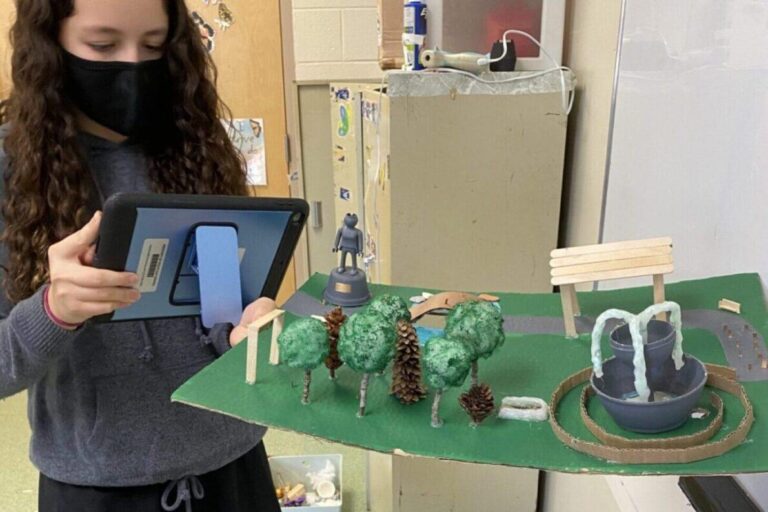
After the students have completed their Rube Goldberg machines, they fill out the form that has step-by-step descriptions. They will also do a final sketch and take plenty of photographs. Since my students are 1:1 iPads, I have them take slow motion videos which they narrate with the required steps. I ask them to include the names of the simple machines and where the transfer of energy occurred.
Assessing the Final Products
I strongly believe that students should assess themselves as well as an assessment coming from me at the end of a project. I gave them a self-assessment form so they could pull all their thoughts together as to how they think the overall project went. It includes what ways they would improve how they worked, what new skills they learned and whether they were good with their time management. This ultimately helps me with the next project!
I also have a final rubric for each student and many of the questions involve the final product. This way, their grade is dependent on how the group worked along with their individual understanding.

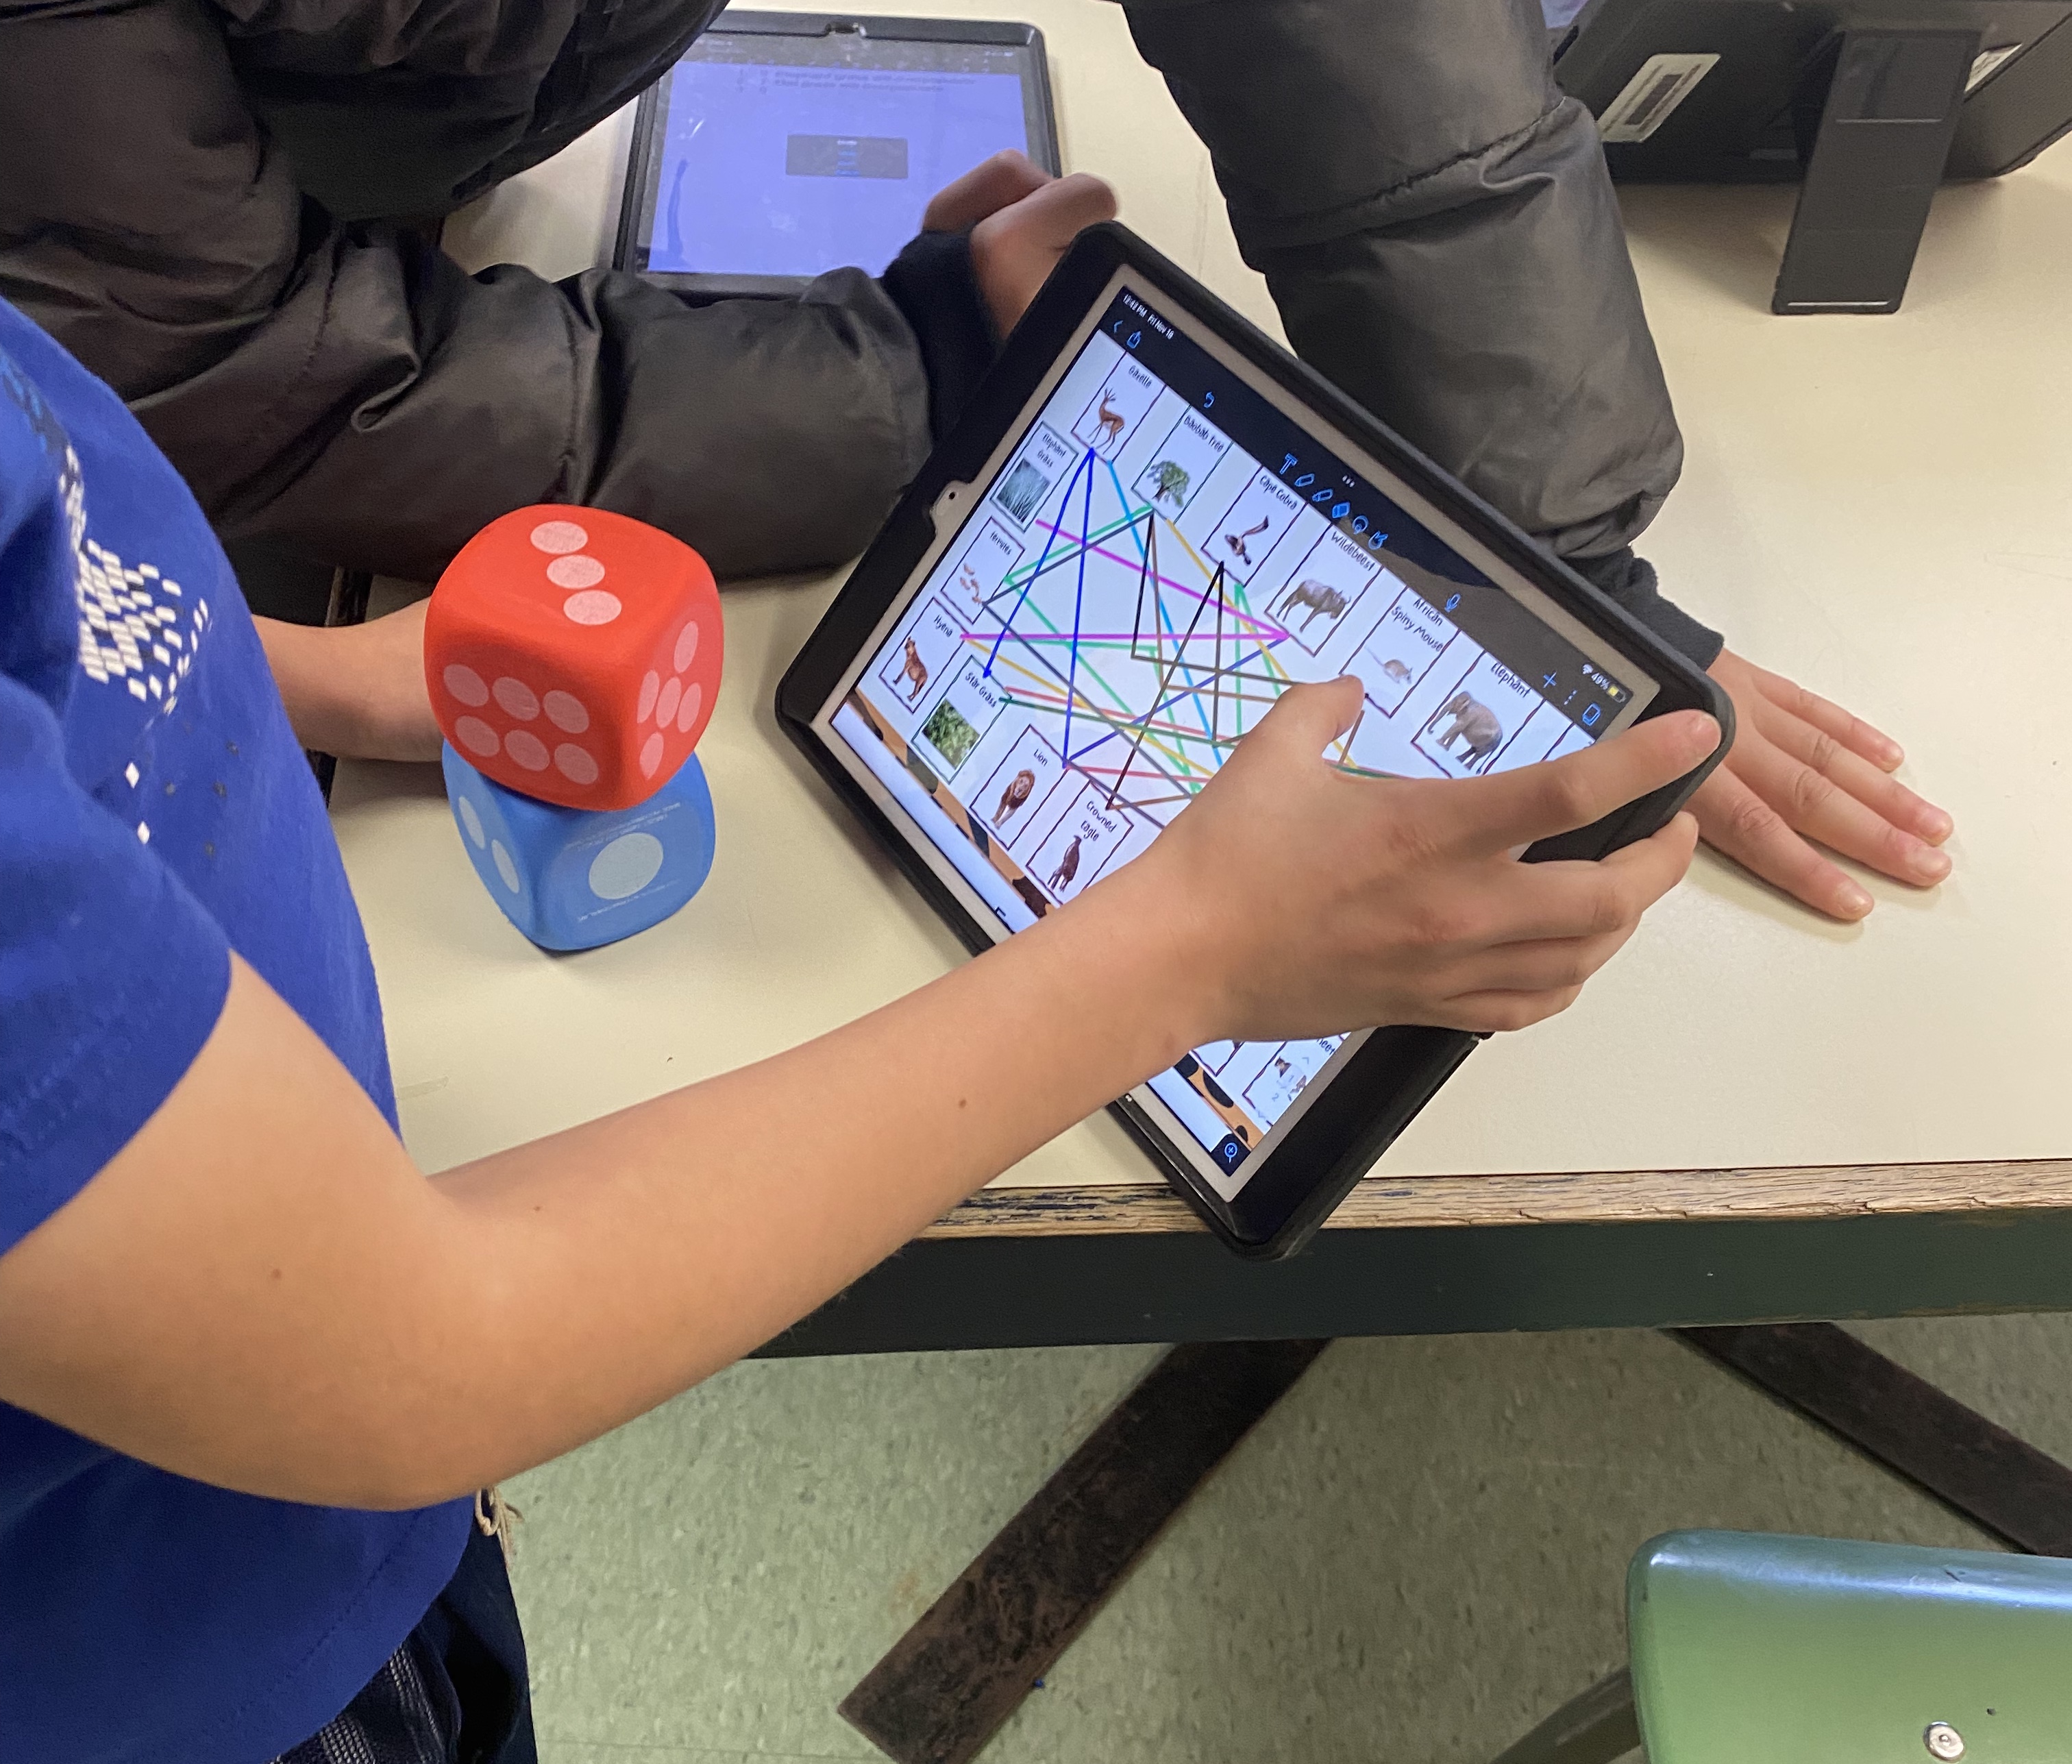
Taking the Concept to Another Level
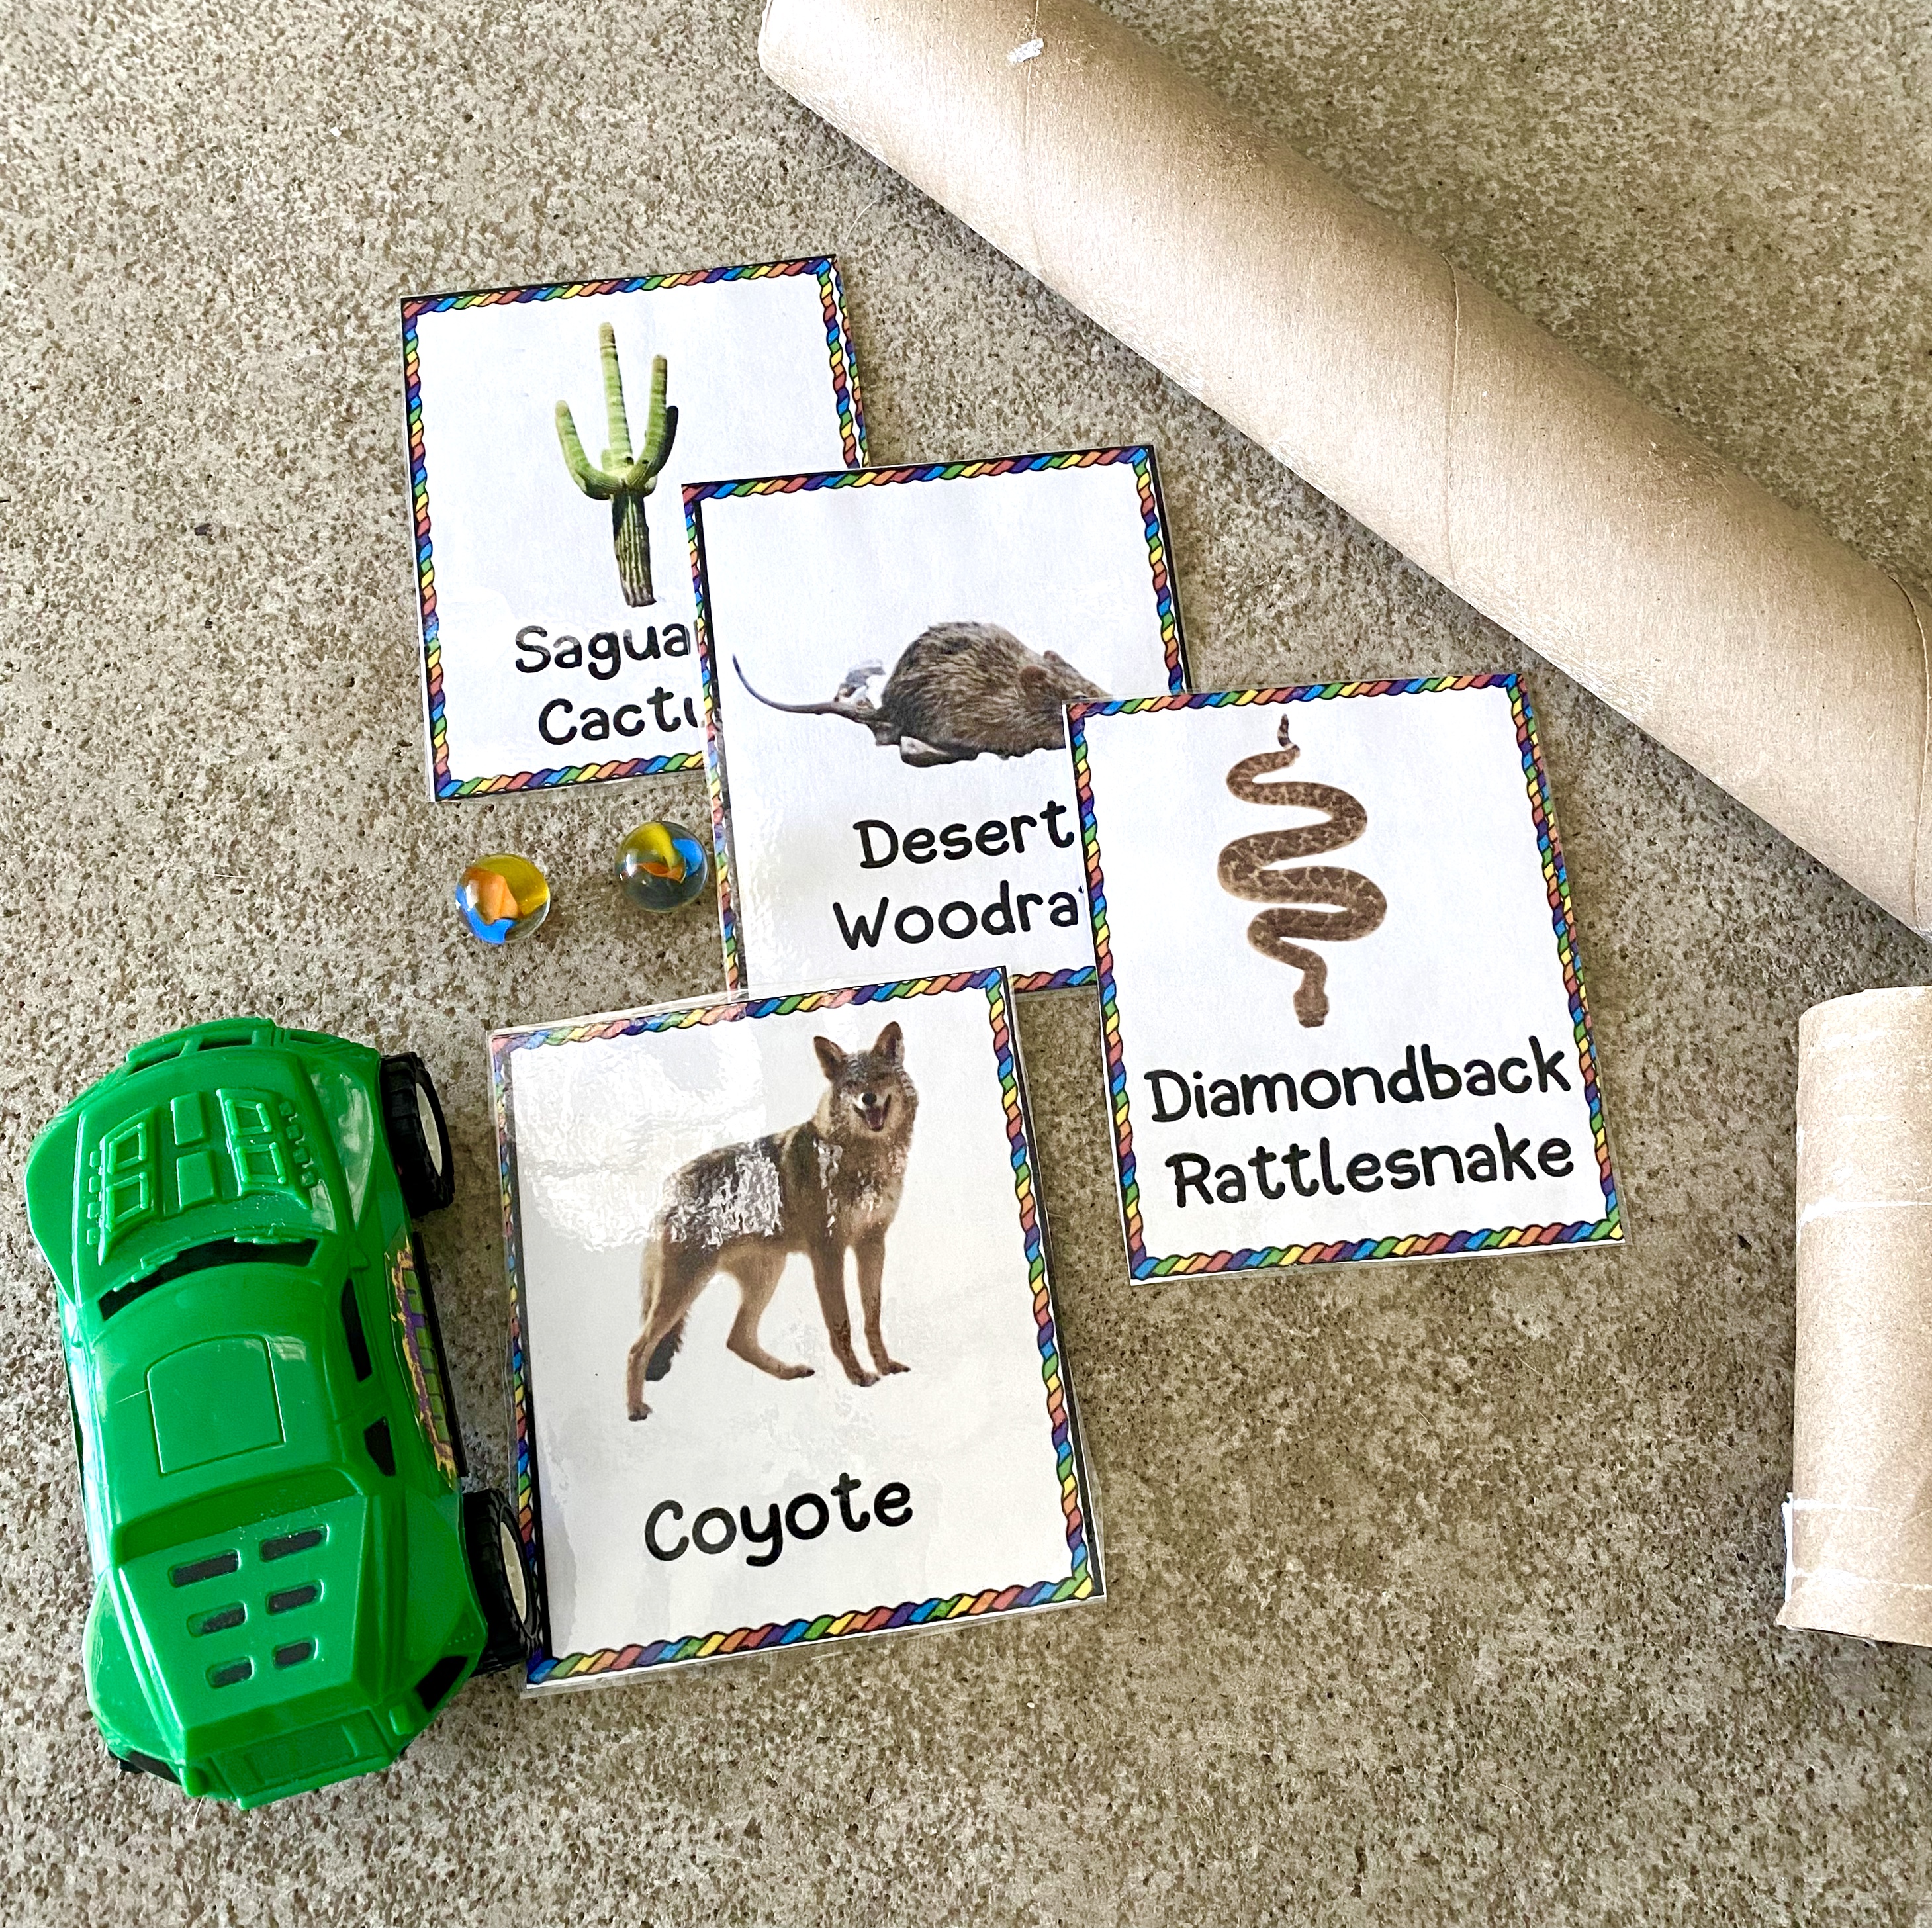
My students beg to do Rube Goldberg machines every year, which is not necessarily feasible as a stand alone project. However, if you add a new twist with some extra concepts it can be doable! During my environmental unit, when we are studying food chains, we finish off by making four step Rube Goldberg machines! I have a post on how we do this called STEM Energy Project Using Rube Goldberg Machines and Food Chains! The bottom line is that we take four step food chains and look at the energy transfer and represent that energy transfer with our Rube Goldberg machines! The students love it. I have 6 different ecosystems to choose from or a combined product as seen below.

Conclusion
This is an incredibly fun project with very visible results to be shared with the class and even other classes. By using my structured system you will have more peaceful, less chaotic sessions. A bonus is that you will also have plenty of tangible assessment points for your gradebook. I would love to hear how your projects went!

- Embracing The Mess: Why a “Messy” Science Classroom is a Good Thing
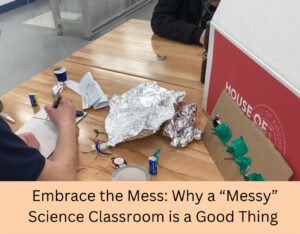 Embracing The Mess: Why a “Messy” Science Classroom is a Good Thing Do you have a messy science classroom? Are supplies scattered everywhere, with half finished…
 - Why Digital Science Notebooks Make the Ultimate Study Guide
 Why Digital Science Notebooks Make the Ultimate Study Guide Do you find that your students don’t know how to study for tests?Are they losing papers, forgetting…
 - 10 Tips For Engaging Disinterested Students
 10 Tips For Engaging Disinterested Students We all know the struggle of engaging disinterested students no matter how hard we try. Over the years, I’ve found…