Teaching About Balanced and Unbalanced Forces
Teaching a “balanced and unbalanced forces” unit(MS-PS2-2) is so much more engaging when students do activities using the features on their iPads!

Teaching About Balanced and Unbalanced Forces
Feb 2021
My middle schoolers have a blast using the slow motion feature on their iPad cameras to capture what they call “things smashing into each other”. They are skilled at capturing one frame from a video to annotate on it. They also love to create iMovies. I can sneak in a lab report they don’t even know they are compiling!
Their digital science notebooks become rich with images and content. The engagement in my classroom, especially during this time where we can barely use any equipment, has increased dramatically.
The middle school standard of MS – PS2-2 states:
“plan an investigation to provide evidence that the change in an objects motion depends on the sum of the forces on the object and the mass of the object.”
Some of this Standard I pick apart for my next unit on the three laws of motion, but I like to thoroughly introduce forces before we move on.
A Tug Of War Tells it All
Want to get them up out of their seats and tap into that middle school competitive spirit? Hold a good ‘ole tug of war!
Give the students a rope, with a ribbon tied in the middle, and draw a line on the ground for a full-fledged tug-of-war.
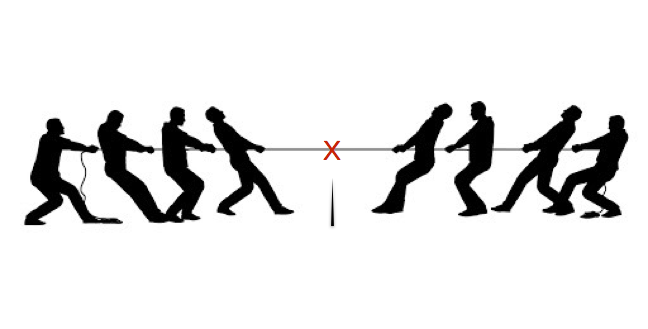
It’s not only fun, but has many concepts that you can refer back to throughout this entire unit. You can ask the students not involved in the tug-of-war to film the activity of the center of the rope.
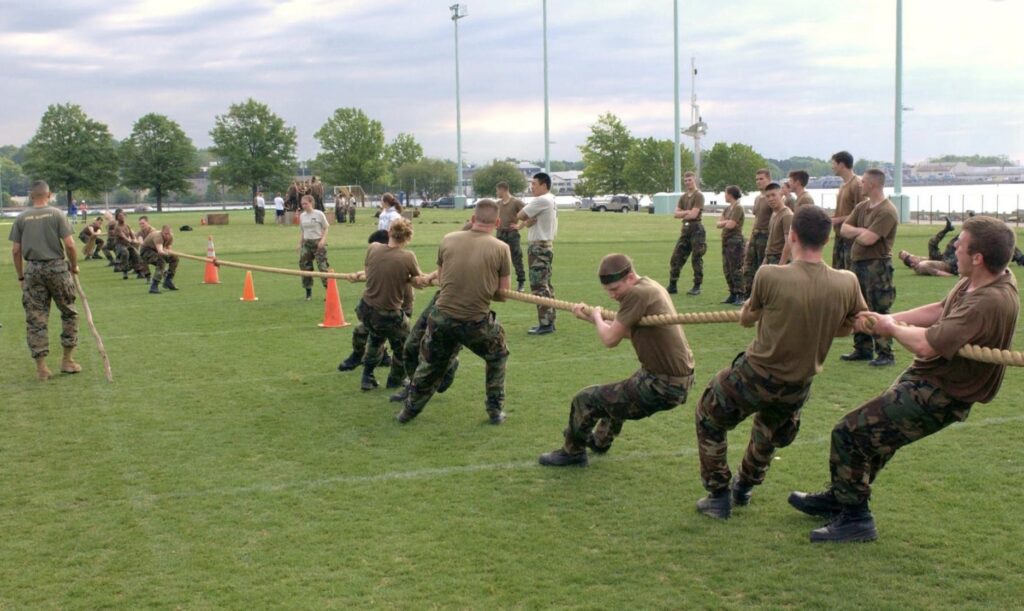
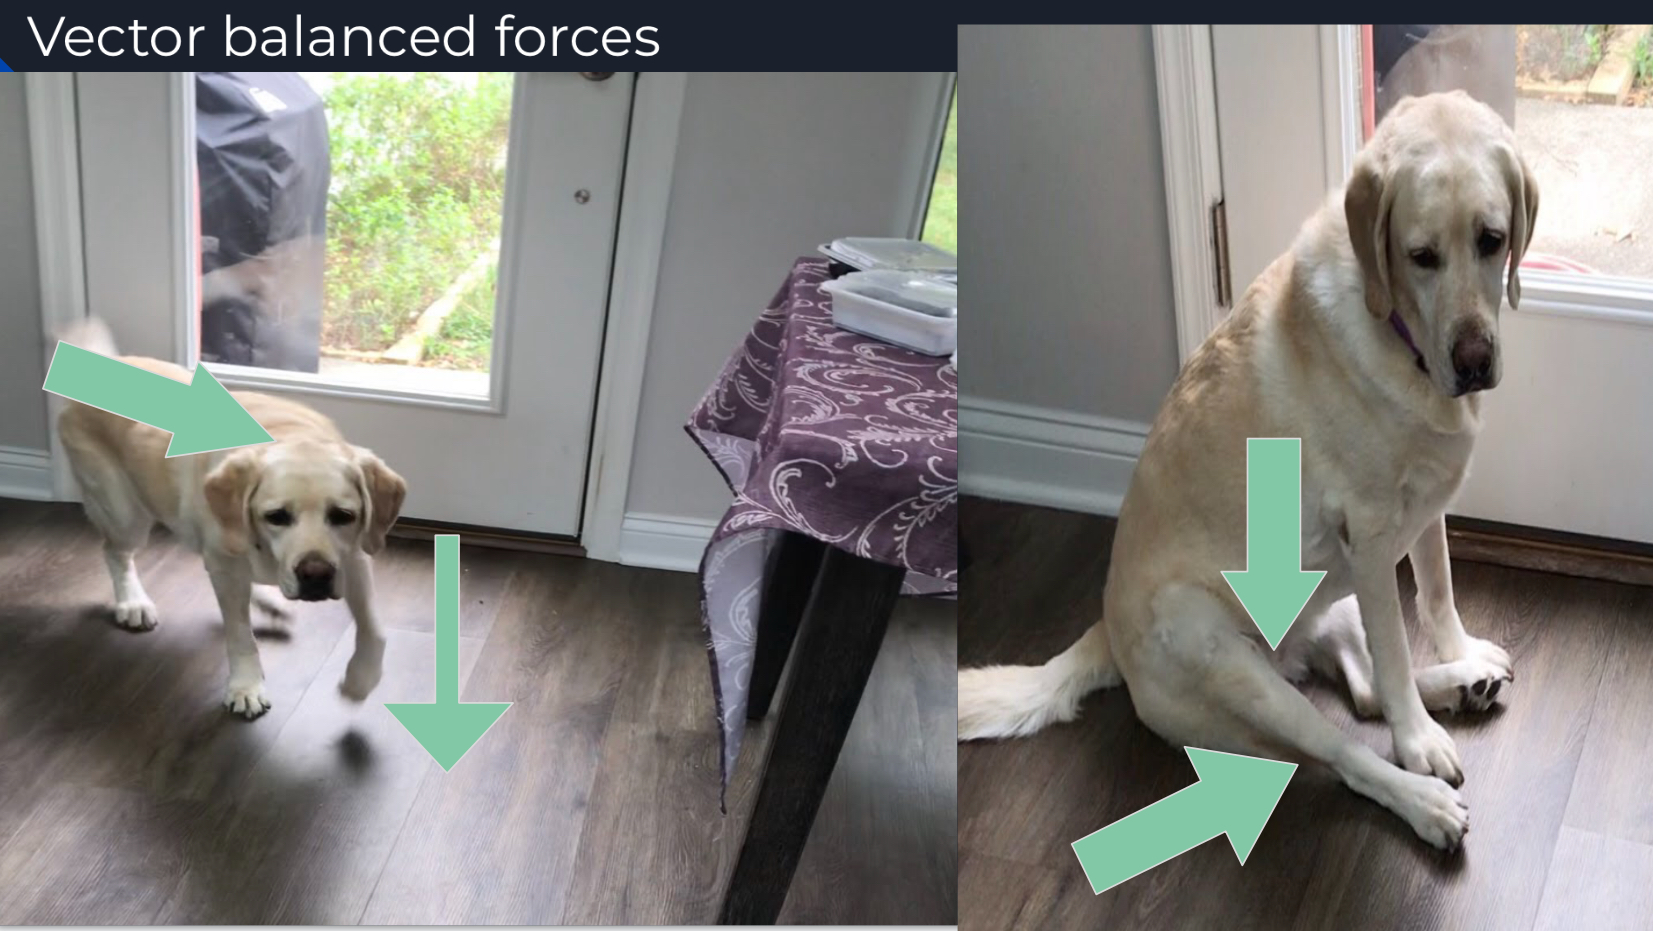
Most students go into this unit having never thought about the fact that an object that is NOT moving can still have a lot of force acting on it. I also like to give them an image, such as the one below, for them to observe. Both sides are straining hard, but it looks like little to no movement.
Have Them Take it Home!
Love to see their creativity at home?
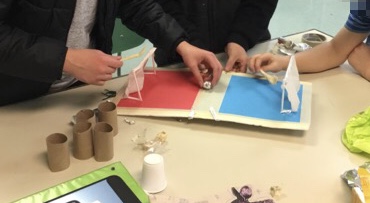
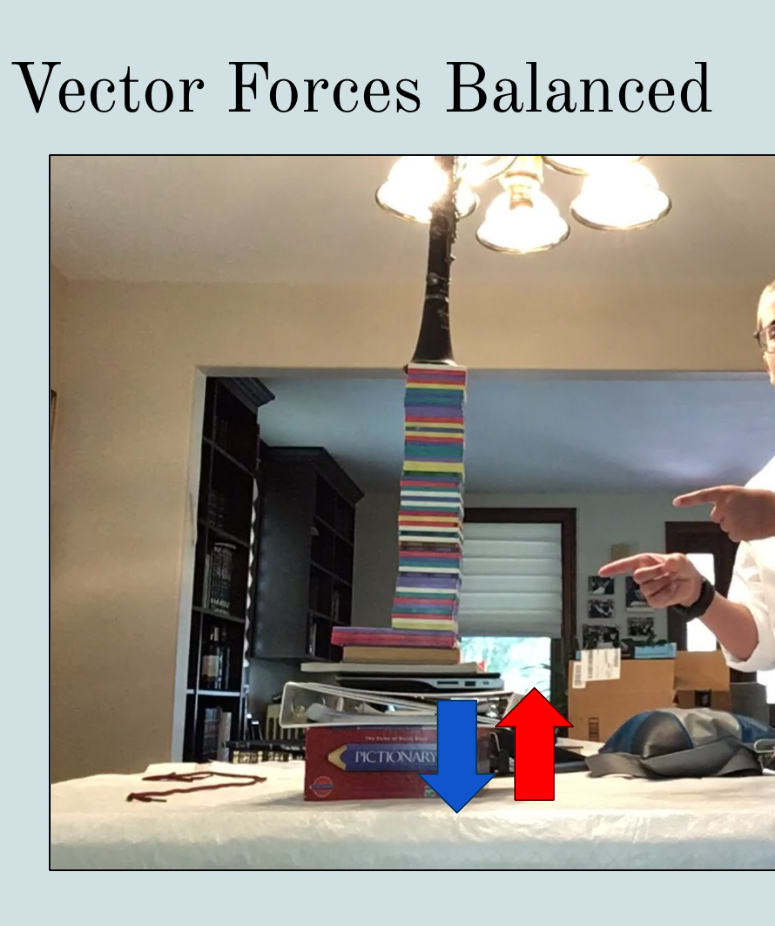
One of my favorite homework assignments is asking the students to take a video of a balanced and unbalanced situation. Then we watch the videos in class and discuss what is happening to make sure they truly comprehend the subject. Students have created balanced towers, made paper airplanes, played tug of war with their pet, added hanging objects to balanced clothes hangers on a door knob, stacked stuffed animals and so many other creative ideas! In my classroom, I have also set out lots of recyclables for the students to create balanced and unbalanced projects.
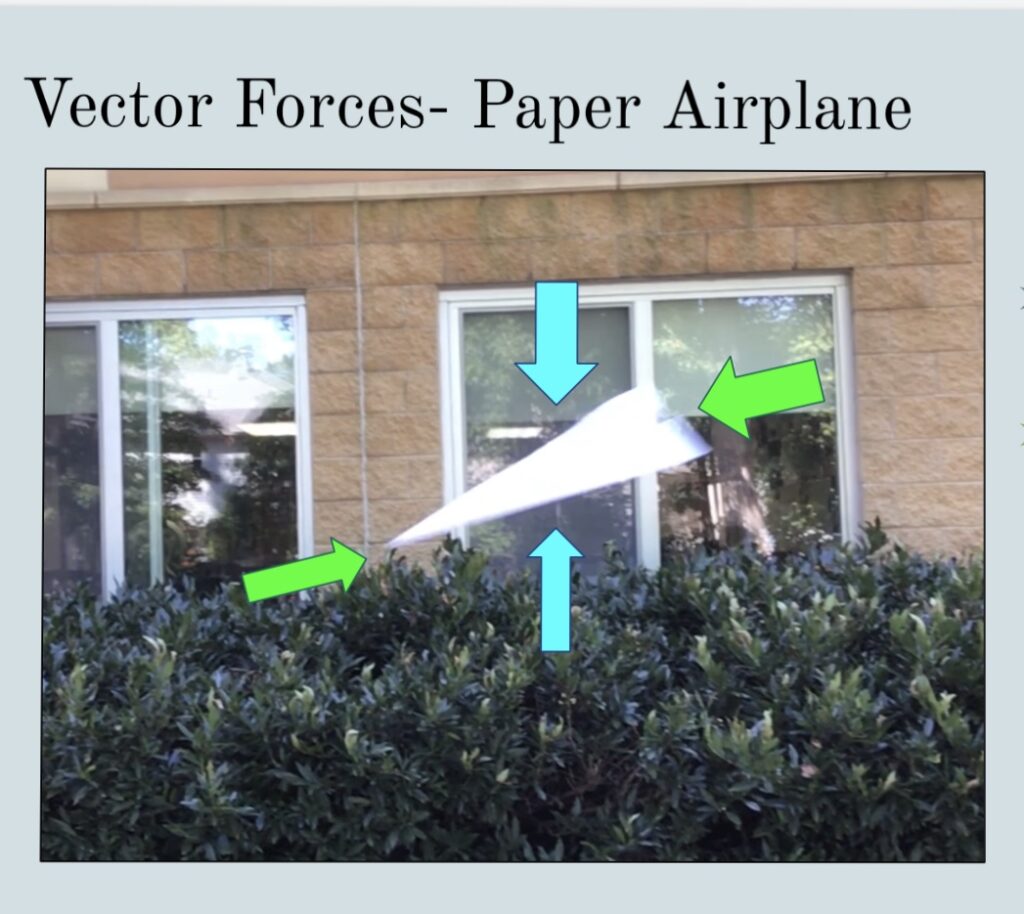
Labeling Balanced and Unbalanced Force Vector Arrows on Paper Airplanes
“What?! Mrs. Sinai is letting us make paper airplanes and go outside and throw them around? Yea! No learning today!”
Haha! Fooled them again. TONS of takeaways, but don’t tell them! Before we go outside I go to HGTV.com and gather basic paper airplane templates and give them 10 minutes to create their airplanes.
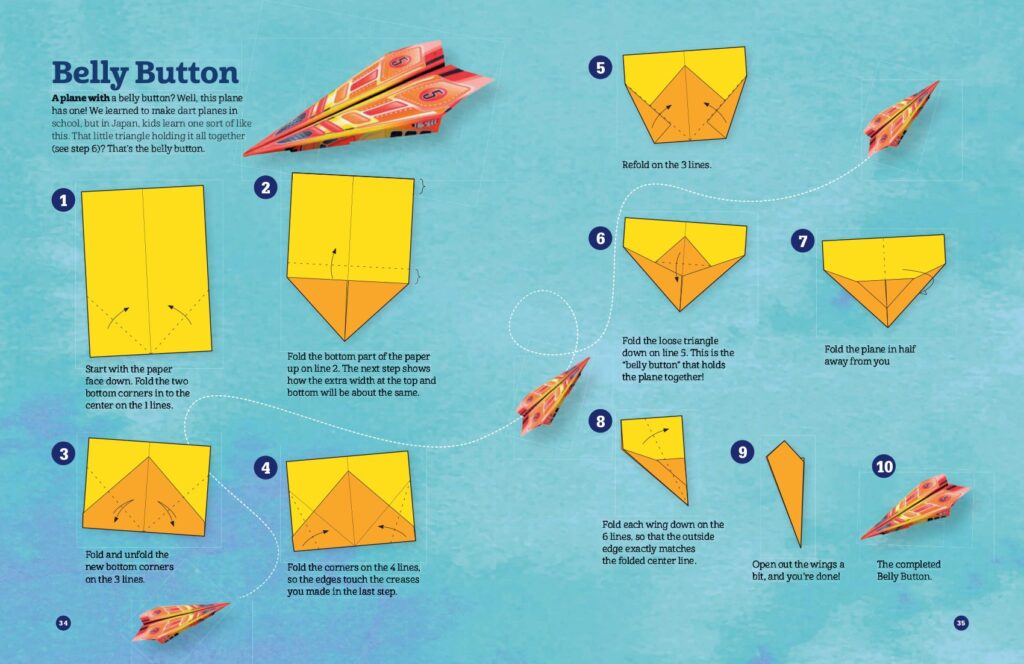
I am actually pretty surprised at how many of my middle school students have never really made airplanes! This gives my students who are expert airplane makers a chance to shine and help others.
Outside, the students get into pairs and they take turns being the flyer or the videographer. The partner, who is flying, stands back and flies the airplane past the person who is filming. Our goal is to get a clear screenshot, from their video, of the airplane flying straight through the air. I give them plenty of tries and they have so much fun trying to get the perfect shot.
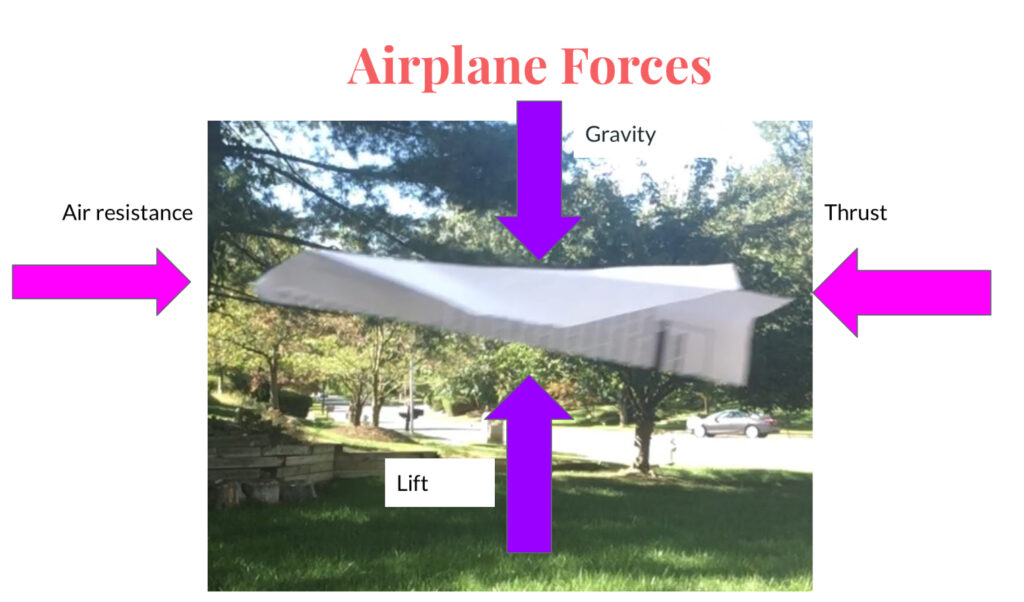
Once we get back inside, I want them to be thinking about the actual balanced and unbalanced forces that are acting on that airplane. They use the screenshot of the airplane and use their Google slides “shapes“ function arrows to add the forces. I don’t teach the names of any of these forces because I want them to brainstorm them themselves. I don’t even get into the idea of opposing forces and usually let them figure that out through the discussion. Words that start to come out are “friction, gravity, air resistance, drag, thrust, muscle power, weight, mass” and so on.
I do not correct them, at this point, but I do guide them towards having four main arrows. We talk about how we can represent which forces would be stronger in order for the airplane to go forward. They can draw those arrows a little bit fatter or longer to represent a higher quantity. After this is done, we finally do label the four forces(thrust, air resistance, lift and gravity).
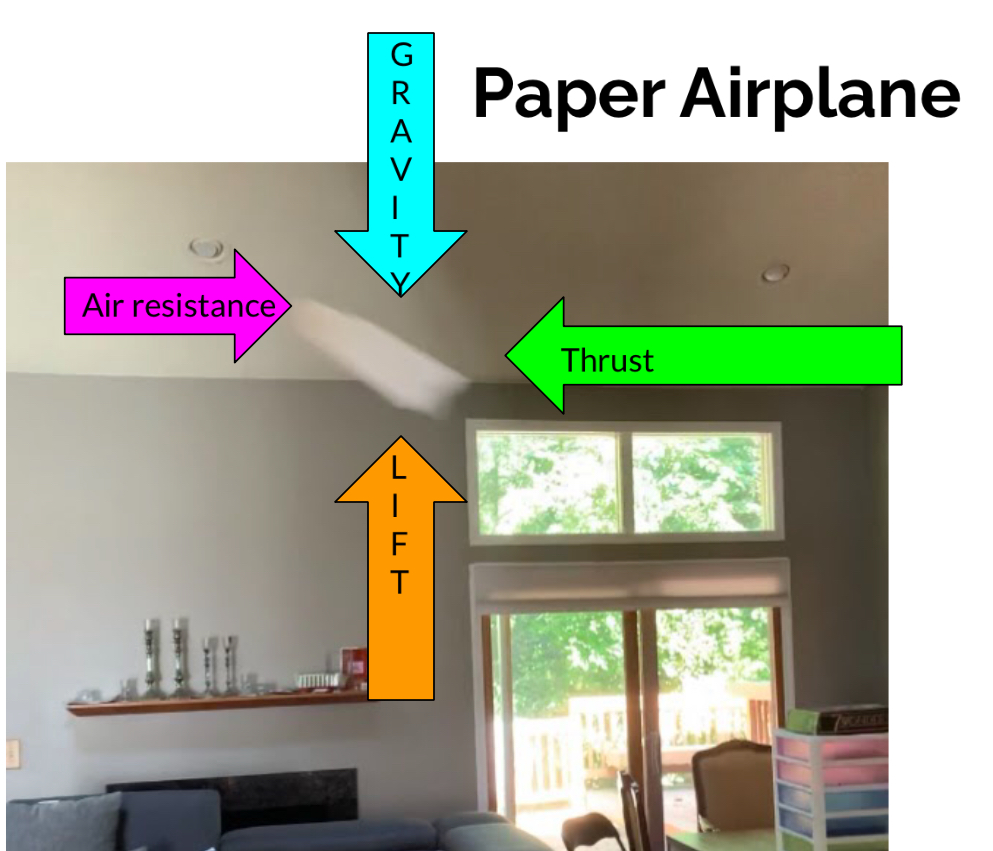
Drawing Balanced and Unbalanced Force Vector Arrows on Images
Time to bring it into their lives…
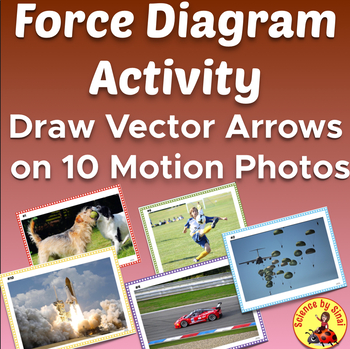
At this point I want to get more in depth and bring the vector forces more into real life situations for them. I use my Force Diagram Activity that has 10 interesting images.
I ask the students to look at each photograph and decide:
- Which direction the object is moving?
- What is causing the object to move?
For example, the snail is moving forward due to the muscle power of its foot. The students will draw an arrow in the forward direction of the snail’s movement. At this early stage I don’t have them try to label the forces yet. As they are looking at the snail they need to think of what might be slowing down that forward movement (This lends itself nicely to a discussion of friction using the fact that the snail secretes its own mucus to reduce that backward arrow). What about the weight of the snail? Will any air resistance take place?
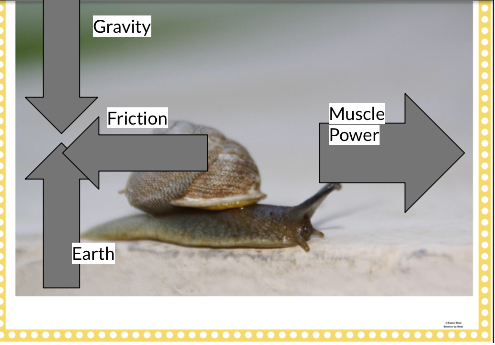
After the arrows are completed, a discussion of net force and direction of movement can follow. We refer back to these images throughout the rest of the unit, including discussing types of friction.
Labeling Basic Vector Resultant Forces on Grids
So can we measure these forces?
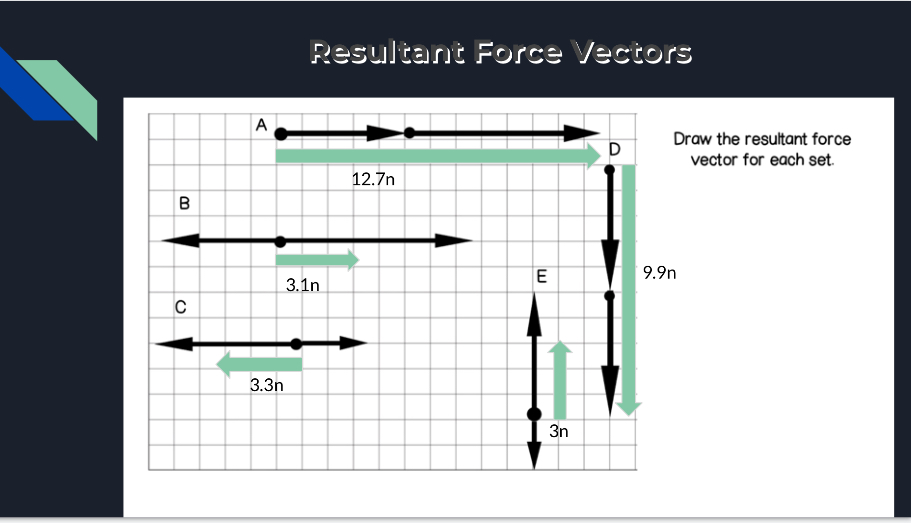
At the middle school level this is just a basic introduction of adding values to the vectors. I use the activity that is free in my Teachers Pay Teachers store where the students determine the net force. Each block on the grid represents one Newton. Students add or subtract the combined forces to draw the resultant force. I work with them learning how to write both the value in newtons and the directional arrow.
Science Experiment: Crushing a Soda Can with Only Air!
You know how middle school kids always ask “Are we gonna to blow anything up this year?” Even though this is not technically blowing anything up, it still makes a loud, scary noise that is super exciting!
If you haven’t done this demo before it’s quite dramatic!
Step 1: Add a teaspoon of water to an empty soda can.
Step 2: Heat it up on a hot plate until it has a lot of steam coming out.
Step 3: Using tongs, carefully pick up the can and quickly invert it in a bowl of ice water.
The result is a very fast implosion of the can with a very dramatic loud noise! When I do it in front of my students, we use the iPad slow motion camera to catch the action. It’s amazing how the implosion is so fast that it doesn’t even look that much slower on the videos!
I don’t spoon-feed them why we get the results. We can spend an entire class trying to think of the reasons why everything happened. I either send them home to research the answer or we slowly dissect the process together.
How can a soda can get crushed using only air?
So what’s going on? The basic premise is that the air inside the soda can has turned to steam and escaped as it is heated. As the can is quickly inverted into ice that steam condenses. The pressure inside the can is much less than the atmospheric pressure outside of the can. The can violently gets crushed by the outside air. We talk about how cans made out of different materials may or may not work. What would happen if we inverted it in warm water? I generally have the students do a video or written lab report on this lab. Before I invert the can into the ice water I have them form a hypothesis. It’s always fun to also watch the Steven Spangler version using a large barrel.

Science Experiment: Ball Collisions
This is where the “smashing things into each other” comes in.
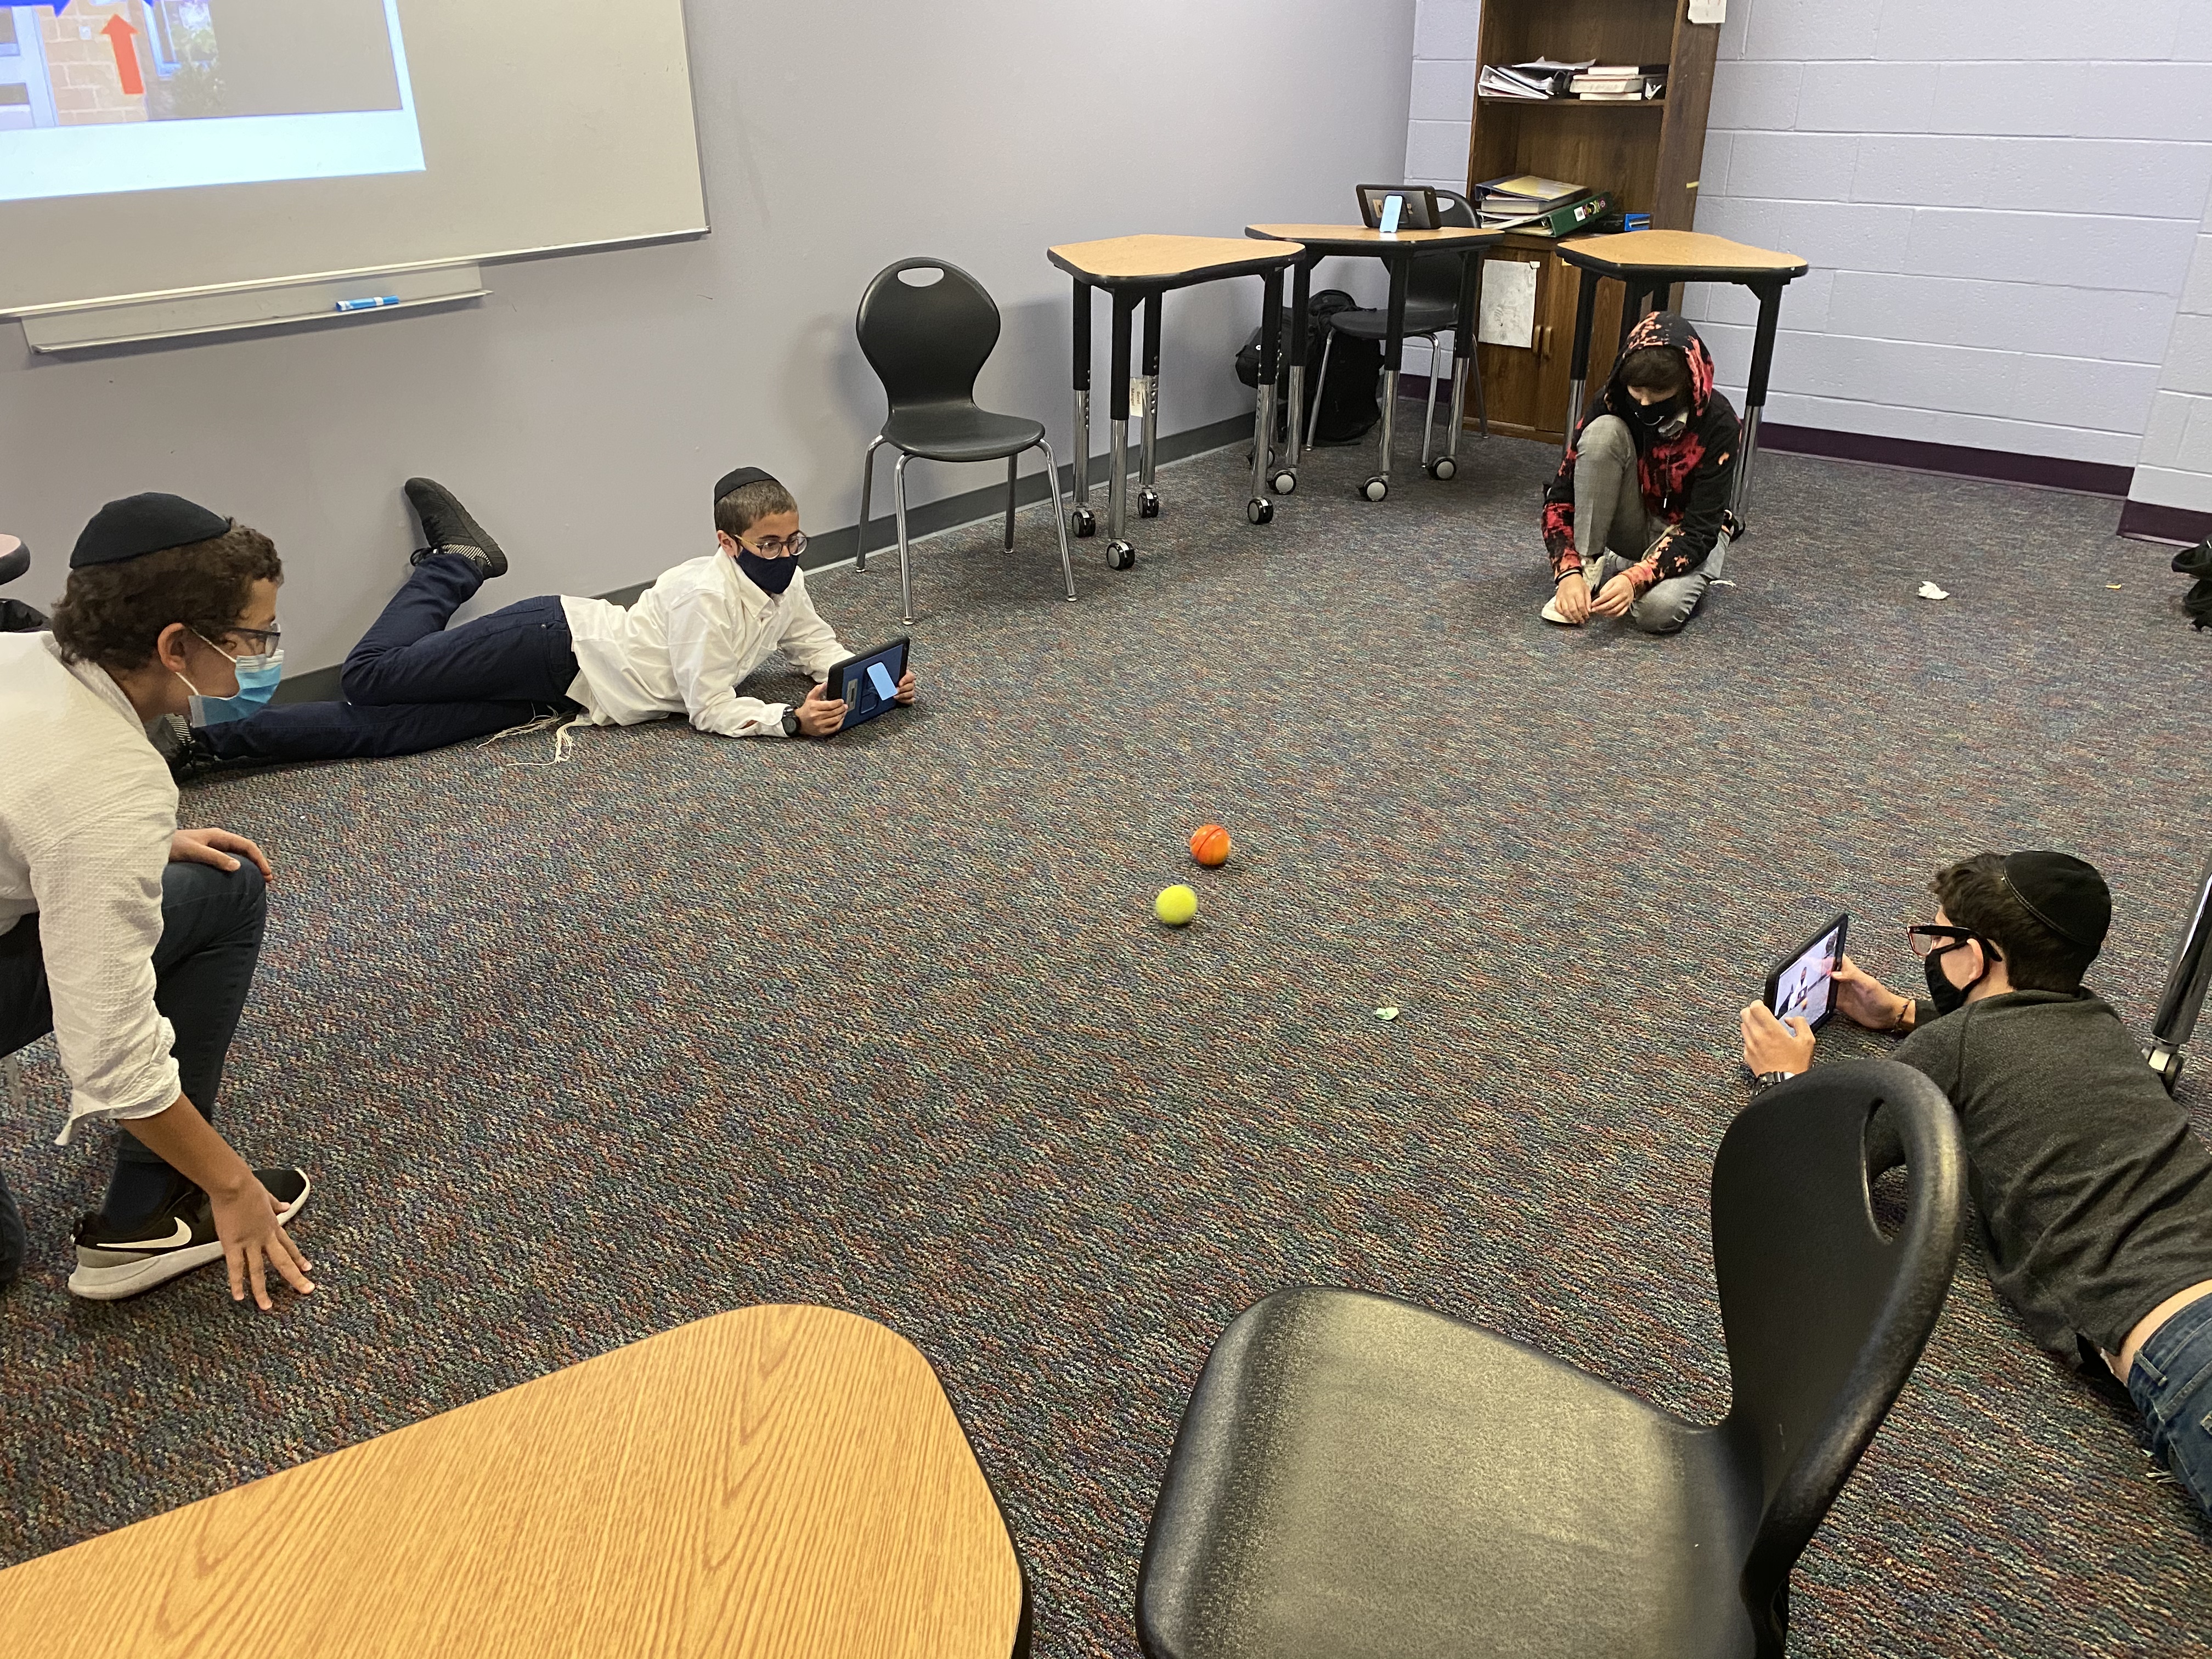
Some teachers may put this lab in the laws of motion unit, but I like to do it with balanced and unbalanced forces. I like to refer back to it repeatedly during the upcoming weeks. I visited the Dollar Store and bought balls of different masses. First, we use an electronic balance to find the masses of the balls.

Students roll the balls towards each other, trying to use an equal amount of force. They use their iPad slow motion cameras to capture the results of the collisions. It’s fascinating to see the energy transfer between the balls. I also show them the video on YouTube with Elastic Collisions of balls for them to analyze. There is a wonderful interactive on Physics Classroom.com that does a great job of showing the relationships between mass and velocity of rolling carts.
Science Experiment: Water Bottle Bowling
Go bowling in your classroom!
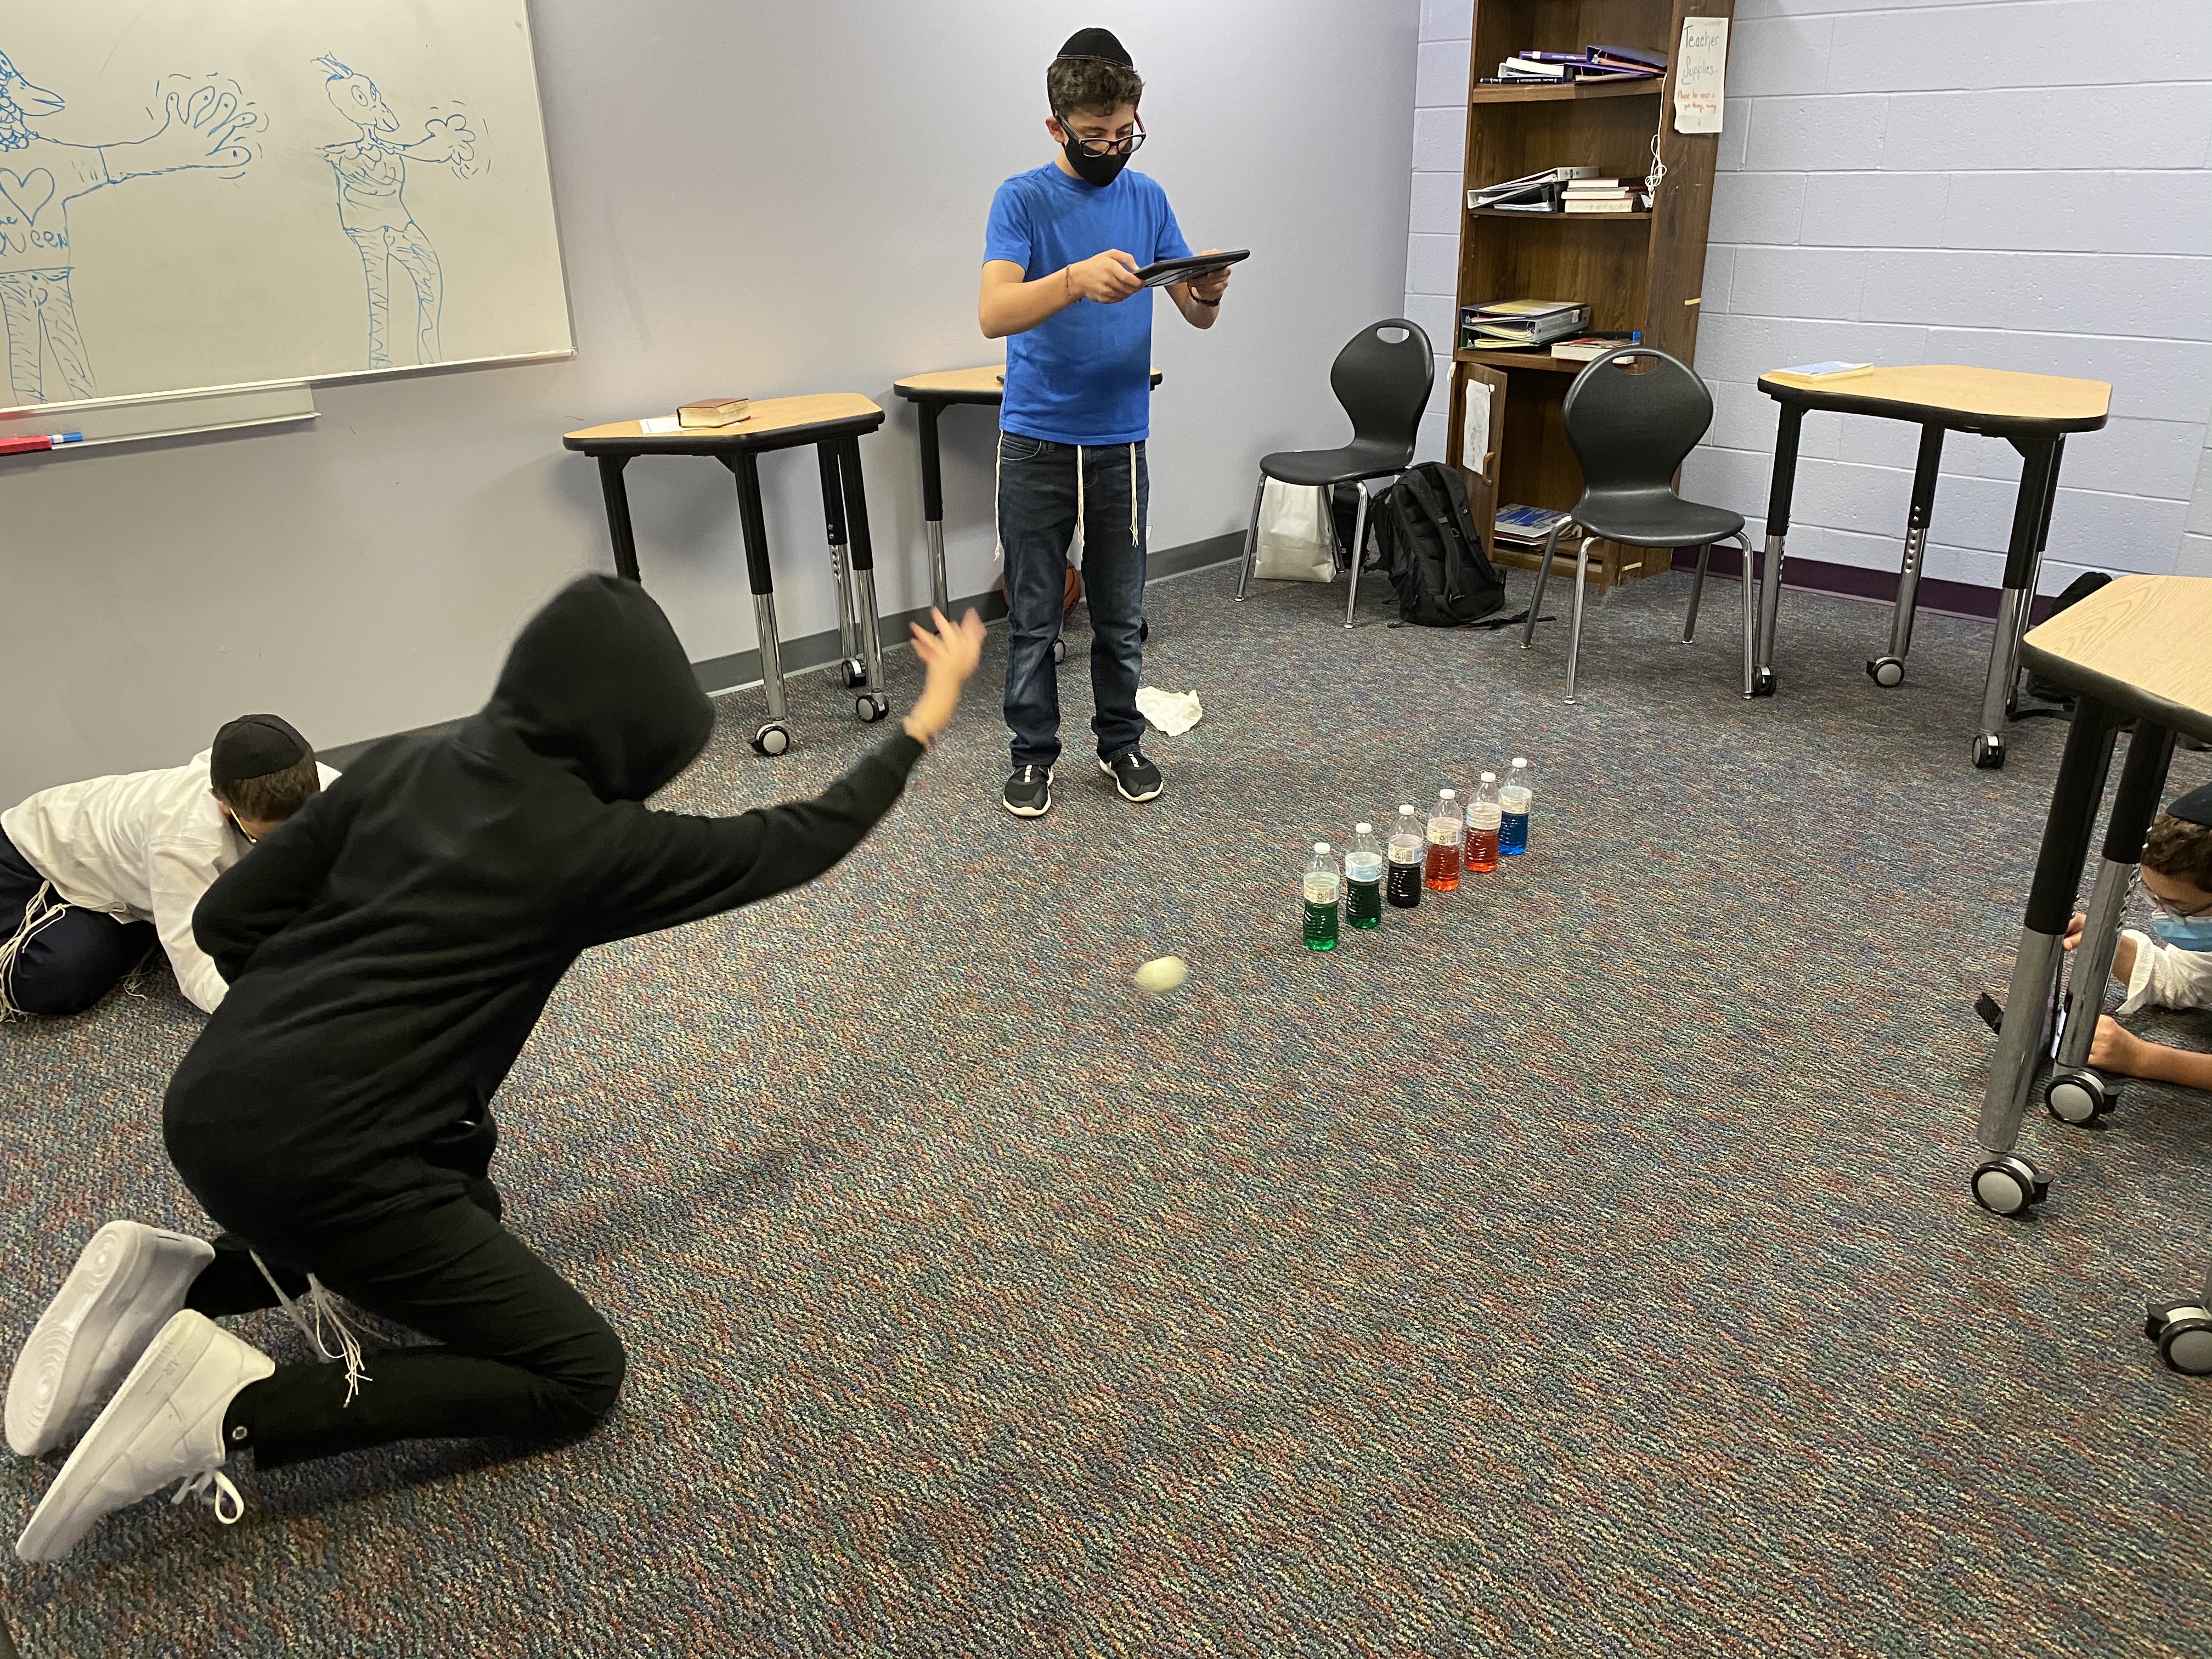
Students absolutely love this activity which is super cheap and easy to set up. I collect lots of water bottles and fill them about halfway with colored water. We set them up in different configurations from a bowling triangle to a straight line. We use balls of different masses to roll in and take slow motion videos. This is a wonderful way of showing the transfer of energy. A ball of low mass may not topple the bottles, but will definitely interact with the water. Students observe splashing around inside the bottle against the walls. There are also times where the front bottle will not topple, but the ones behind it will. This leads itself to great discussions. This is one of those labs that you will refer back to many times. Having the videos on their iPads, ready to access, is a great bonus.
Science Experiment: Playing with the Force of Gravity
They don’t believe this until they see it for themselves!
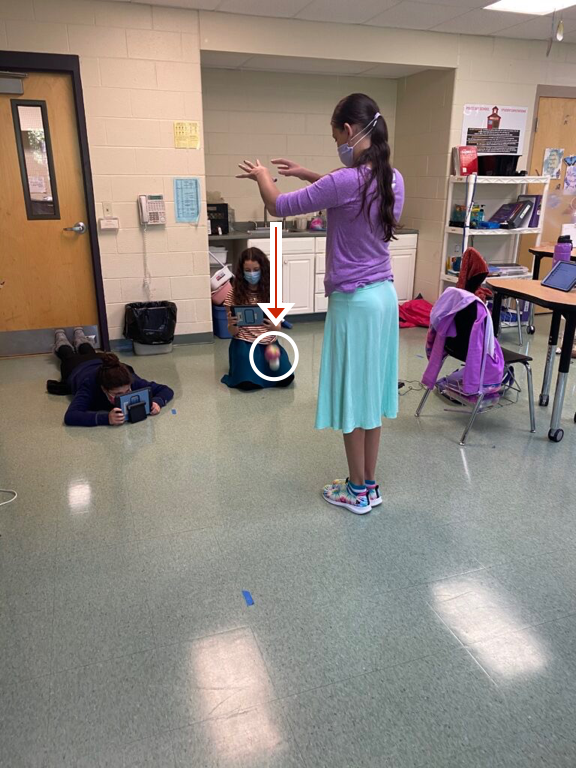
Using those same balls from bowling, we drop them in front of our slow motion cameras to observe the moment that they hit the floor. Before we start the lab we hypothesize which ones will hit first. Students will almost always decide that the heavier ball will hit the ground first. After many drops we talk about the story of Galileo dropping two objects from the leaning Tower of Pisa. Of course, you can also speak about the opposing force of lift by dropping a feather at the same time as the balls.
Weightlessness on the International Space Station
How cool would it be to be weightless?
I do speak about the forces that keep a planet or satellite in orbit during my space unit. However, it’s interesting to talk about the three main balanced forces that interact on the International Space Station. I start by asking how astronauts can be “weightless” on the space station if it’s only a few miles above the earth? This really throws the students for a loop until we start thinking about what other forces are working on the space station. How is it staying in motion? Why isn’t it flying off into space? Why isn’t it crashing into earth?

The interesting part is that the International Space station is actually in a constant state of free fall around the earth. I diagram how the force of gravity is actually what is keeping it close to earth. The speed is kept constant by inertia and centrifugal force is keeping it from smashing into the earth. They have all experienced centrifugal force when they lean as their parent turns a corner in the car. I cite a spinning ride in an amusement park when everyone leans to the outside.

Three Laws of Motion Next Unit
Right into your next unit..
Although many of the activities above deal with certain aspects of the three laws of motion I do not specifically specify those just yet. I like to have a very thorough balanced and unbalanced forces introduction so that we can continuously refer back to those examples as we get into the more difficult aspects of the laws of motion. I will be explaining how I handle that unit soon. Of course, we utilize our iPads for that unit, too! (Teaching a Unit on Newton’s Laws of Motion)


