How to Teach Punnett Squares and Genetics Using Aliens!
Do you want to teach Punnett squares and genetics(MS-LS3-2) and need fun and engaging activities?
How to Teach Punnett Squares and Genetics Using Aliens!
Updated July 2024
This is the sequence of activities, that I use to teach Punnett squares, that keeps the students engaged and comprehending the concepts. They love learning about how they got their own traits!
What is a Trait?
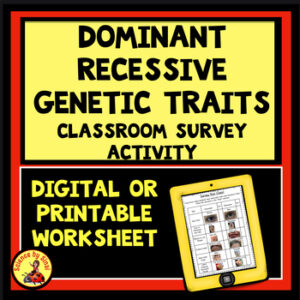
Quite often students don’t realize that our characteristic traits are determined by something in our body called DNA or chromosomes. They need to have the definition of traits explained to them as characteristics that are inherited from parents and grandparents. We then engage in a very fun activity taking a classroom survey of the dominant and recessive traits in our classroom.
Students love to check out their own traits to see if they have dominant or recessive characteristics on their ears, fingers and toes, etc. I give them small mirrors so that they can look at their own eyes, ears and widow’s peak.
After we complete the activity above, we use our data to create bar graphs showing each of the traits. I make sure that I mention that we’re only sampling a tiny section of the population with our class data, so our results may not be the same as doing a large group.
What is an Allele?
Once we have determined certain characteristics, we start to explore how they can be passed on to offspring. Alleles are parts of our genes that represent specific characteristics and we get half from our mother and half from our father.
I have found that most middle school students have never heard of alleles, so you need to go slowly.
Introduce the idea that a dominant trait is represented with a capital letter and a recessive trait is with a lowercase. One that has both letters is a carrier, which means it has both dominant and recessive genes. Most teachers start with eye color and the letter “B”.
What is a Phenotype and Genotype?
What traits we see on a person or organism is not necessarily what is seen in the genes. When a dominant allele is present, it will overide the recessive one and we see the dominant trait.
Explain to students that a brown eyed person can be a carrier of a recessive gene even though we SEE brown eyes. The phenotype is what we actually see on the person and the genotype is what is happening at the genes level.
Students can be confused about the fact that, because a dominant allele is present in a carrier, it will always exhibit the dominant phenotype(appearance). Use lots of examples of animals and plants to help students comprehend. For example, humans can have BB, bb, and Bb with eye color. BB is dominant-dominant and the person will have the dominant brown eyes. bb is recessive-recessive and will exhibit recessive blue eyes. Bb is a carrier(dominant-recessive), but because the dominant B is present, the eyes will be brown.
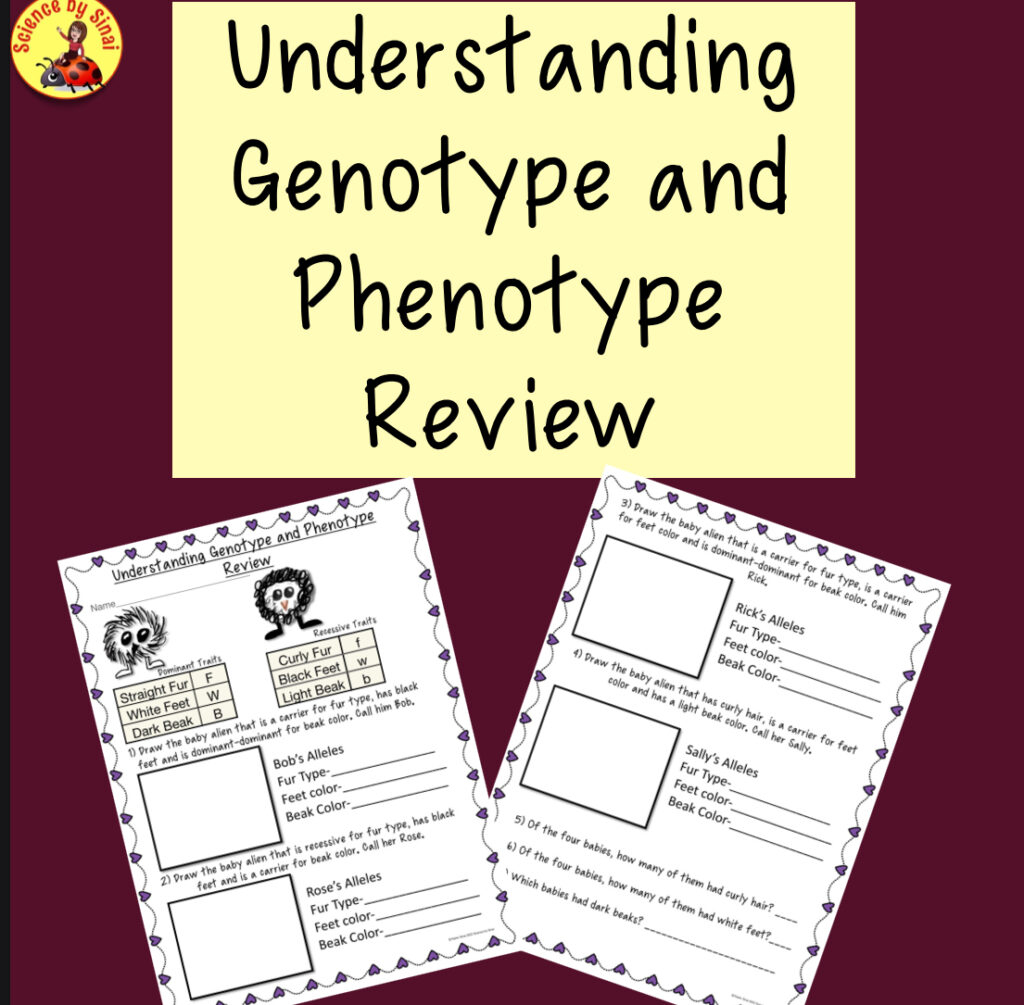
A great way to test comprehension is with these FREE Phenotype and Genotype Review Worksheets.
Introduction to Punnett Squares
It is almost guaranteed, that by this point in the unit, students are starting to cite examples of their own genetics. They may state that their mother and father have different colored eyes than themselves and asking “how in the world can that happen?” It is a perfect lead-in to teach Punnett squares!
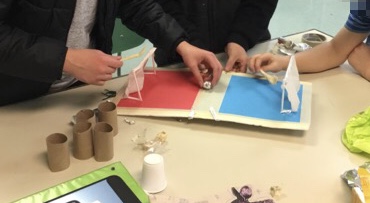
Use colored pieces of paper with capital and lower case “B” and draw Punnett squares on the table or poster board. Start with basic Punnett squares that have a dominant-dominant and recessive-recessive cross. Review the genotype and phenotype of the offspring.
A very common misconception, when beginning to teach Punnett squares, is that each of the four blocks, of the Punnett square, is an individual child. It’s very important that they understand that it is similar to rolling a dice, and that each pregnancy results in only one block being used. Every new pregnancy has a new Punnett square for each trait.
Introduce Punnett Squares with Aliens!
I like to use examples to help with comprehension and why not use aliens?
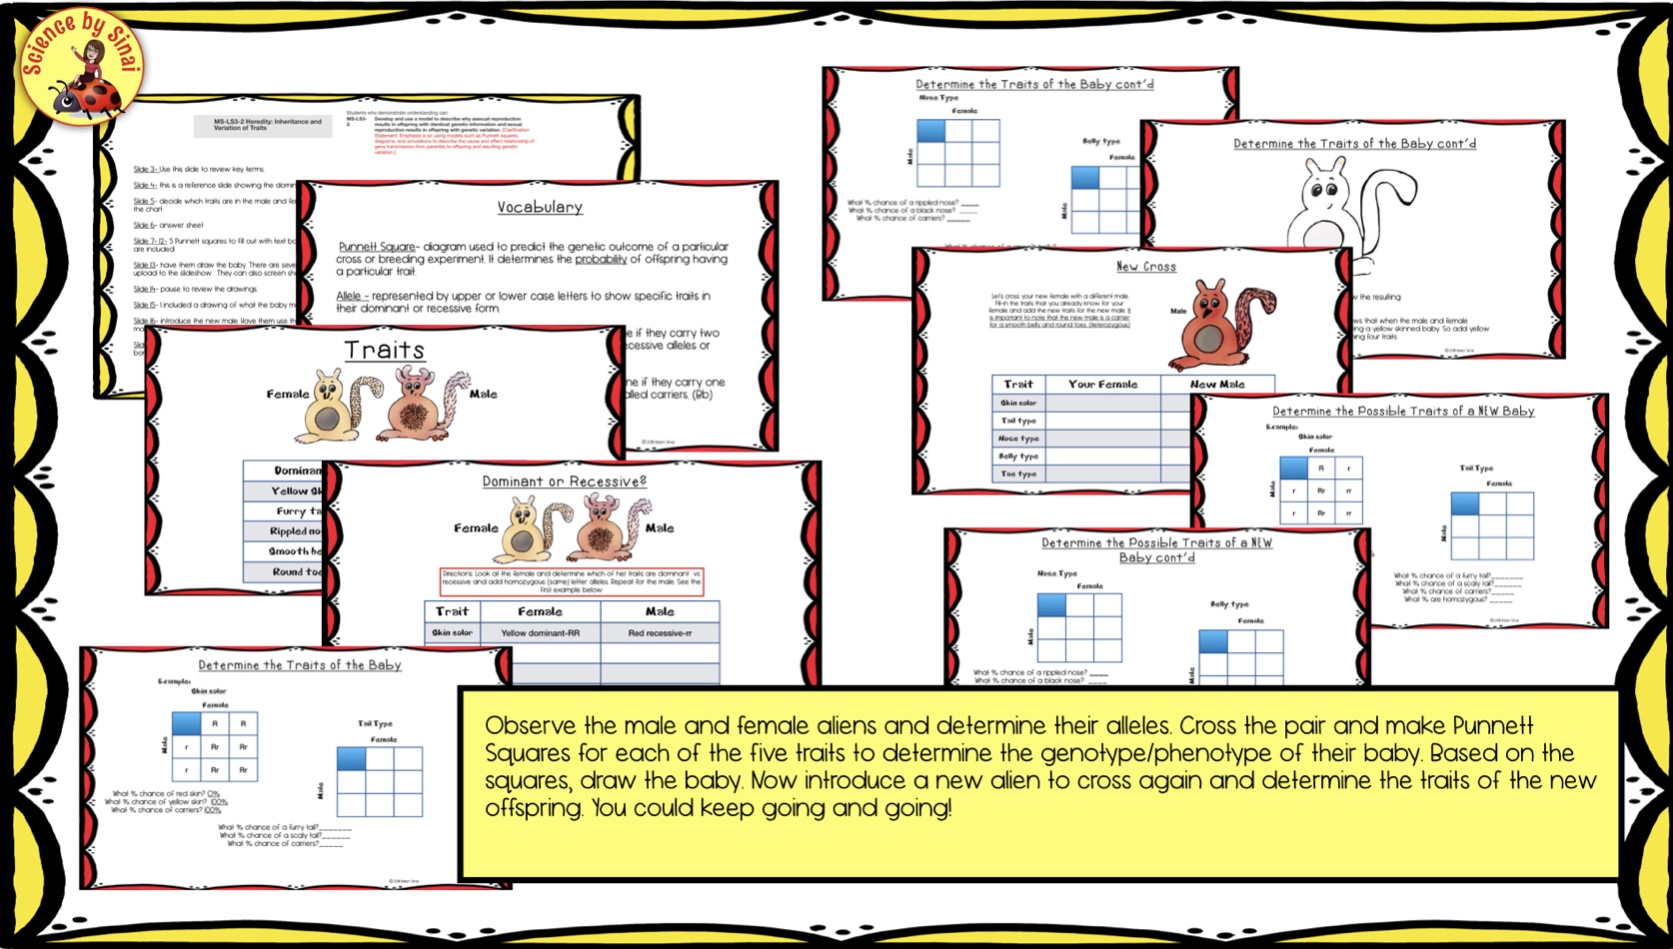
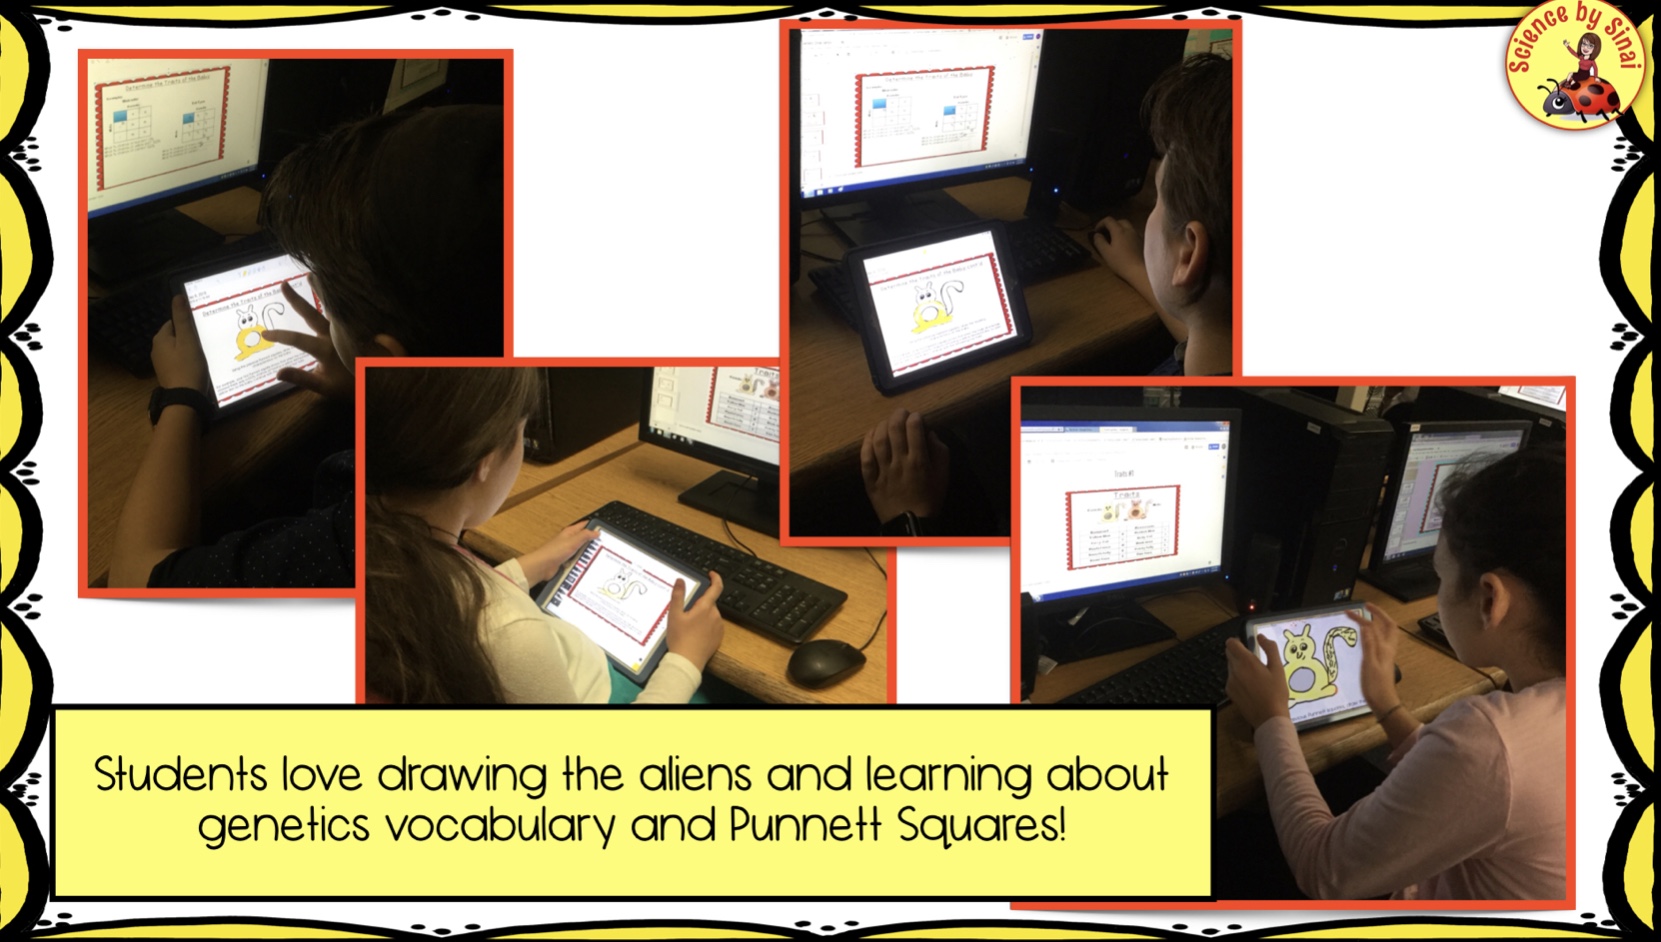
With this project there is a male and female alien with five different traits ranging from their skin color to the shape of their toes. The students are given a chart showing which are the dominant traits and which are the recessive traits.
The students start by creating Punnett squares by crossing a 100% recessive female with a 100% dominant male. They will use the Punnett squares to determine the traits of a baby alien. Then they have fun drawing the characteristics/traits of the baby! I prefer that they do this in their digital science notebooks but it can be printed.
A new alien is introduced and students cross it with the original baby. Five more Punnett squares are then created. Students can then determine the characteristics of a NEW baby. You can potentially keep going with generation after generation! I like having the students cross their alien with another student’s alien to see the results.
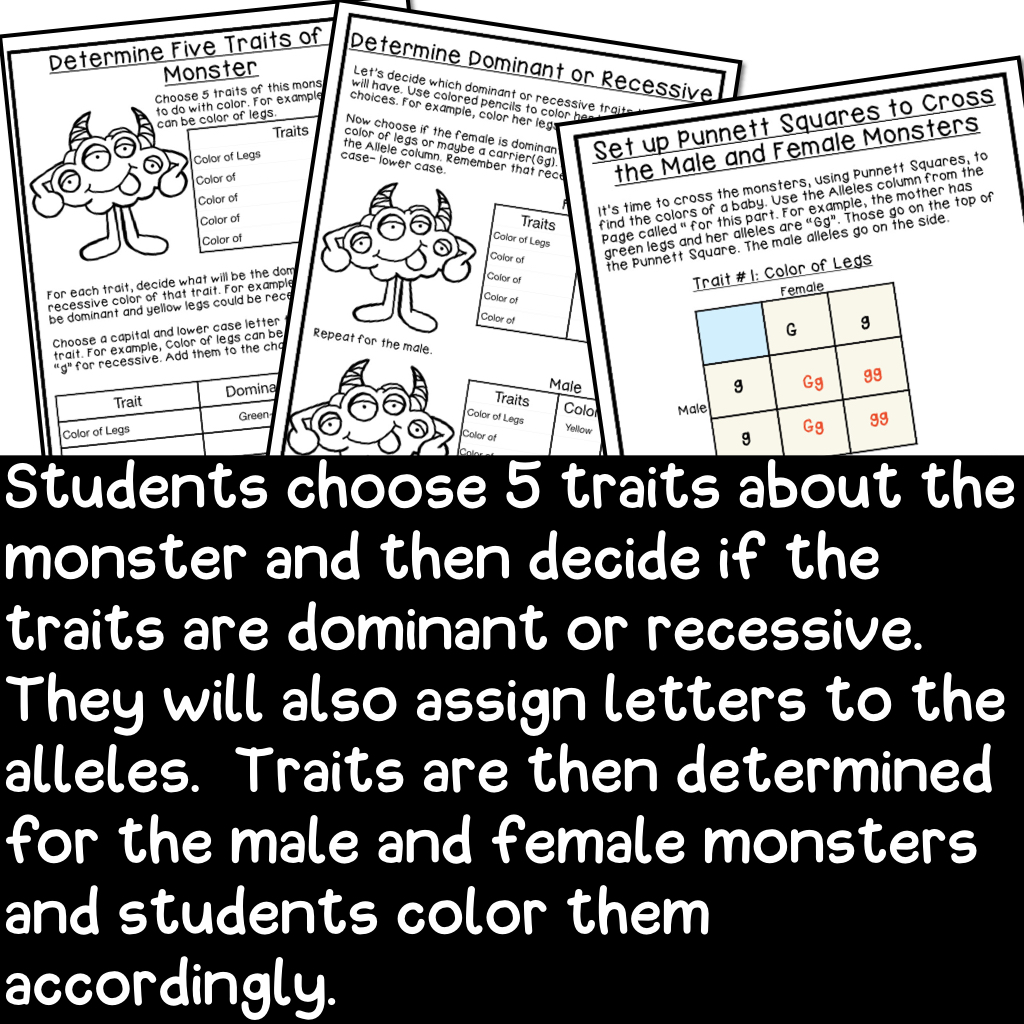
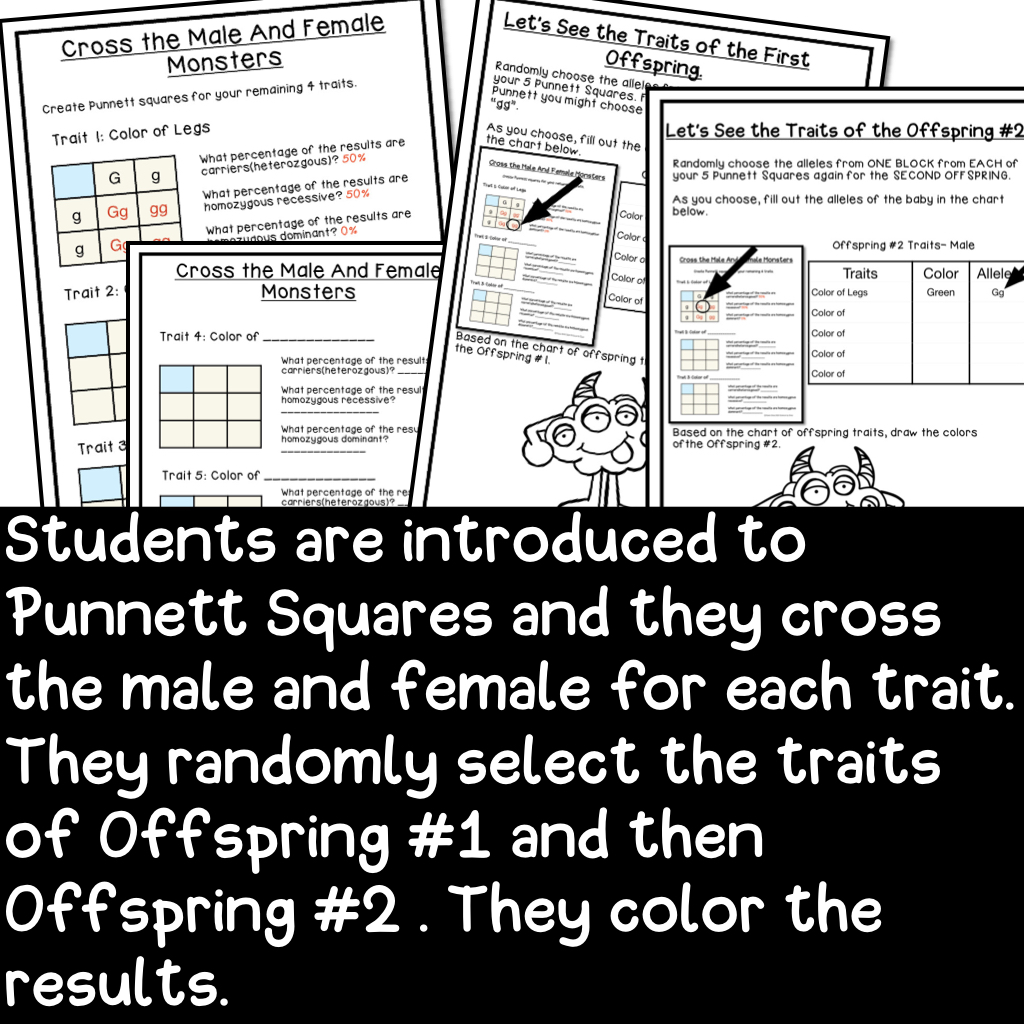
An even more in depth introduction to Punnett Squares can be done with monsters! This is especially useful if you are introducing genetics around Halloween, which a lot of do.

Using Dice to Determine the Random Traits of the Offspring
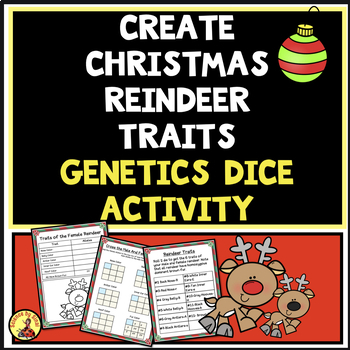
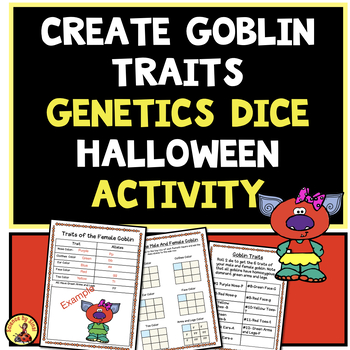
Now that the students are having a better understanding of Punnett squares, we move onto this fun dice throwing activity. In this activity there are four traits, eye color, antenna type, fur length and fur color. Some are dominant and some are recessive traits. The students cut out the allele labels and put them on the sides of a large foam dice. (Blog post: Teach Science with Dollar Store Classroom Supplies)
The students roll the dice and use the included chart to determine the four traits of the mother. They roll again to find the four traits of the father. After they have determined the traits, they now use their skills as artists to draw the phenotype of the male and female aliens.
They then use the information from the alleles from the mother and father to fill out the Punnett squares. Students roll the dice to determine a number between one and four for each of the completed Punnett squares. This will determine which box on the Punnett square will be the characteristics of the new baby.
Students now draw the baby based on the Punnett square information. This is repeated for a second baby and can go on for generations, if desired. It’s fun to have them draw a family portrait of all of the offspring from the original parents!
There are reflection questions to pull the activity together. This project really makes the students understand the randomness of gene selection!
Create Aliens!
This is one of those projects that students look forward to doing because they hear the grades before them doing it. It’s one of my favorites, too!
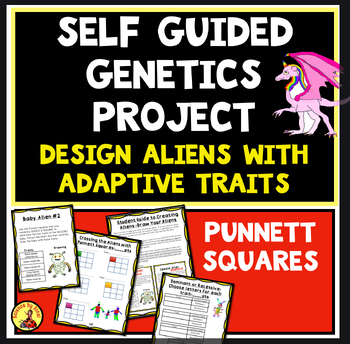
While doing this project students really get to show off their creative skills. They design a male and female alien of the same species and decide whether five different traits are dominant or recessive.
Note: I always make sure that the students understand that their male and female aliens should be recognizable as coming from the same species.
I make this activity tie into my environmental units by having the traits students choose be adaptive to help their aliens eat, defend themselves against predators, or survive in their planet ecosystem.
Students assign capital and lowercase letters to each of the five traits and decide which ones are dominant or recessive. They then create five Punnett squares crossing the male and female aliens. They randomly select the offspring alleles from each of the Punnett squares and then draw the new alien baby.
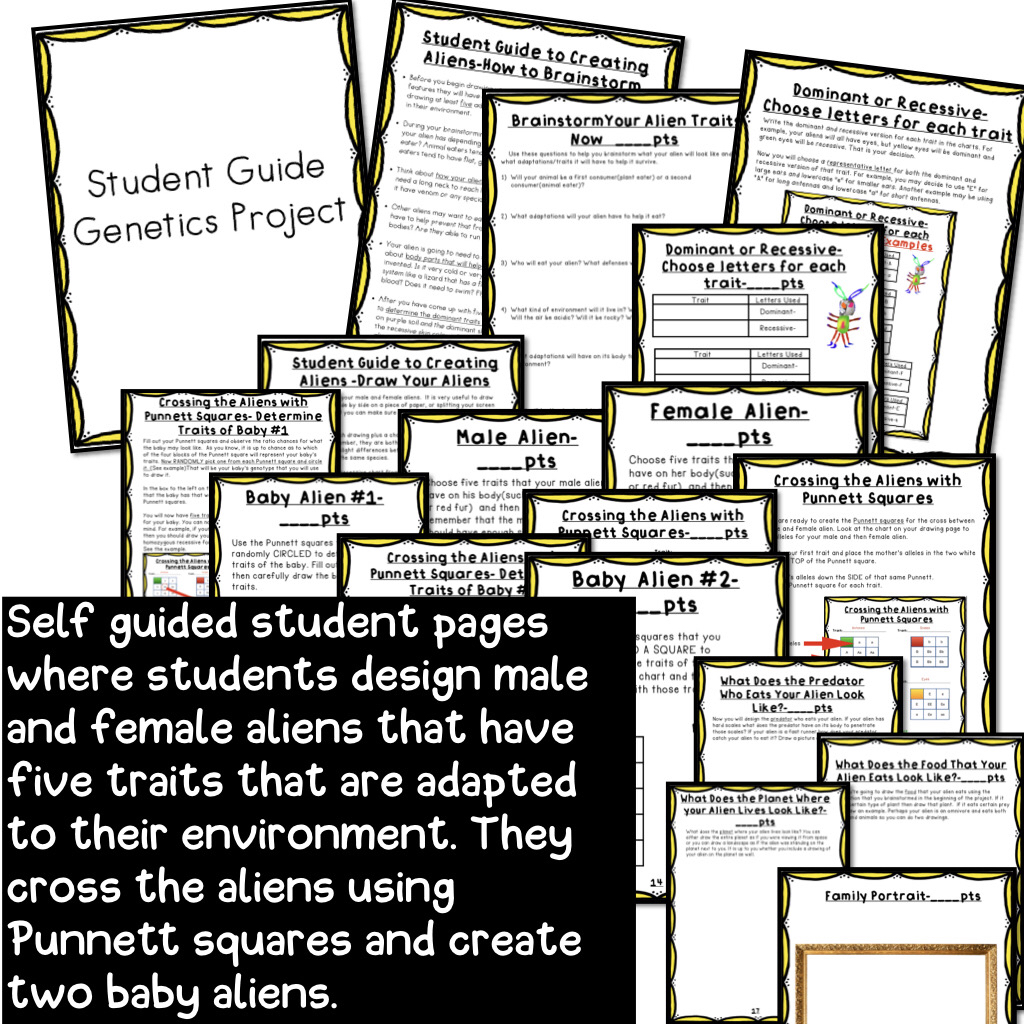
They randomly select AGAIN from the same Punnett squares and design baby two.
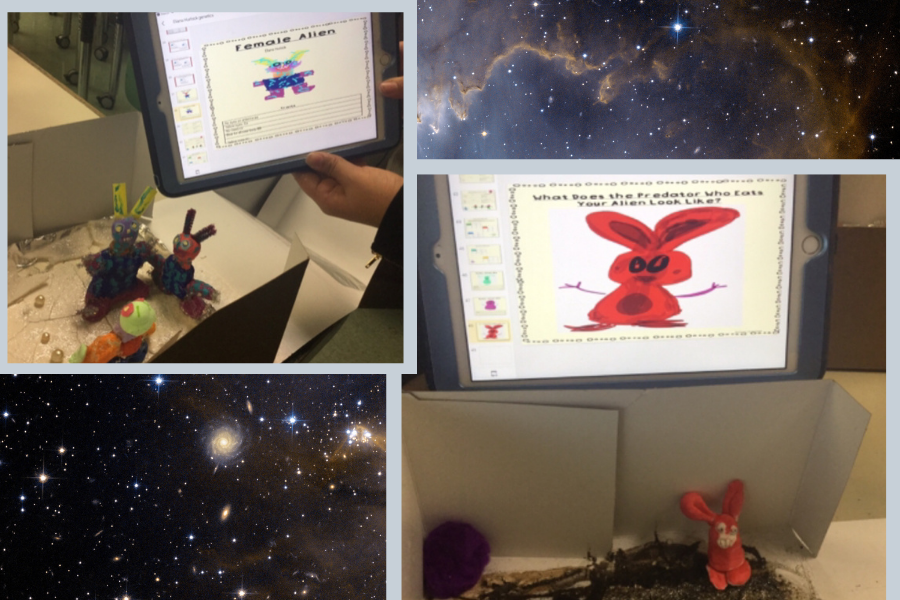
Some added fun is for students to design a predator who eats their alien. They may also decide what their alien eats. I quite often have them also design the alien planet surface.


Create 3-D Alien Planets
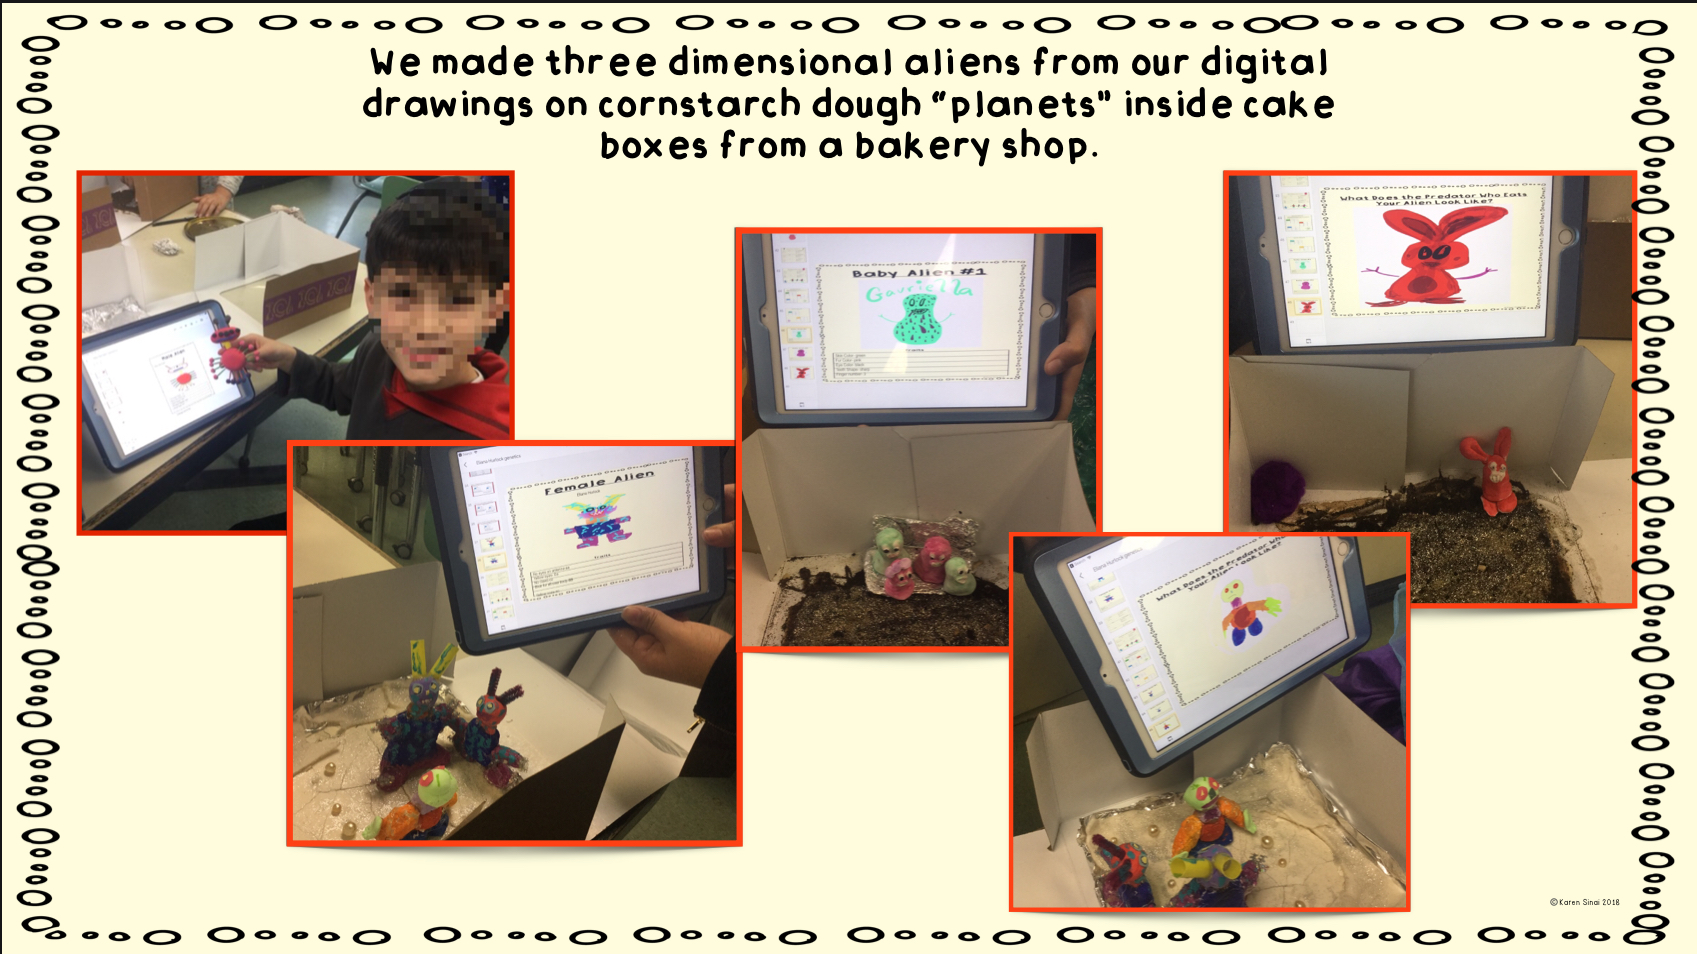
After the students have been working with their aliens they get rather attached to them! Now we create them in 3-D on their own planet surfaces. Students can use clay, feathers, sequins, or anything that they choose, to represent their aliens. One year I ordered cake boxes, with clear windows. We used cornstarch, water and some food coloring to make the planet terrains. The aliens were placed in their “ habitats” and some students even created the predators or prey as well!
We have also created less messy planets with their aliens in shoebox dioramas.
Introduce Dihybrid Punnett Squares
Getting students ready for high school, I like to introduce dihybrid Punnett squares. We use a different kind of an alien that I designed. They look like little bats and we are dealing with the color of the wings, ears and the fur.
Students review the “FOIL” method which involves looking at the first allele, outside allele, inside allele and then the last allele.
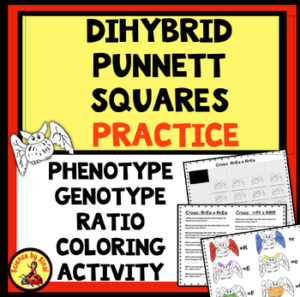
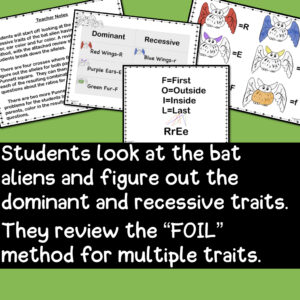
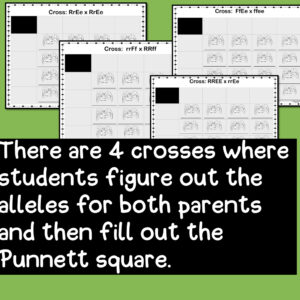
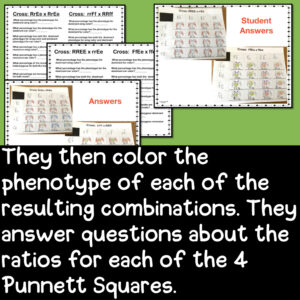
There are four crosses where the students figure out the alleles for both parents. Then they fill out the Punnett squares. As a visual aid, they color the phenotype of each of the resulting combinations. This makes the ratio of traits in the offspring very visually apparent. Reflection questions then ask about the ratios for each of the four squares. There are also more Punnett squares to fill out.
If I have a really advanced group, or I am looking for accelerated work, I have the students design their own aliens, with three different traits. They cross and then color in the resulting offspring.
Assessing Your Genetics Unit
To be honest, I do not do a formal test with this unit. By the time students have finished all of these activities, they understand the vocabulary very well. They become experts on how to manipulate Punnett squares. I have also found that the students have amazing retention with the concepts because of these hands-on, critical thinking activities. Check out my bundle which will save you with all of these resources together.


