How to Create STEM Magnet Mazes
Are you looking for a well structured and fun project for your students to learn magnetism? Do you like projects that involve students learning the concept on their own as they create?
How to Create STEM Magnet Mazes
Feb 2021
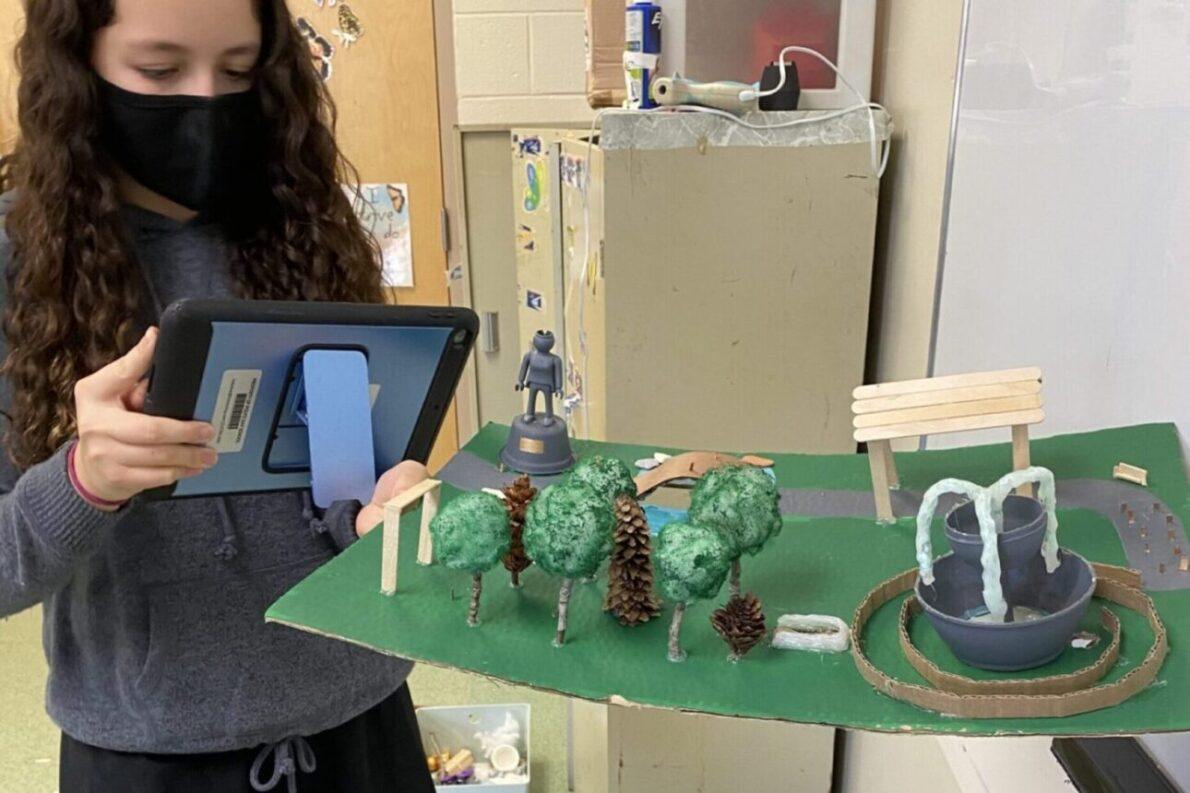
I designed this Magnet Maze Structured STEM activityand it has become a yearly project. The upcoming students look forward to doing it! Every year, we bring in the class below, to test the mazes, which is a big hit.
Let’s Look At Some Examples of Magnet Mazes First
I want to show you the final products first because
- I’m so proud of their creativity!
- It always helps to see the final goal.
- This is the way I introduce the project to my students to get them excited.
- I am providing these for you to show your own students when you do it for the first time.
Introduce Magnetism with a Play Day
For the first class of the magnet unit we simply played for almost an entire period. They brainstormed everything that they discovered as they walked around the room touching different surfaces and manipulating different sized magnets. We started using the words “attracting” and “repelling”, “north and south poles”, and “magnetic field”. Every student had played with magnets before, but few of them had actually stopped and thought about the mechanics behind how they work.
Give Them Some Background on Magnetism
I spent a day talking about the poles, magnetic domains and a little bit about magnetic moments for them to truly appreciate the complexity of magnets. We poured iron filings on a paper and ran a magnet underneath to visualize the magnetic fields. This concept we came an important part of their magnet mazes.
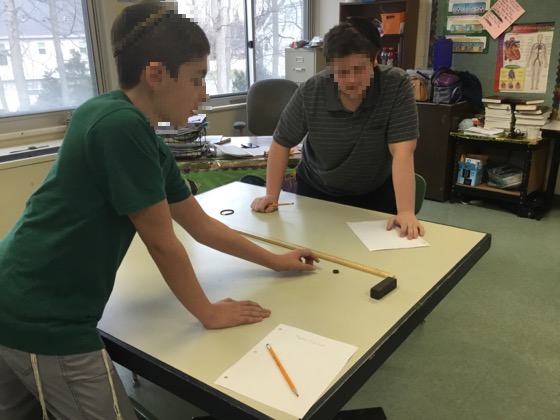
We measured the strength of magnetic fields by bringing them slowly closer to one another along a meter stick and marking the point where attraction starts. We also talked about how a magnet can be broken into smaller pieces and still behave as a magnet.
Set Up the Project’s Structure From the Beginning
For years I did “open ended projects”, that took forever to get started and dragged on endlessly. After my last disaster, I finally restructured my entire approach to introducing projects. I sent the students all of the components of this project on the very first day. They put them into their digital science notebooks so they could review the brainstorming sessions, the sketching that’s involved, the daily accountability rubrics, the self-assessment and the final rubric. This was the time to answer all questions rather than the first day of actually creating.
I generally give a week of 40 minute classes for them to complete their entire magnet mazes and videos. This year, because they were working alone, it took a week and a half. I told the students that they have to have enough scientific explanation in their videos in order for this project to replace a test on magnetism.
Time to Brainstorm and Sketch the Magnet Mazes
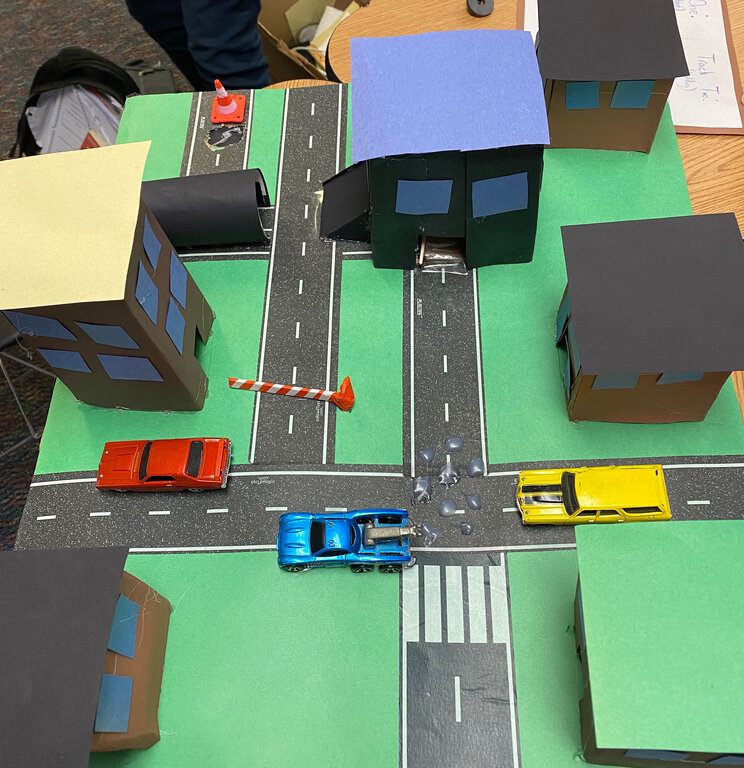
Having the “magnetic playday”, to get them thinking, made it so much easier than going into a cold brainstorm with no ideas. They were already thinking about their obstacles and materials they would use. Most of my students chose to have some sort of theme such as a park, cityscape, pirate ship, horse farm, skate park, or an airport. I did not require that but I was pleasantly surprised!
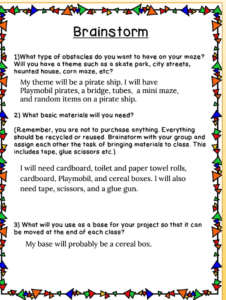
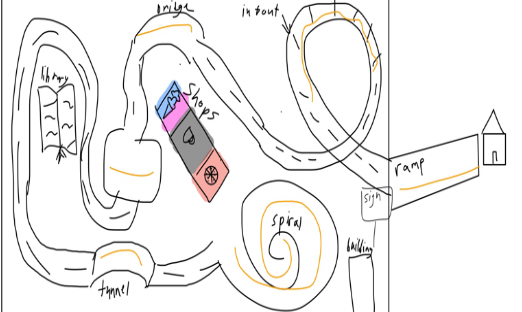
They were not permitted to start working until they submitted a sketch which helped me determine if their ideas were feasible or not. I could guide them gently down another path if it seemed unrealistic. They were required to have at least four different obstacles and as many changes of direction as possible. Students made tunnels, bridges, narrow walkways, spiral ramps, curved suspended roads, jumps, holes to fall down “underground” and then pop up again, turnstiles, lifting gates, buildings with hidden obstacles inside, stairs to jump up, and so many other clever ideas.
Keep the Students Accountable Throughout the Project
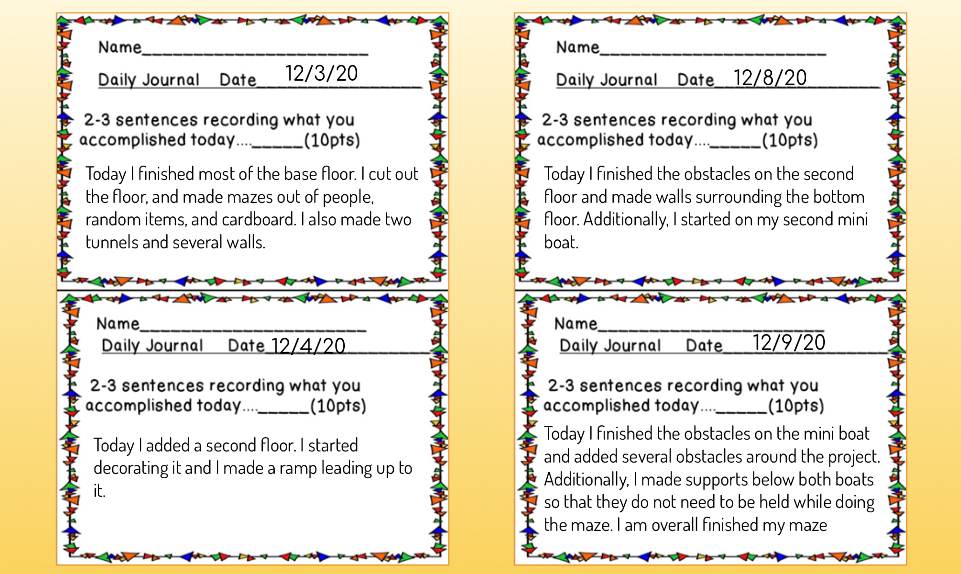
Gone are the days where my projects dragged on endlessly! Simply adding the daily self assessments for the students to fill out, plus my daily rubrics, was a game changer! Rather than the resistance that I expected from the students, I found the exact opposite! They dug in and worked WITH A PURPOSE every day! They were excellent about filling out what they accomplished and eager to find out what score I gave them.
Have Them Take a Video of the Finished Magnet Mazes
I like the students to document their hard work and to make sure they understand the concepts by having them make a video. Most mazes are too fragile to be displayed in the hallway so we put photos and videos on the school’s social media.
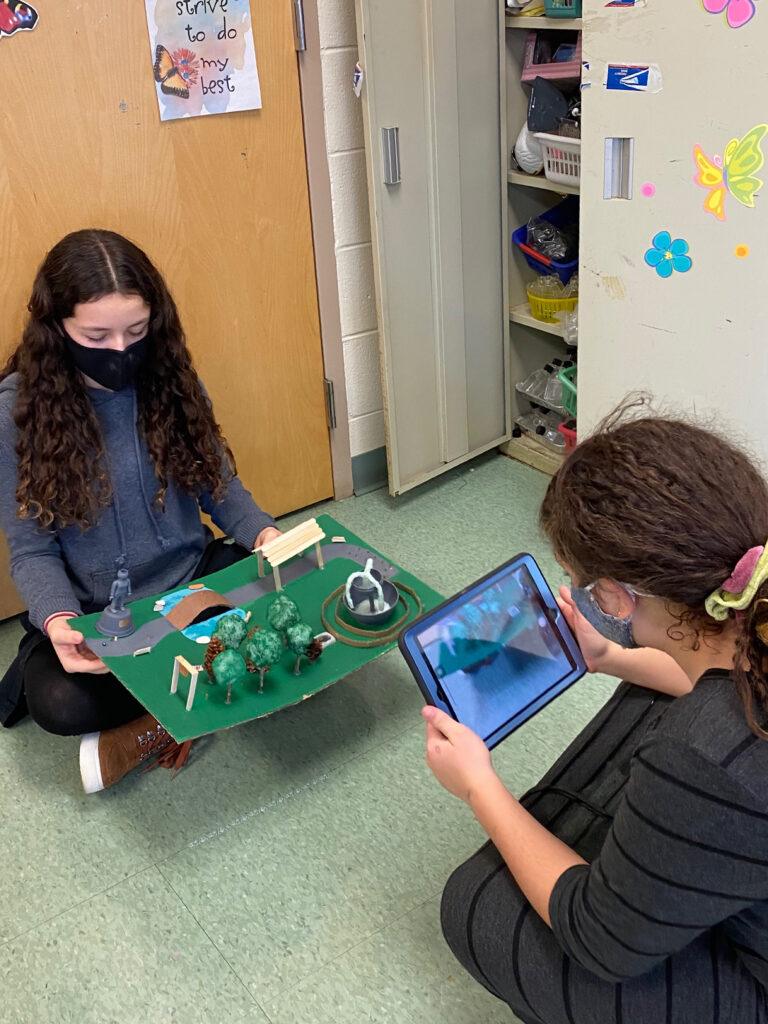
We are 1:1 iPads at my school so I utilize the camera as much as I can. We put the cameras as close as possible to the maze and tried to make the videos seem like they were traveling through at eye level. Some students used their phones at home for great shots. I asked them to run through the maze once with explanations and then they had to film at least two other people trying it out. Some students added music and sped the video up using iMovie.
Final Assessment Rubric
Again, having the students aware of the final expectations from the beginning makes a HUGE difference. The final rubric is broken down into the functionality of the maze, neatness and time management.
This STEM project is a lot of fun and the students learn a lot about the concept of magnetism as they work through it. Keeping the project structured, with accountability throughout, makes for such a pleasant experience!
Looking for science resources? Please visit my Teachers Pay Teachers at Science by Sinai for hundreds of activities.


