How to Make Learning About Plants Fun For Middle School Students
Are you looking for creative ways to make learning about plants fun for middle school students?

written by
Karen Sinai
How to Make Learning About Plants Fun For Middle School Students
February, 2025
Let’s face it—most middle school students aren’t exactly thinking about plants and trees on an average day. But why not make them stop and pay attention? I’m always amazed at how truly interested they become once you redirect their focus!
Start by Planting Seeds
Depending on your students, they may or may not have ever planted a seed. If they have, it’s probably been a long time. I start by building up the excitement, telling them they’re going to have their own “babies” to take care of for the next two weeks. Even the tougher middle school students seem to like this idea. Every day during those two weeks, I make a big deal as they walk into class: “Go check your babies!”.
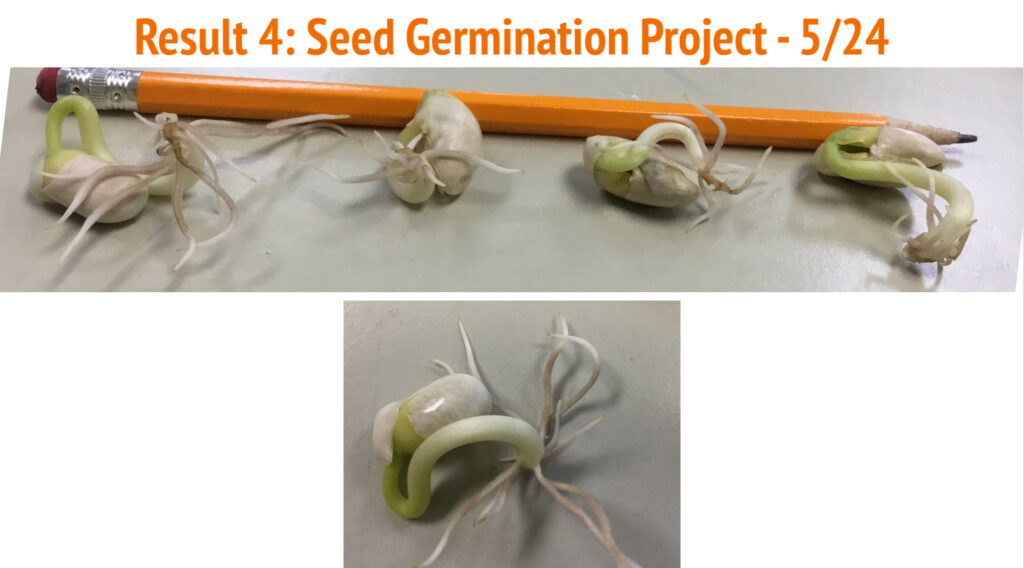
If you use pinto beans or lima beans, students will see fast and dramatic root growth. We put them in a damp paper towel, inside a cup covered with plastic wrap. I just buy the cheapest bag of beans from the supermarket—meant for soup—and it lasts for years. Most students have never seen the crazy looking, twisted roots that first emerge from the bean, and you can hear their excitement as they unwrap their paper towels each day. After about three days, we plant the little plants in soil. Again, I’m always amazed at how few students have actually done this before.
Once the beans are in the soil, we start measuring them with a ruler daily. We enter the data in their digital science notebooks. Students are blown away by how fast their plants grow!
Play with Tropisms
When their beans reach about 6 to 7 inches tall, I surprise them by asking them to carefully turn their cups on their sides on the windowsill. This confuses students at first, but they’re intrigued. When they come in the next day, their beans have completely curved upward, growing back toward the sun! Boom—there’s the beginning of a lesson on tropism.
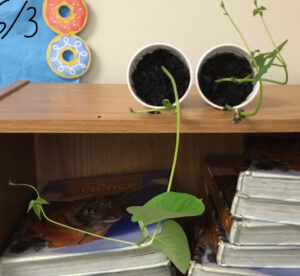
We keep turning the plants to see what happens over the next 24 hours. If you’re using clear cups, students might even notice changes in the roots—this introduces geotropism. The roots will turn and always aim downward toward the Earth. I promise your students have never learned this before. They’ll be amazed that plants move according to their environment!
Lessons Alongside Growing Baby Plants
While the babies are growing, we dive into lessons on different aspects of plants. We learn about the photosynthesis equation and how green leaves help the plant make food using sunlight. Then I pose a question:
“How are your babies growing so fast when they don’t even have leaves yet to use the sun?”
This usually stumps the class. I compare it to when the students were little and their parents packed their lunches because they couldn’t make their own food. The plants are the same way. They rely on their “packed lunch”—the cotyledons (the two halves of the bean)—which serve as the food source until the leaves sprout. We notice how the cotyledons are slowly shriveling as their plants grow.
For those students whose plants already have leaves, they’ll observe that the cotyledons may have even fallen off. Again, this is something students have never thought about before.
Graphing Plant Growth
As students measure their plants each day, we record the heights in their notebooks on a spreadsheet to graph later. We calculate the percent increase in height from day to day, which is pretty mind-blowing. I always ask them:
“What would happen if you grew by that same percentage in a day?”
How Do Plants Reproduce?
Next, we shift to plant reproduction with flowers. What’s the purpose of a flower? We break down the different parts and surprise the class by revealing that most flowers have both male and female parts.
I’m not a big fan of dissecting real flowers in bulk, so I’ve found some pretty, anatomically correct fake flowers at the dollar store for students to observe.

But even more fun—we go on a flower hunt outside! Even in schools with limited plants, when students get down close to the grass, they’re surprised by how many small flowers they find. I use a plant identification app on my phone(Picture This), and students are fascinated to learn the names of plants they’ve walked past every day without noticing.
Since my students have iPads, I encourage students to take lots of pictures of flowers, seeds, and other signs of plant reproduction. When we come back inside, I like showing them slow-motion videos of flowers blooming. These are always a crowd-pleaser.
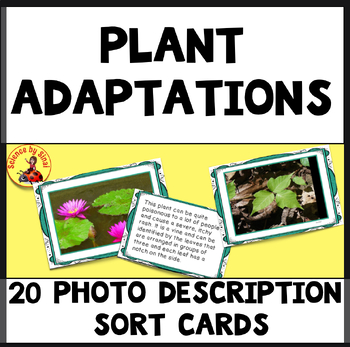
Plant Adaptations and Defenses
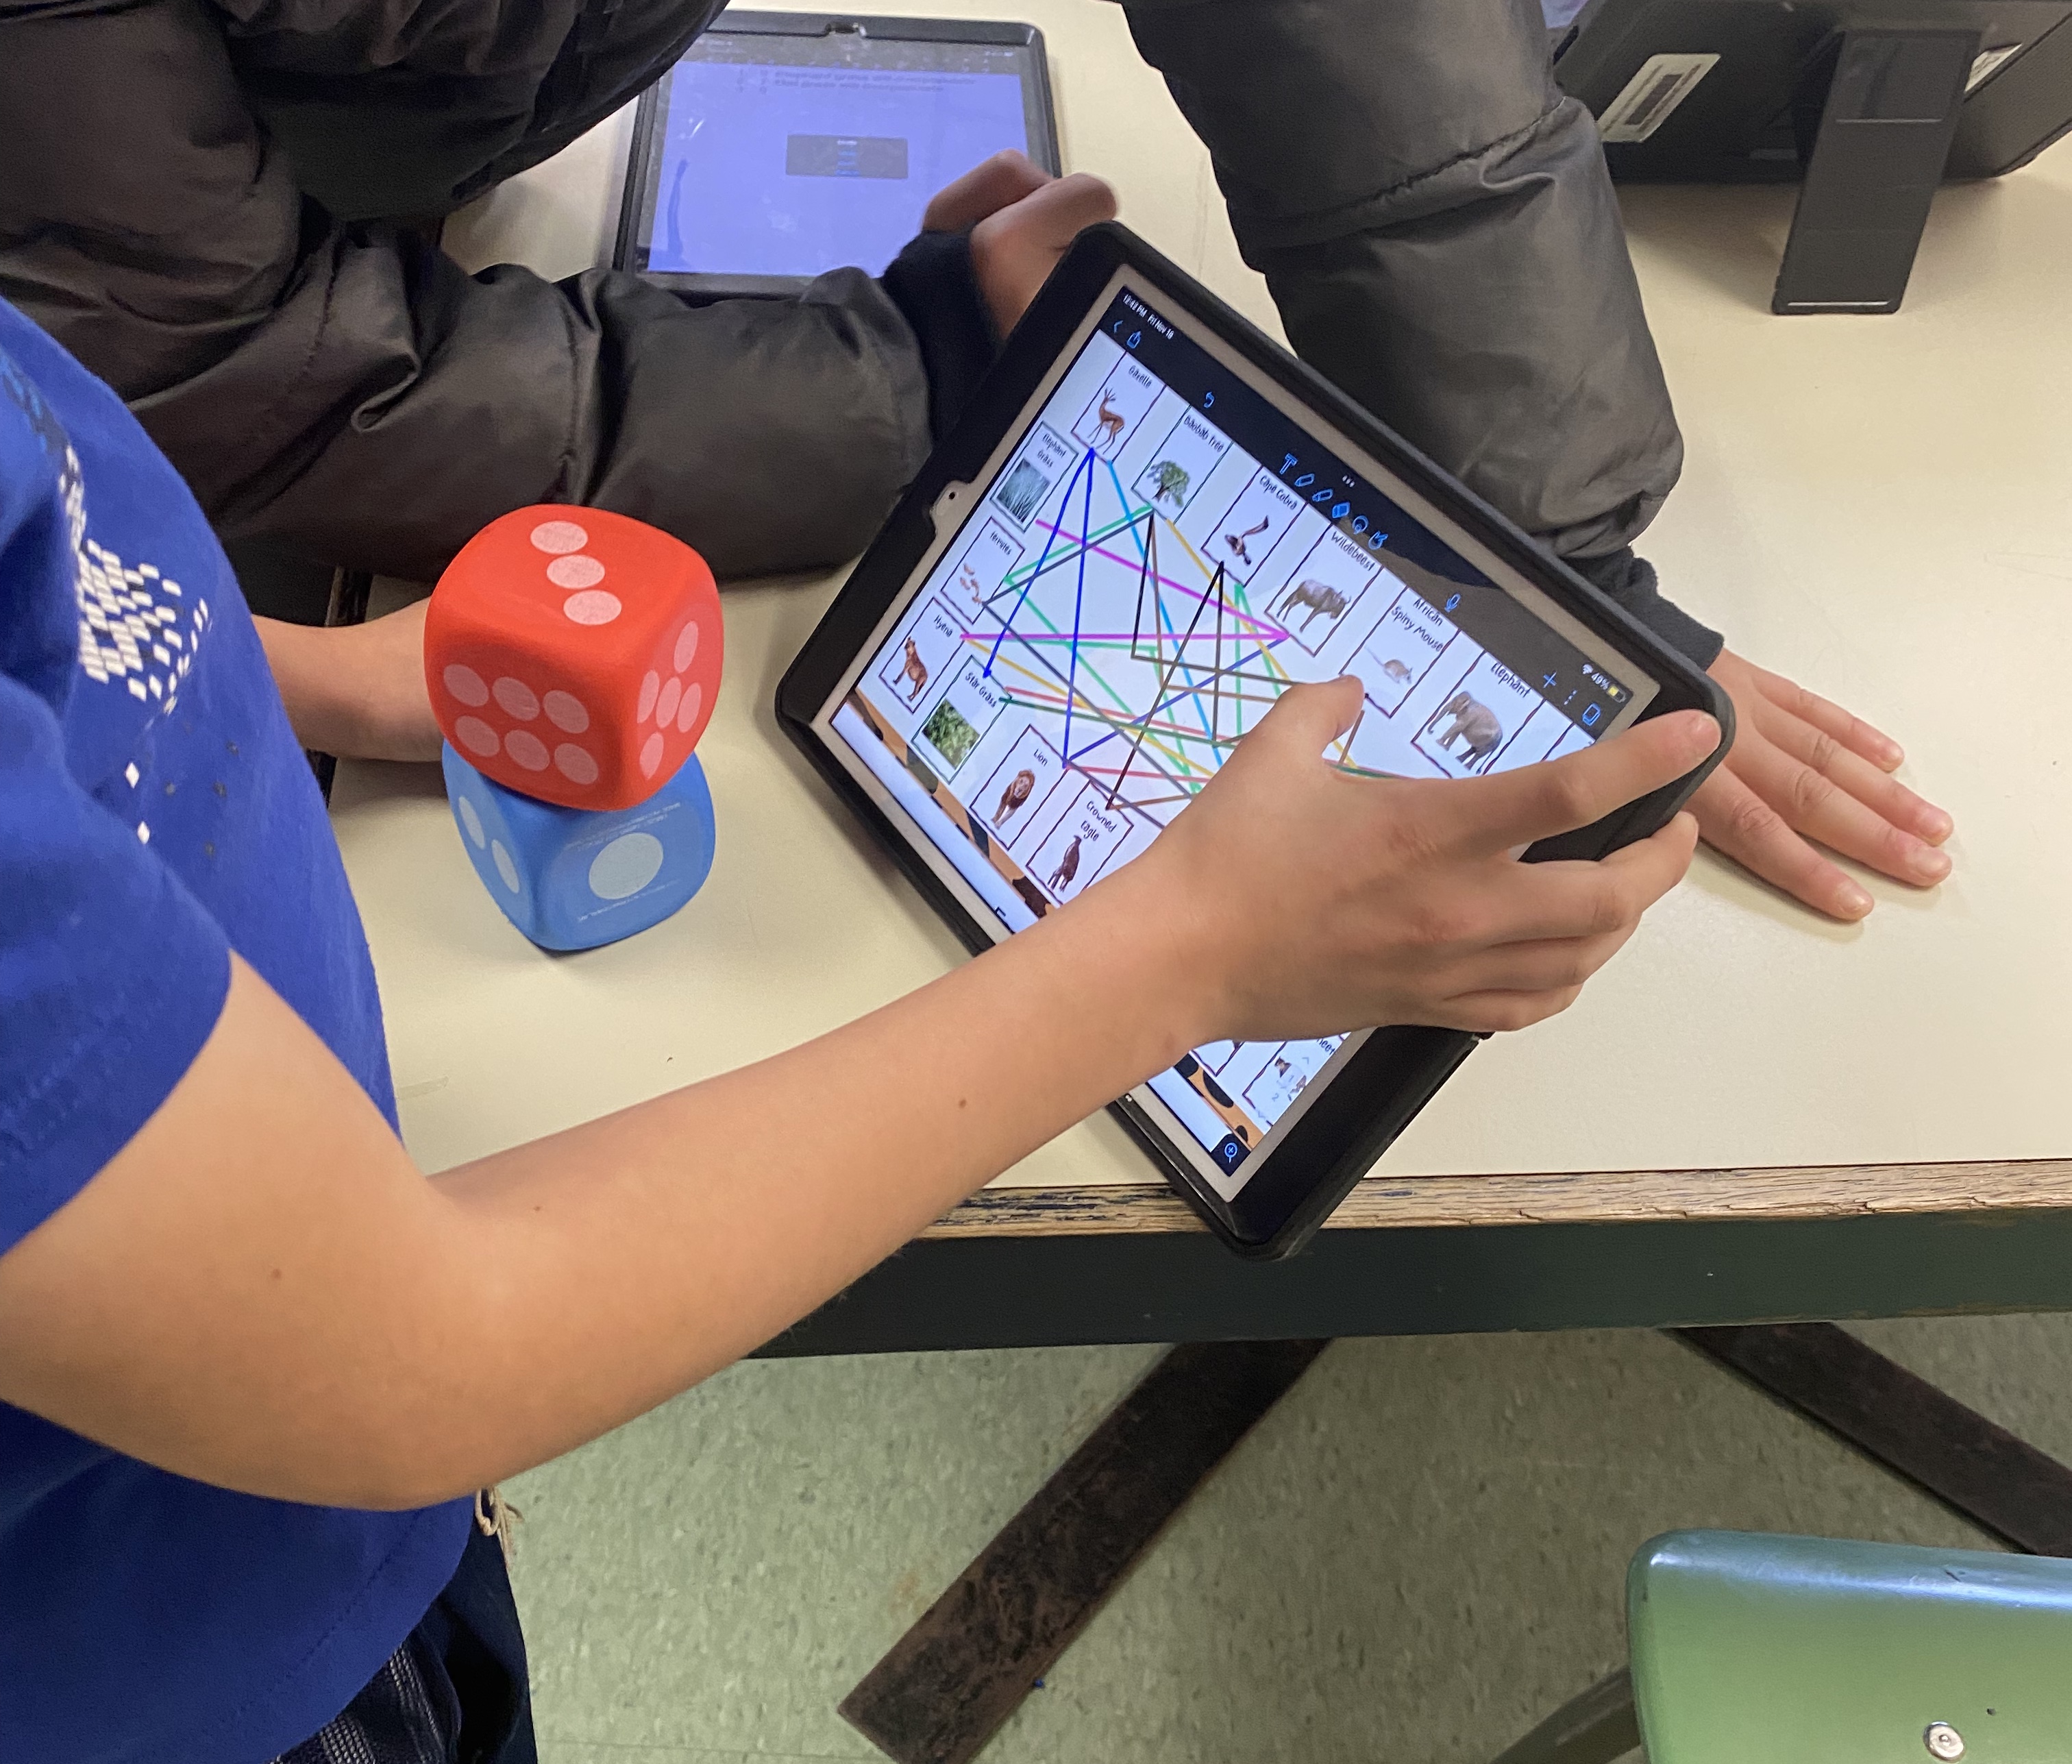
We then dive into plant adaptations—how plants survive in different environments and defend themselves from being eaten. I use an activity where students match mystery descriptions to plant images. Once matched, we discuss fascinating topics like poisonous plants, specialized roots, and plants that respond to touch.
Looking at Leaves
If you’re teaching this in the spring, you might find some tulip leaves around the school or neighborhood. After the flowers have bloomed, I clip one or two leaves. Using a microscope, we examine the thin, plastic-like layer from the leaf with a drop of iodine. Students can see the cell walls, nucleus, and sometimes even chloroplasts.
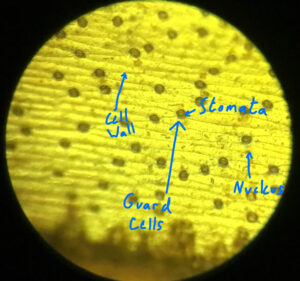
I also use an onion to compare to the leaf. We look at this root under the microscope, too. The clear membrane between onion layers doesn’t have chloroplasts, which leads to interesting discussions.
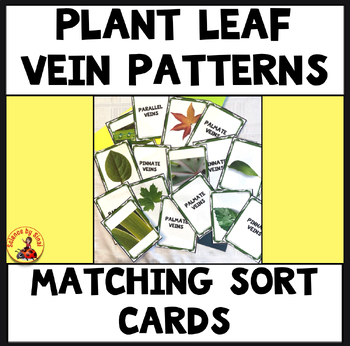
Leaf Vein Patterns
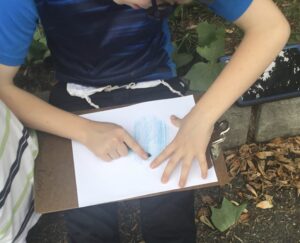
After learning about leaf structures, we talk about the nutrient transport through the plant. This leads us the the vein patterns on leaves. For a fun activity, I give each student a clipboard, paper, and crayons. We head outside for a leaf rubbing activity that is even liked by middle schoolers! We identify three vein patterns: palmate, parallel, and pinnate. Students find examples of each, with grass often working well for parallel veins.
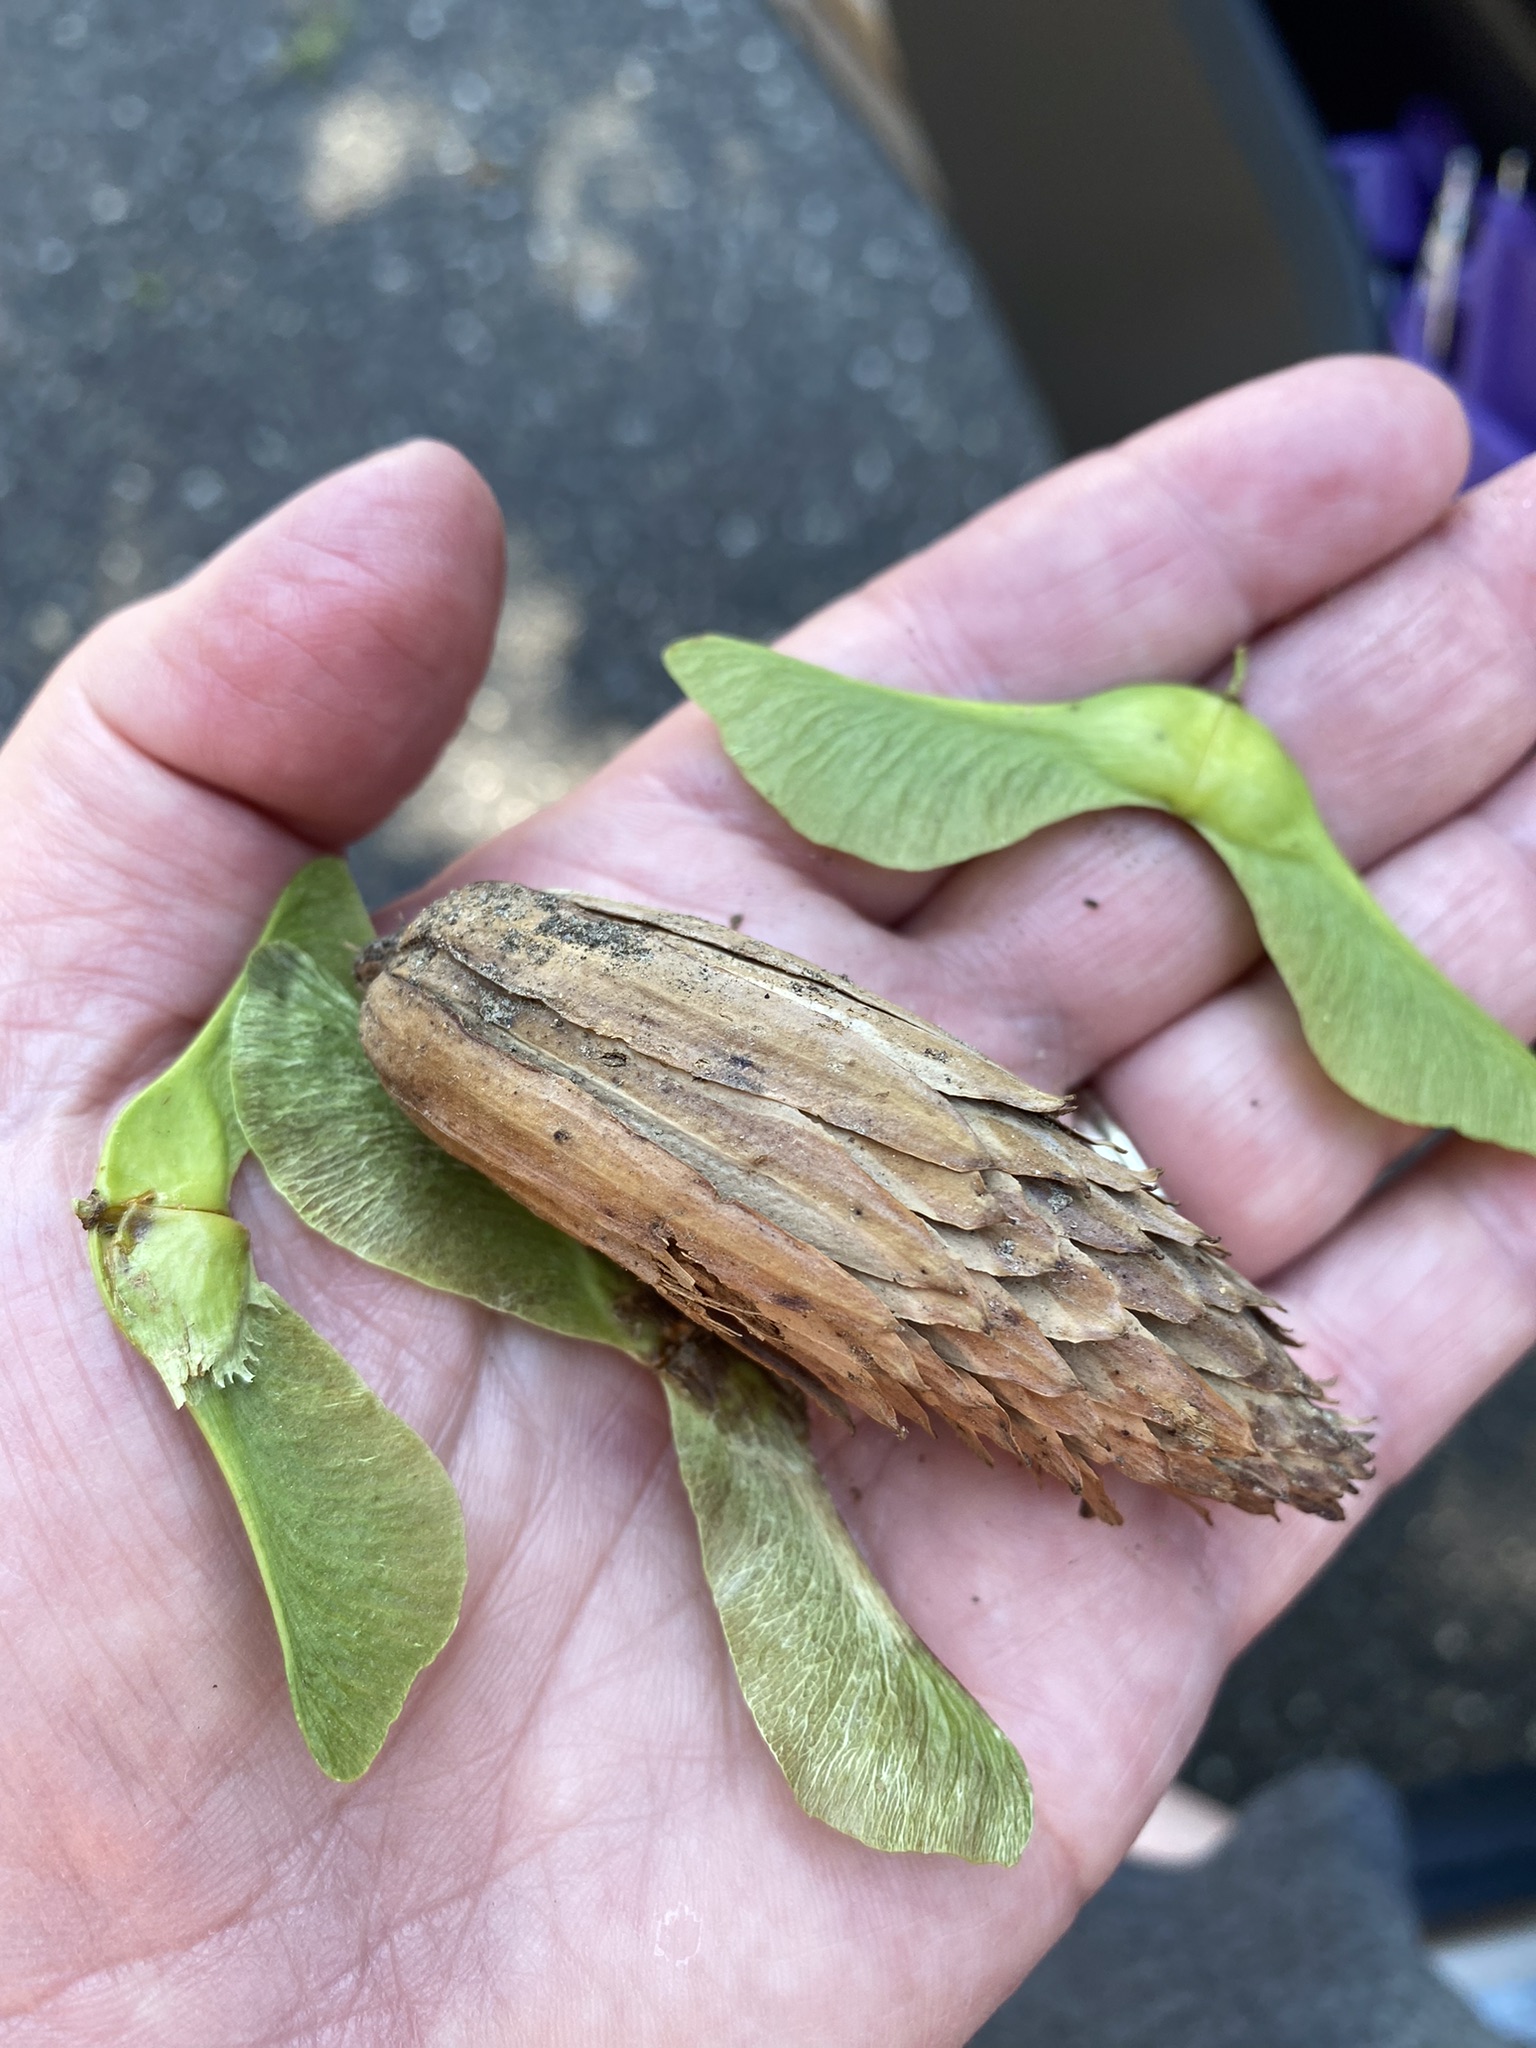
Seed Dispersal
Near the end of the unit, we circle back to seeds—where we started with our baby plants. By this time, the plants are big enough to send home, and I’m often surprised by how many students actually plant them in their backyards.
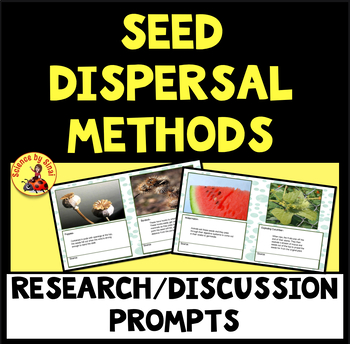
We discuss different types of seed dispersal such as by animals, water, wind, and more. We use my activity with many images and add some information about each type. We watch videos of examples, and the explosive release of seeds from Touch-me-nots is always a hit.
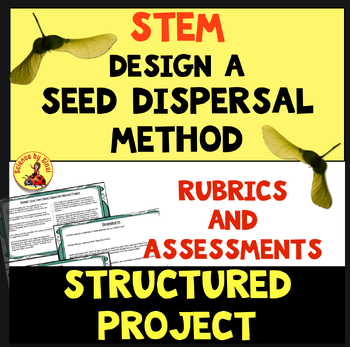
Time for Our Seed Dispersal STEM Project
Throughout the unit, I drop little hints that students will be doing a fun project at the end of the unit. Either alone or in partners, I give them the task of designing a plant with a specific kind of seed that they invent. They will have to make a model of the seed dispersal, and it must work in a demonstration. I also require a video of the seed(s) in action.
Throughout the years, I have seen some of the most amazing ideas! For example, I had a student put small objects inside of a balloon, inflate it, hang it on a tree and then let it twirl around with the “seeds” flying everywhere.
I had another student work with his father to drill a hole in a large, round bath bomb. He placed a Nerf Gun dart inside the bath bomb. His idea was that the plant had a seed inside of a covering, the bath bomb, that slowly dissolved, and then the seed floated to the surface.
I’ve also had several students make some sort of a sticky seed that they placed on the fur of their pet.
The question I sometimes get for this project is whether we do it in school or at home. It honestly depends on my class population at that time. Lately, I have been doing most of my STEM projects in the classroom. This way I can help them and everyone has an equal chance of getting materials and attention.
Since we have iPads, I do require them to create a video that demonstrates their seed dispersal method. Many of the students want to do that at home, outside somewhere or in their backyard.
Conclusion
By the end of this unit, students have a newfound respect for the intricacies of the plants around them. They often admit they’d never thought about plants being so complex or so interesting.
Check out all the resources I mentioned in my store, Science by Sinai, on Teachers Pay Teachers! I have over 500 middle school science resources to help you out.

- Embracing The Mess: Why a “Messy” Science Classroom is a Good Thing
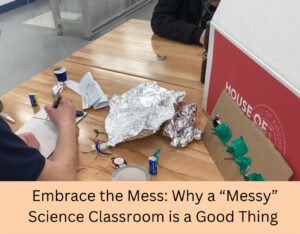 Embracing The Mess: Why a “Messy” Science Classroom is a Good Thing Do you have a messy science classroom? Are supplies scattered everywhere, with half finished…
 - Why Digital Science Notebooks Make the Ultimate Study Guide
 Why Digital Science Notebooks Make the Ultimate Study Guide Do you find that your students don’t know how to study for tests?Are they losing papers, forgetting…
 - Christmas Science Activities to Keep Students Engaged
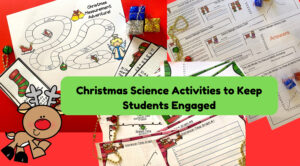 Christmas Science Activities to Keep Students Engaged Are you looking for some Christmas cheer in your science classroom but you want to stay on curriculum? I…